Illustrations
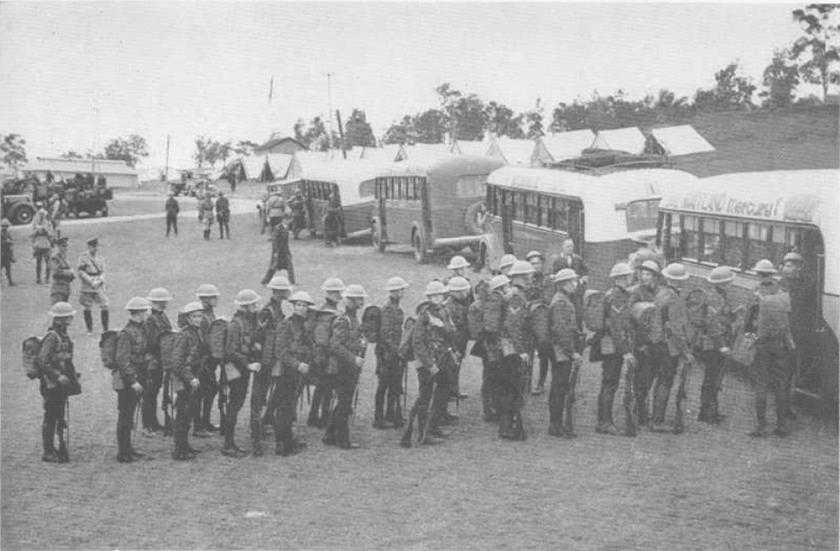
Militiamen using civilian transport during exercises at Port Stephens, NSW, in October 1938 (Sydney Morning Herald photo)
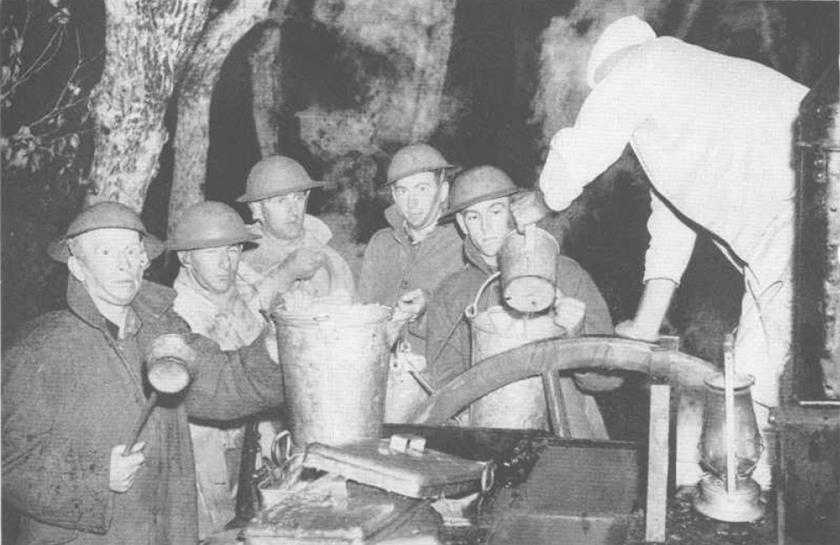
Drawing rations at a field kitchen during the Port Stephens exercise, 7th October 1938 (Sydney Morning Herald photo)
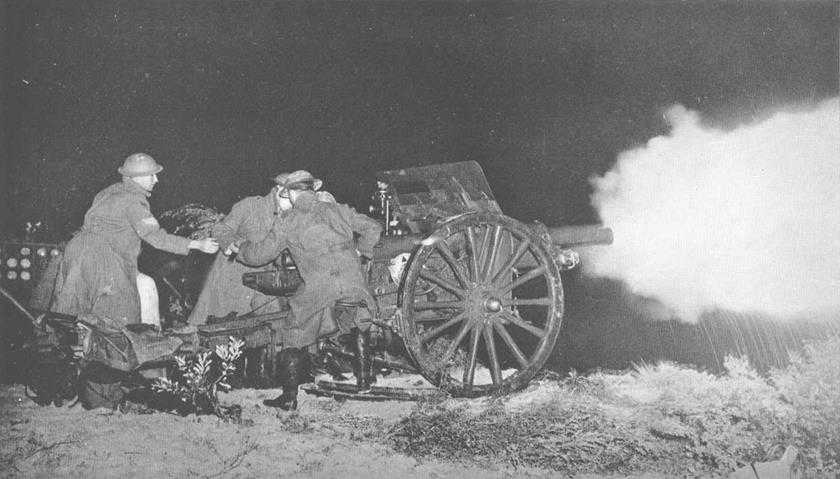
An 18-pounder if the 1st Field Brigade firing during the exercise at Port Stephens
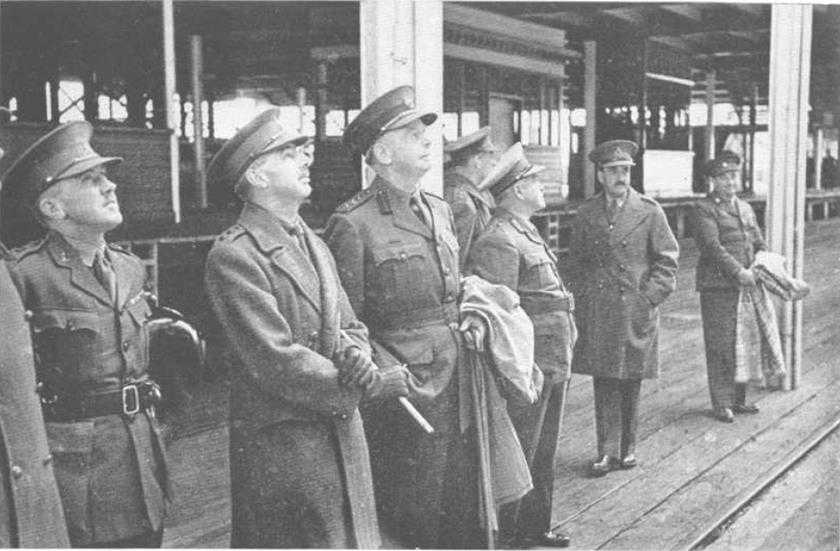
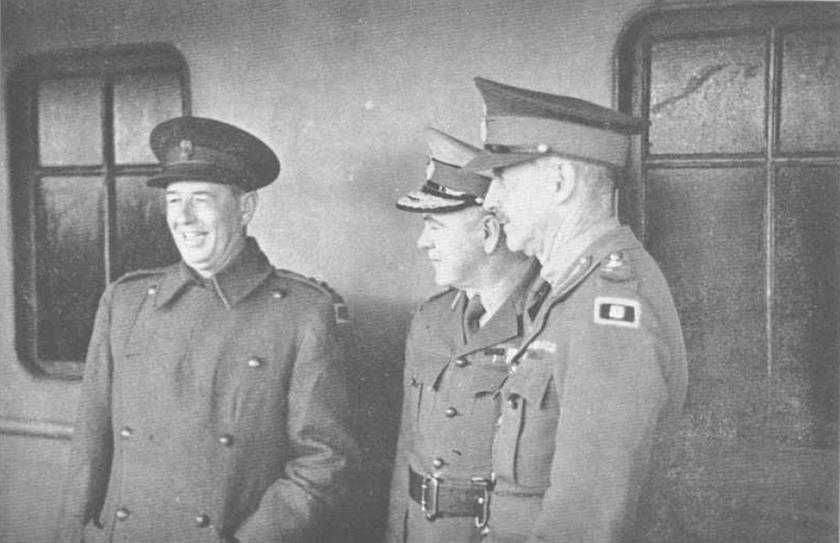
General Blamey and senior leaders of the AIF at the embarkation of the second convoy in Melbourne in April 1940. Left to right: Lieut-Colonel F. H. Berryman, Colonel S. F. Rowell, Colonel S. R. Bursron, Lieut-General Sir Thomas Blamey, Lieut-General J. D. Lavarack
Left to right: Brigadier S. G. Savige, Lieut-General Blamey. Major-General I. G. Mackay (Australian War Memorial)

A draft of Victorian recruits for the 6th Division entraining at Flemington for Puckapunyal, 2nd November 1939 (Australian War Memorial)
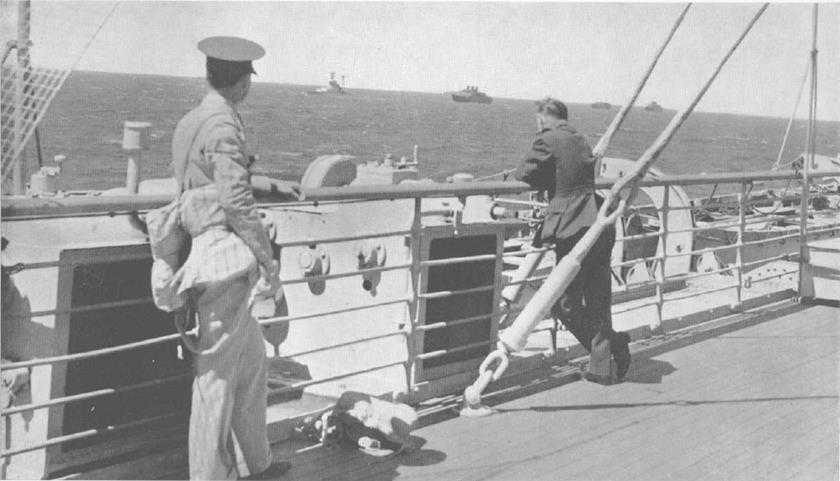
The First Convoy: At sea, January 1940 (Australian War Memorial)
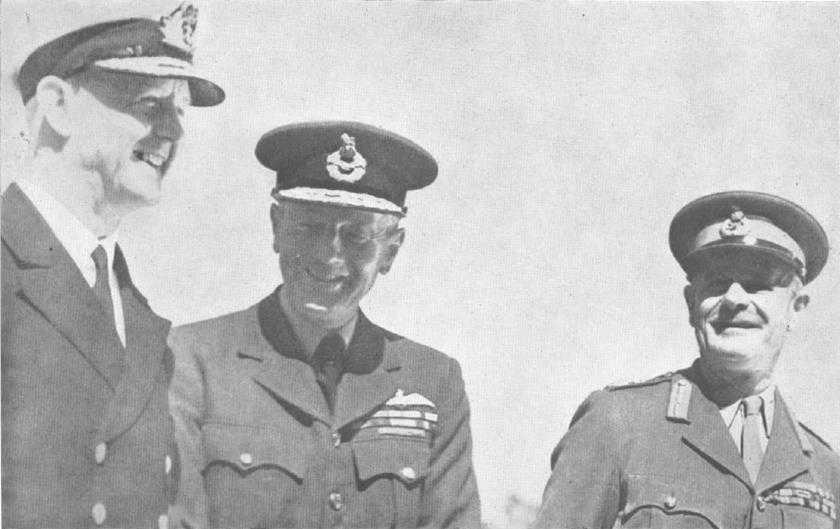
The Middle East Commanders-in-Chief: Vice-Admiral Sir Andrew Cunningham, Air Marshal Sir Arthur Longmore and General Sir Archibald Wavell (Australian War Memorial)
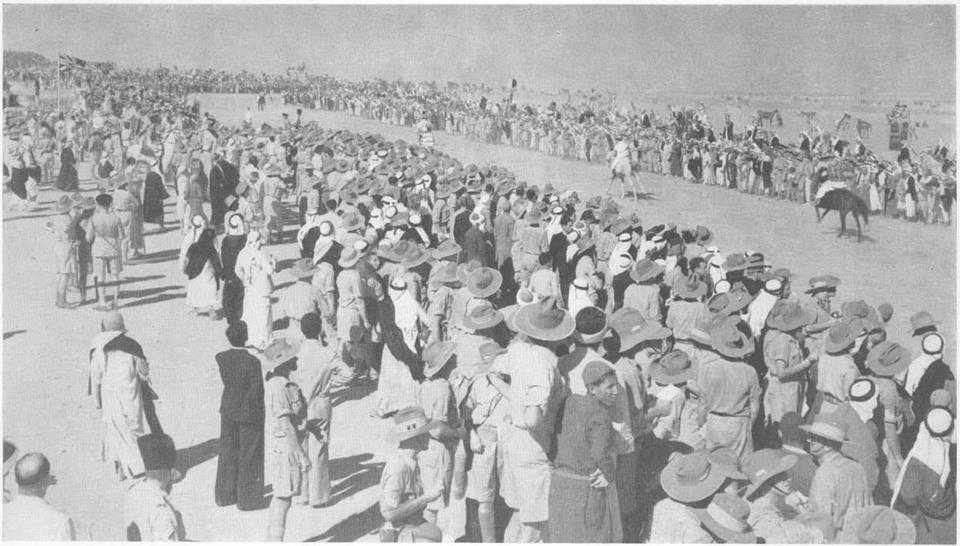
A race meeting held at Barbara, Palestine, 7th September 1940, before the 6th Division completed its concentration in Egypt (Australian War Memorial)

The arrival of 2/6th Battalion at Beit firja. Palestine, 18th lay 1940 (W. R. Dexter)
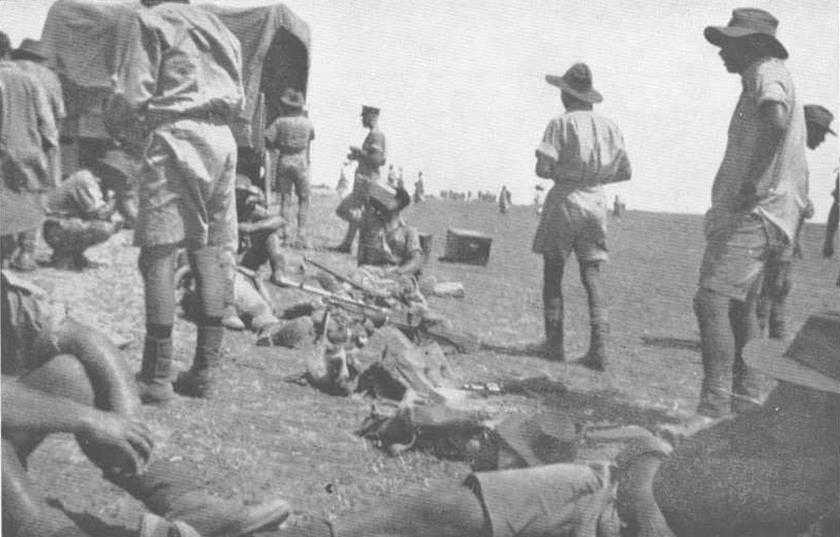
2/6th Battalion: Drawing rations on all exercise in Egypt, September-October 1940 (W. R. Dexter)

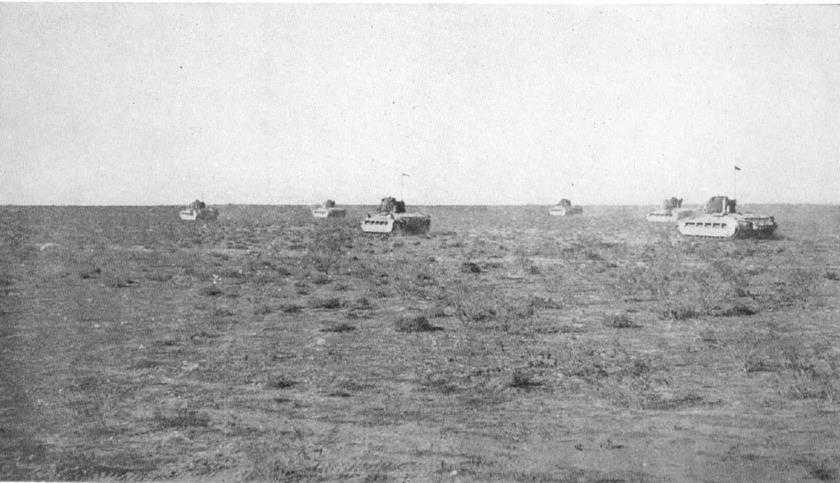
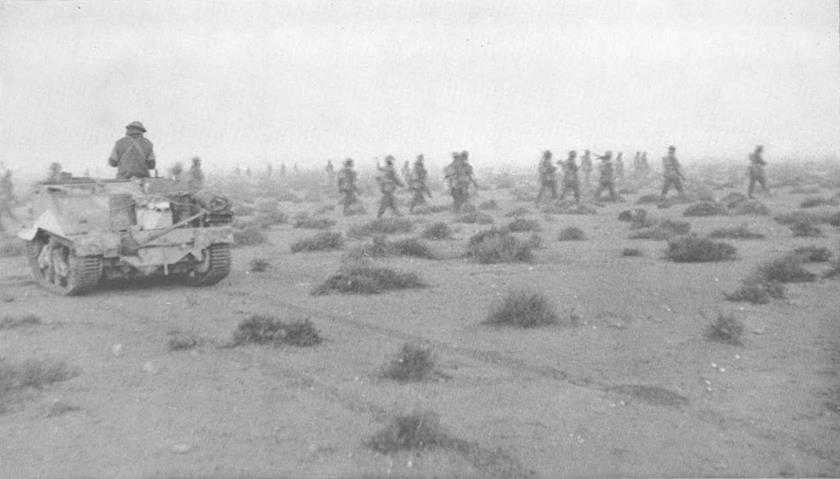
Infantry advancing with tanks and Bren carriers during exercises in the Western Desert, October 1940 (Australian War Memorial photo)
Italian lines at Tummar (New Zealand Official photo)
Tanks advancing across the desert, 19th December 1940 (Imperial War Museum)
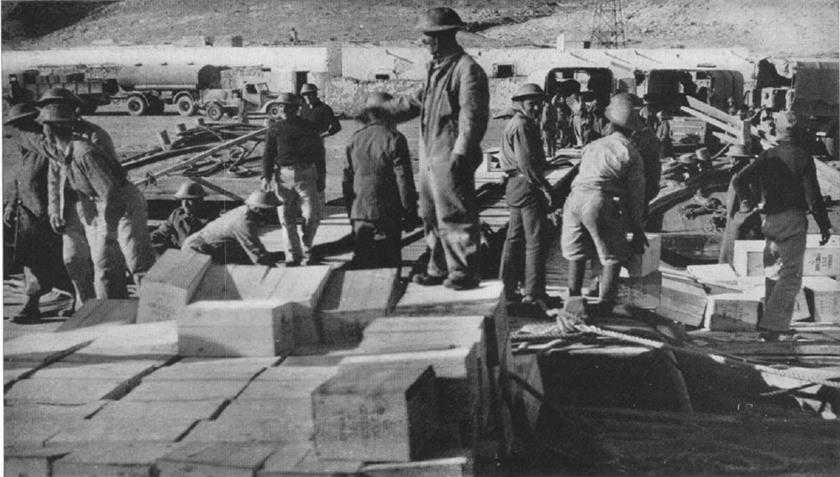
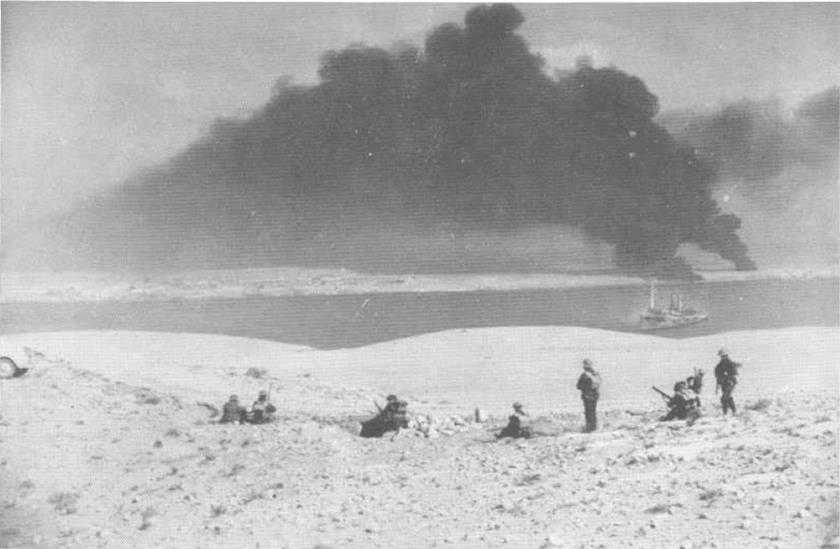
Unloading a cargo of benzene at the Salum jetty, 27th December 1940. Most of the men handling the cargo are members of a Cypriot labour battalion (Australian War Memorial)
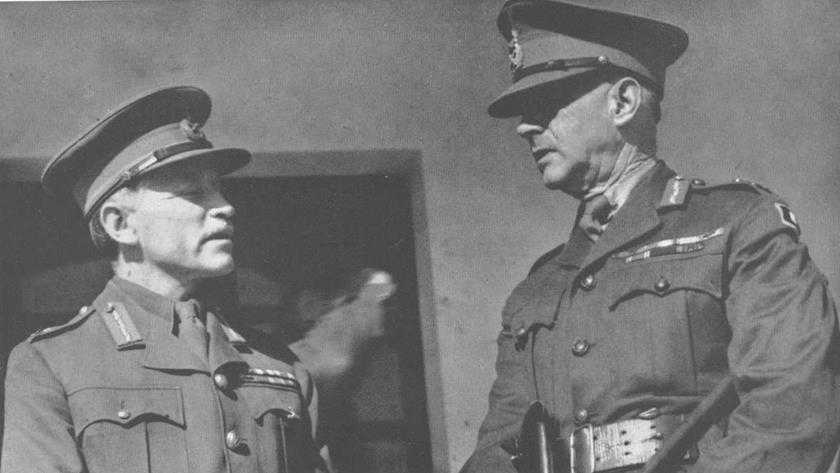
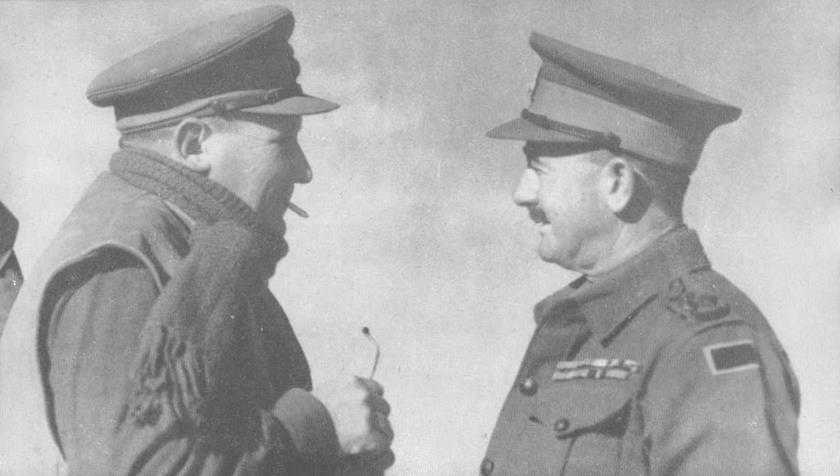
Lieut-General R. N. O’Connor, who commanded The XIII Corps. and Major-General I. G. Mackay
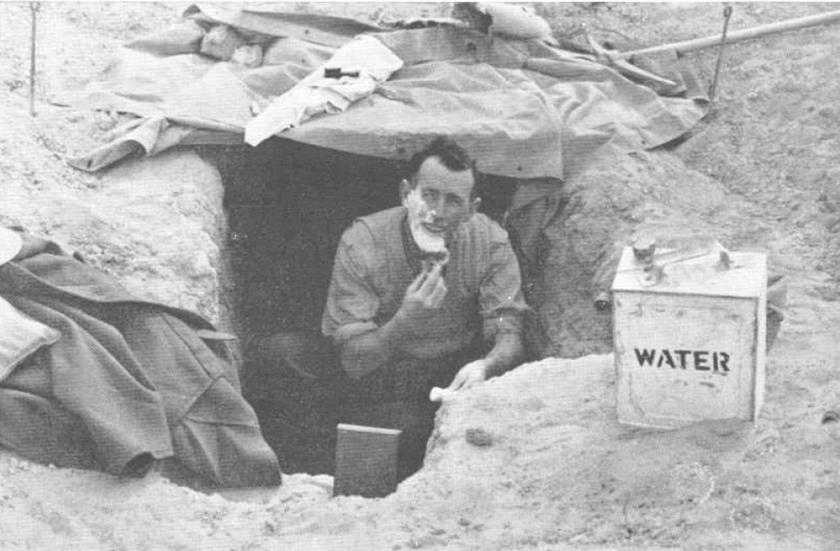
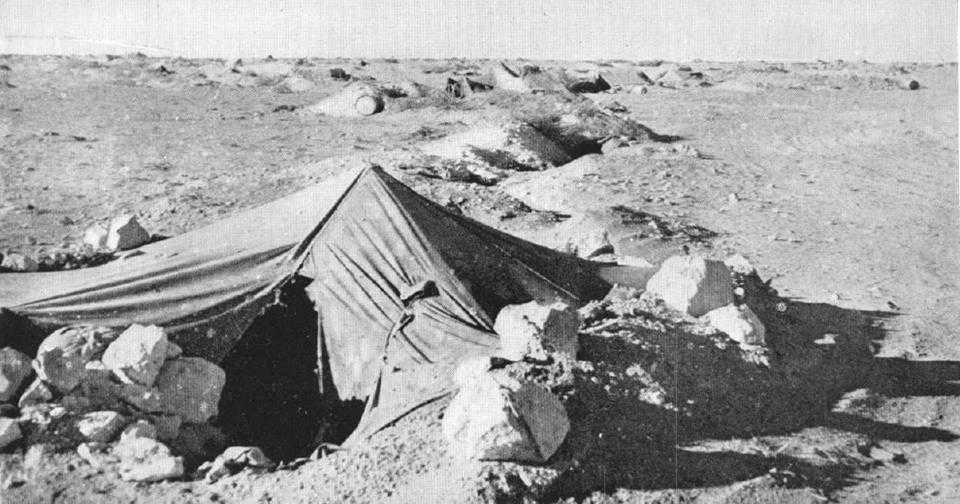
The men lived in holes dug out of the ground. The CO of the 2/2nd Battalion, Lieut-Colonel F. O. Chilton, at Bardia, 26th December 1940
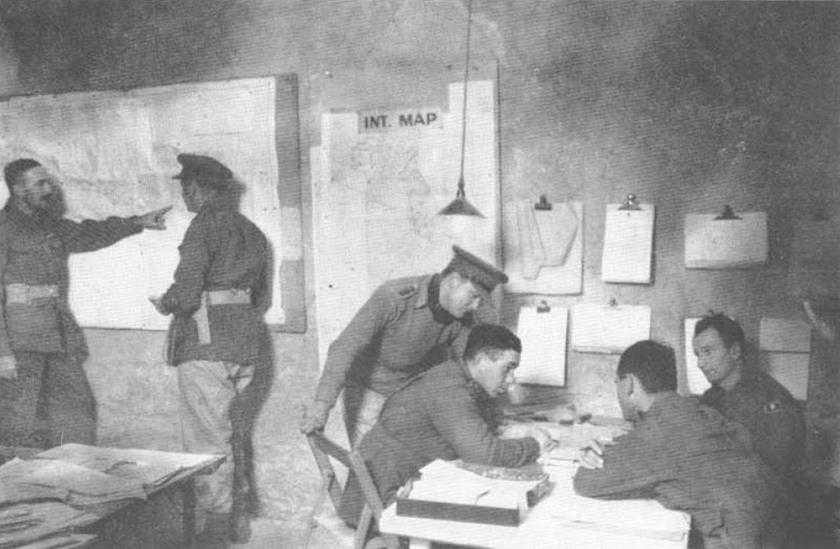
The 6th Division Intelligence section at work in an Italian underground cistern at Bardia on 30th December 1940. Left to right: Lt-Col J. D. Rogers (I Aust Corps); Capt D. J. H. Lovell; Capt A. J. S. Cotter; Capt B. R. Grieve (liaison officer); Capt R. R. Vial, and the Intelligence sergeant, D. M. Macrae

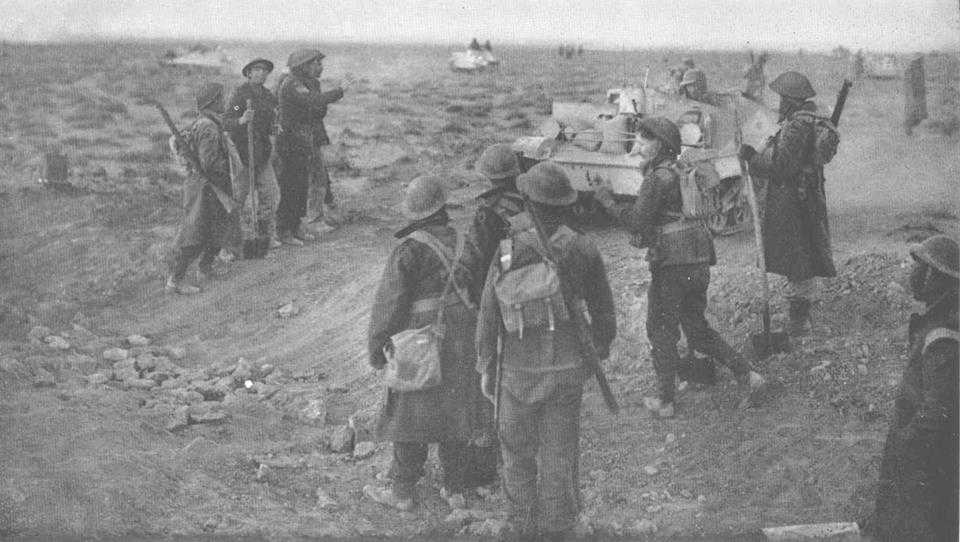
Australian infantry, advancing to word Bardia, 3rd January 1941 (Australian War Memorial)
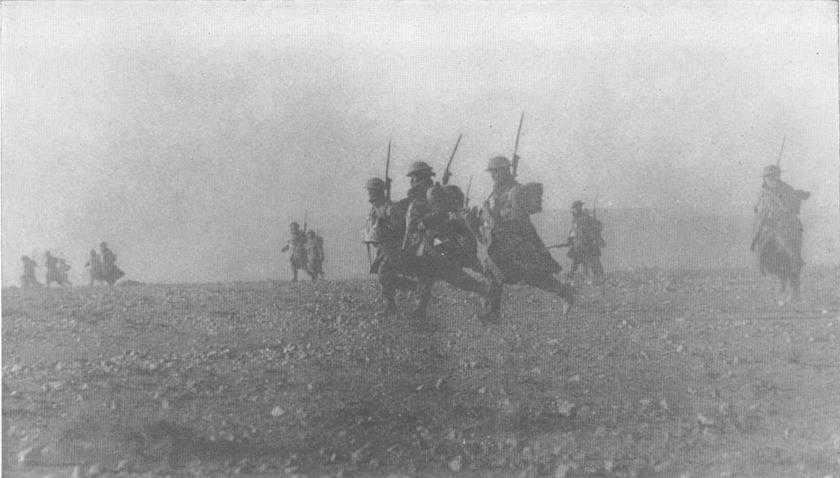
Heavily-laden infantrymen advancing on Bardia (Imperial War Museum)
The attack on Bardia. Sappers who had prepared the Italian anti-tank ditch for passage of vehicles watching a Bren gun carrier making the crossing (Imperial War Museum)
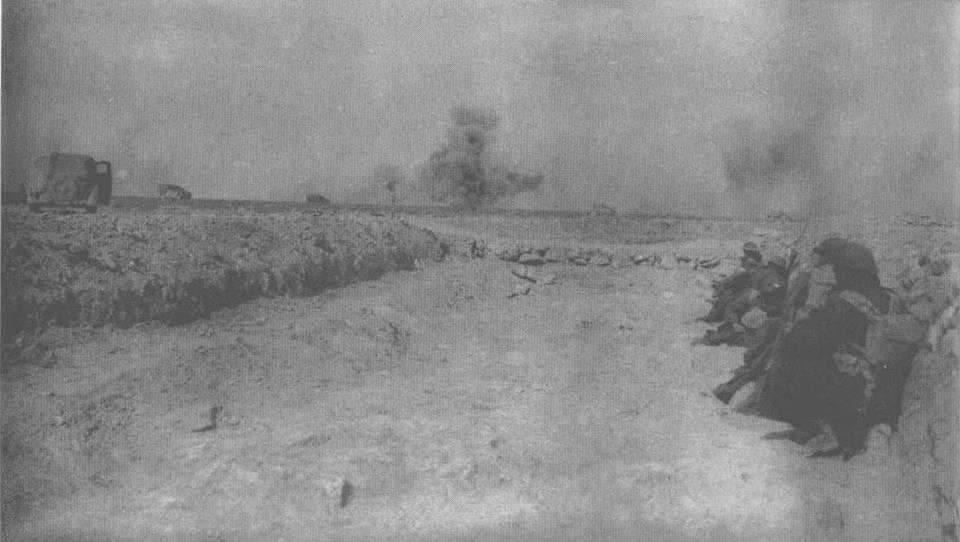
Australians sheltering in an Italian anti-tank ditch during the battle of Bardia (Imperial War Museum)
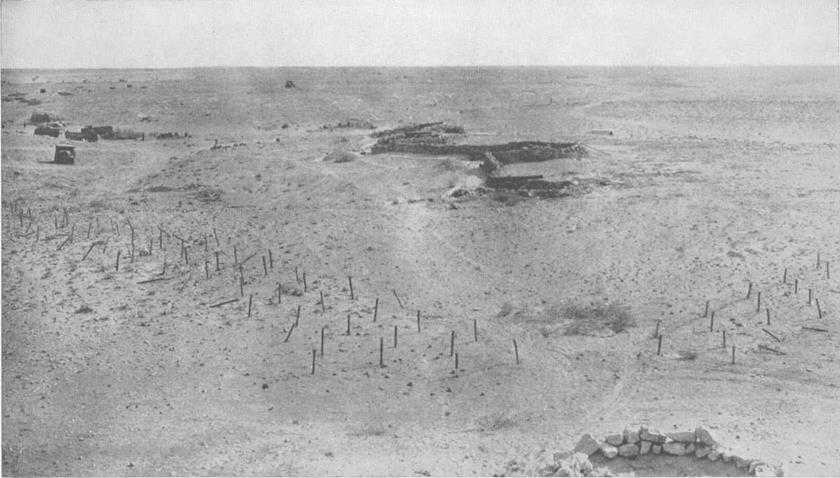
An abandoned Italian 4 – gun battery position within the Bardia fortress, showing the built-up protective sangar typical of the second or third line defences, as distinct from the perimeter defences which were concreted and level with the ground. (Imperial War Museum)
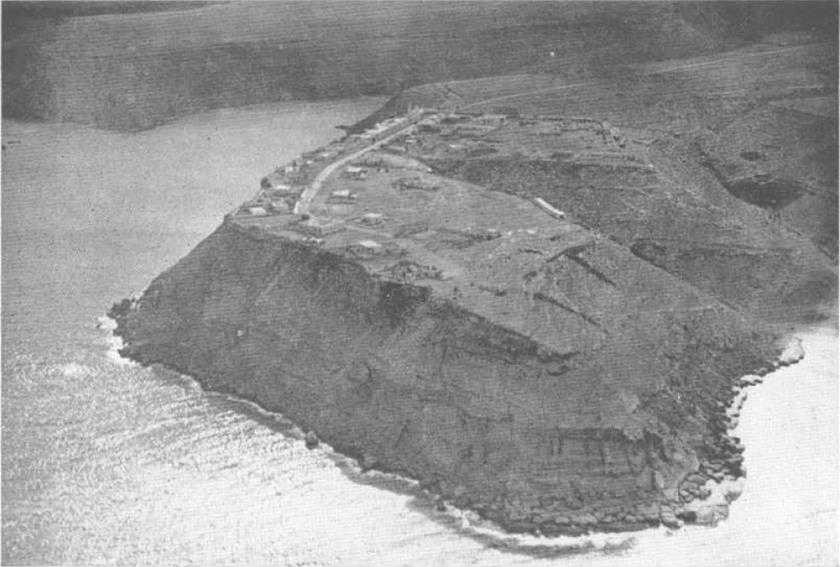
Upper Bardia from the sea. The entrance to the small harbour is on the left. (This photograph was taken during the flight of Mr Menzies over the Western Desert during February 1941.)
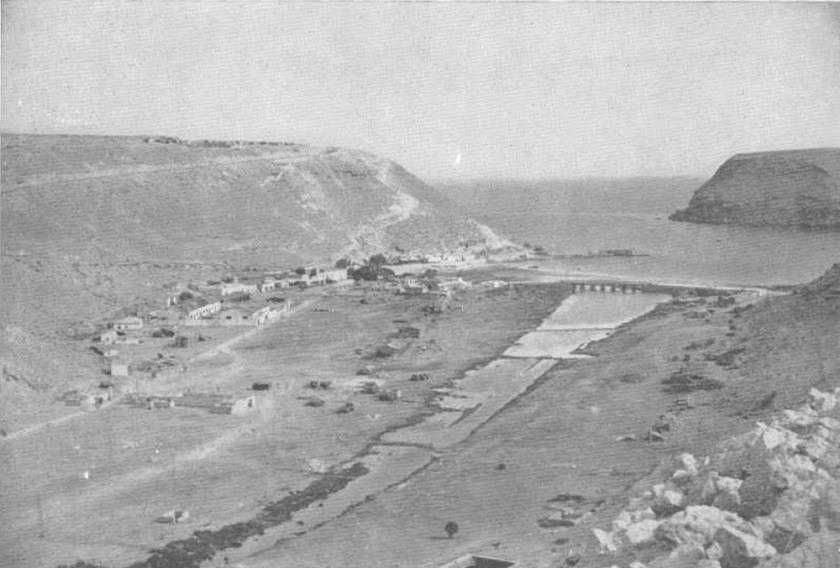
Looking down on the harbour and lower town of Bardia. Upper Bardia is on the top of the cliffs in the background.(Australian War Memorial)
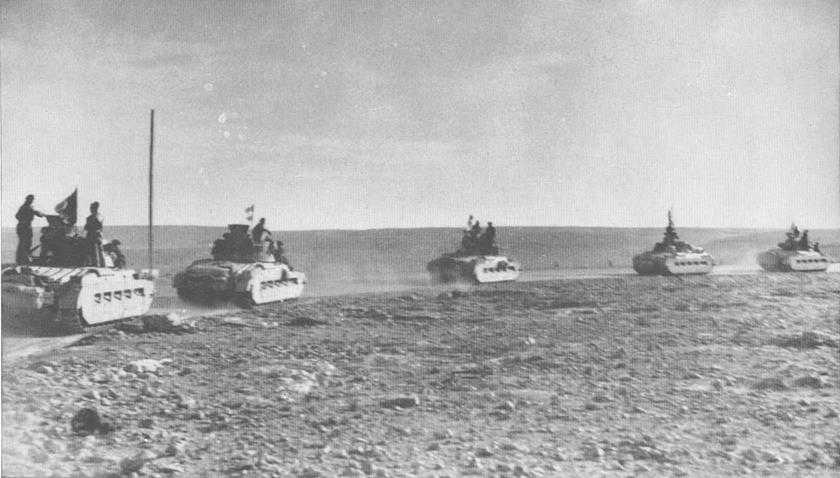
British ‘I’ tanks moving up to Tobruk, January 1941. (Australian War Memorial)
Tobruk: Brigadiers A. S. Allen and L. J. Morshead. (Australian War Memorial)
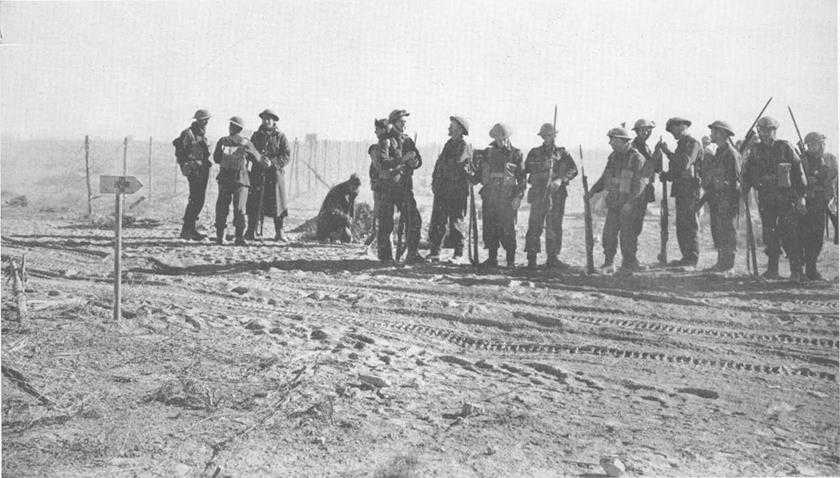
Infantrymen pause at a gap in the wire entanglements at Tobruk. (Imperial War Museum)
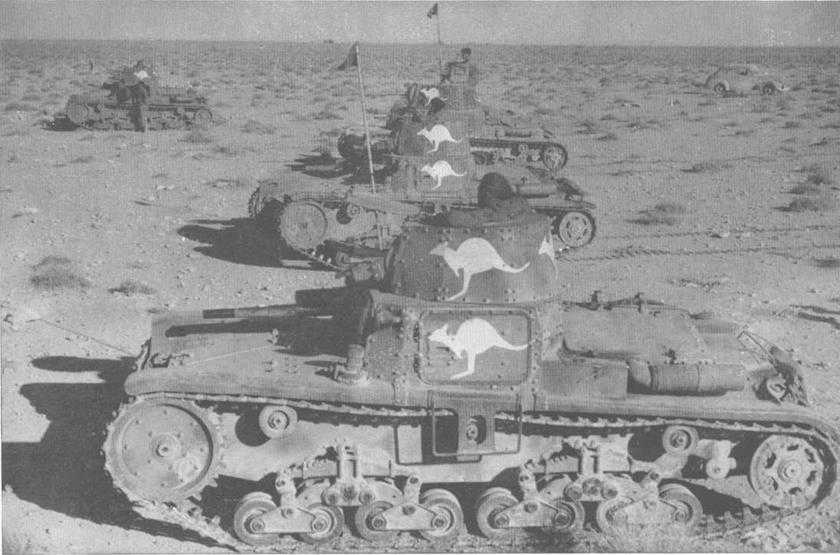
Italian tanks captured at Bardia were manned by members of the lull Cavalry Regiment during the operations at Tobruk. (Australian War Memorial)
Australian infantrymen advancing towards the town of Tobruk. (Imperial War Museum)
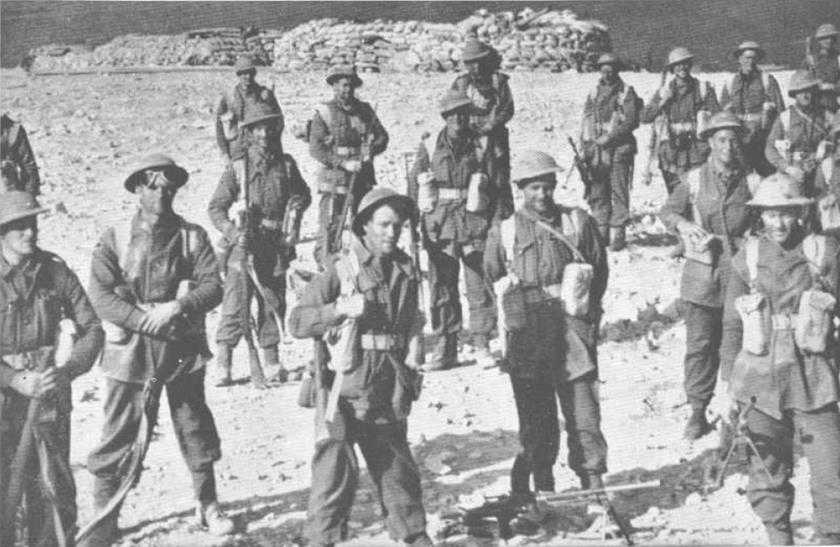
Units of Australian infantry rest on the heights overlooking Tobruk after having advanced through the outer defences of the area.
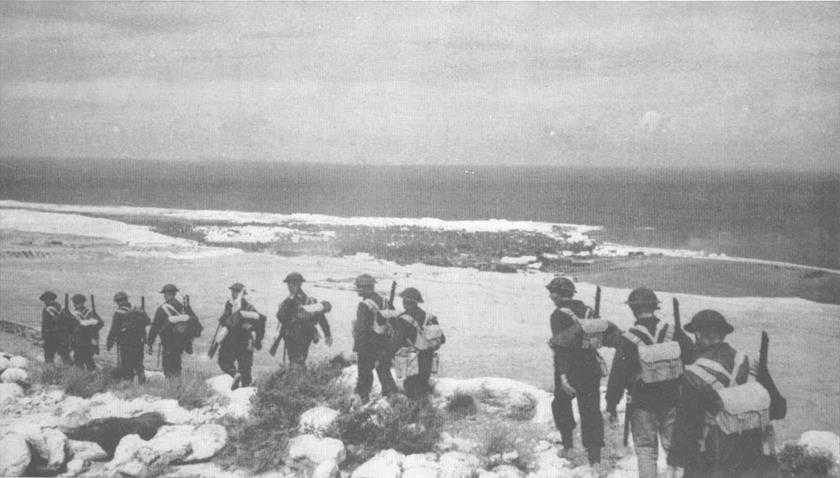
Australian infantrymen on the heights overlooking Tobruk harbour from the south, 22nd January 1941. (Australian War Memorial)
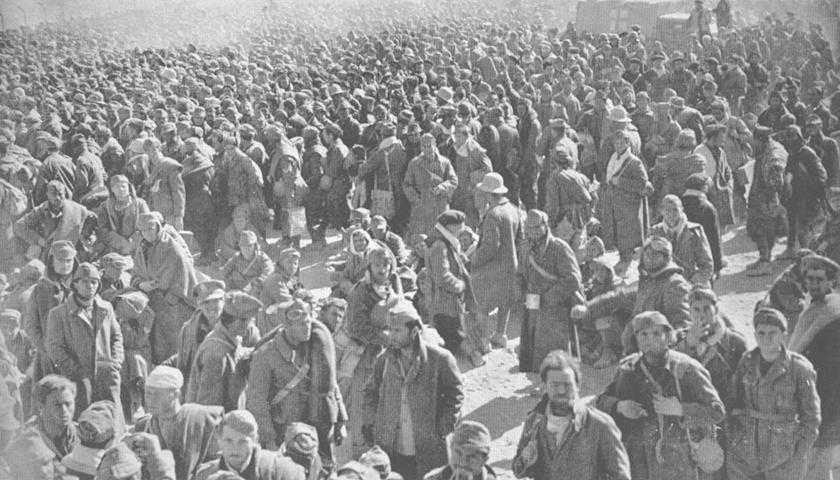
Some of the prisoners captured at Tobruk. Part of the wire surrounding the cage can be seen in the background. (Australian War Memorial)
Australian troops approaching Derna, January 1941. (Australian War Memorial)
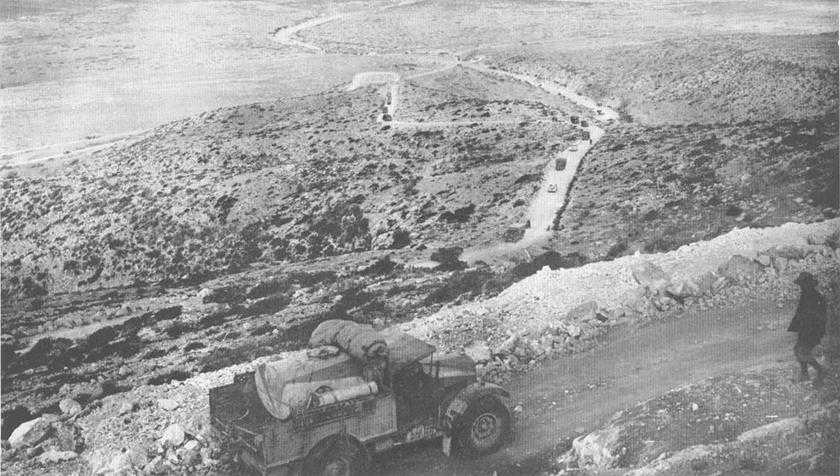
The road winding up the escarpment from Derna into the Jebel Achdar, 5th February 1941. (Imperial War Museum)
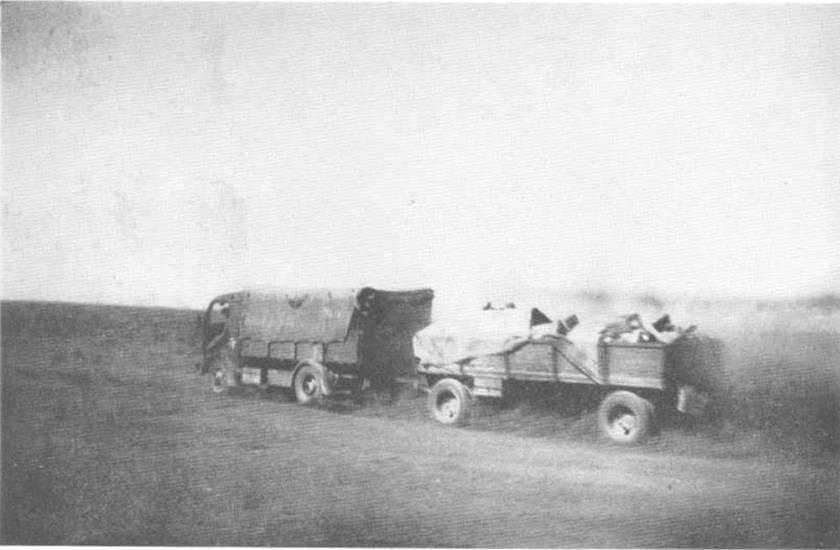
Desert near Wadi Derna (17th Brigade): Captured Italian trucks and trailers were used on the desert supply lines. (Author)
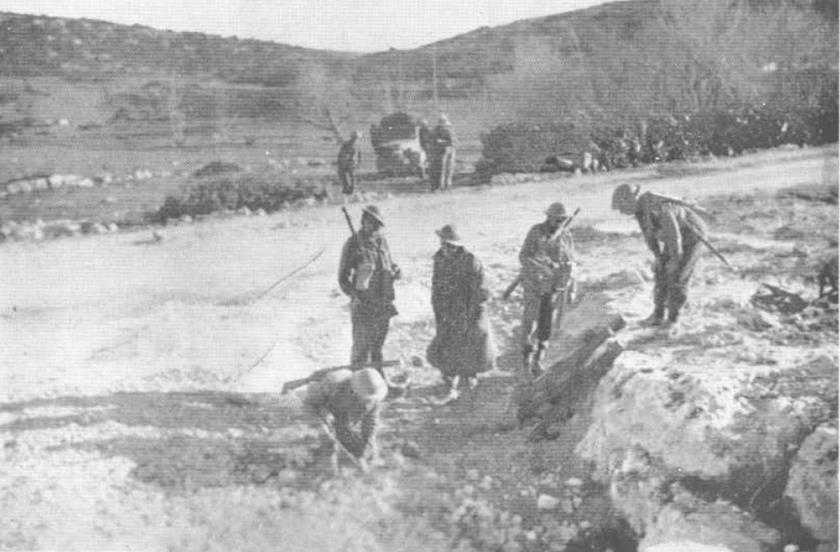
Beyond Derna (19th Brigade): An engineer probing for anti-tank mines before the vehicles move through. (Author)
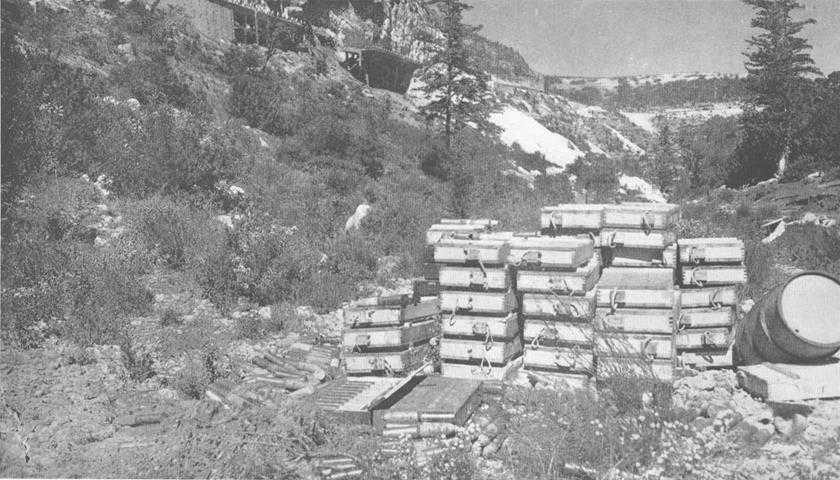
A small ammunition dump abandoned by the retreating Italians near the Wadi Cuff

Looking down from a hill near Barce over the Italian colonial settlements
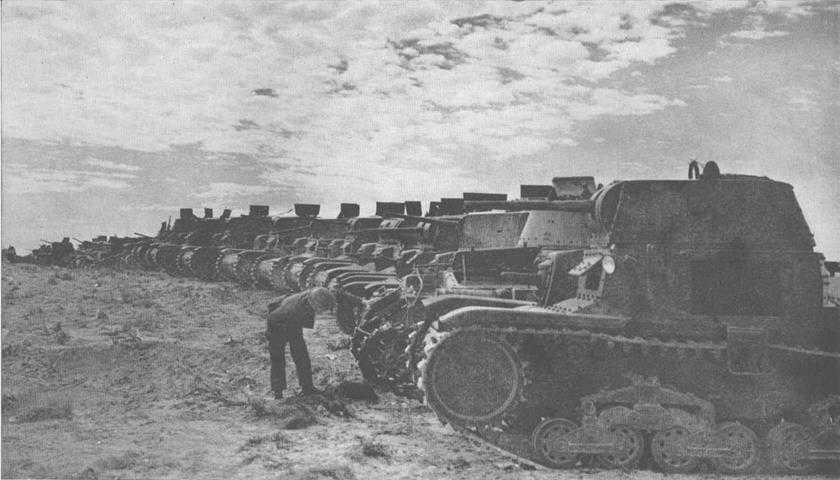
Italian tanks captured at the battle of Beda Fomm, February 1941. (Imperial War Museum)
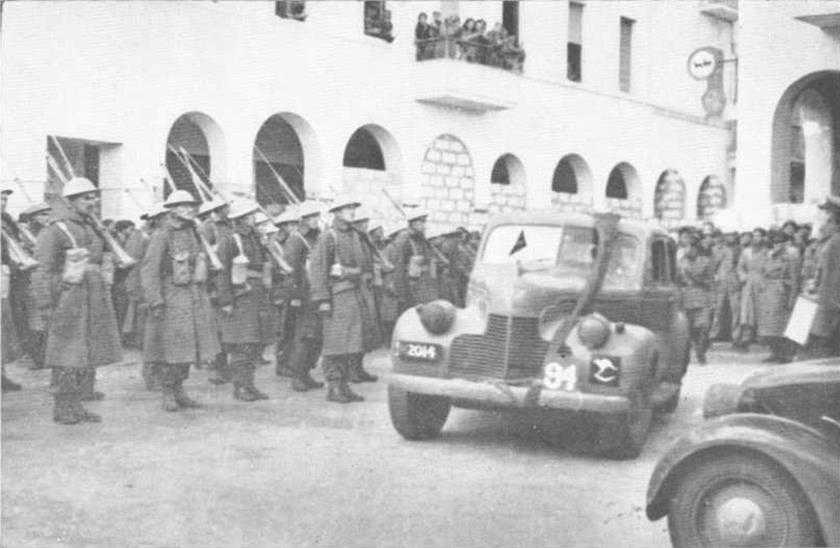
The ceremony at the handing over of the city of Benghazi, 7th February 1941.
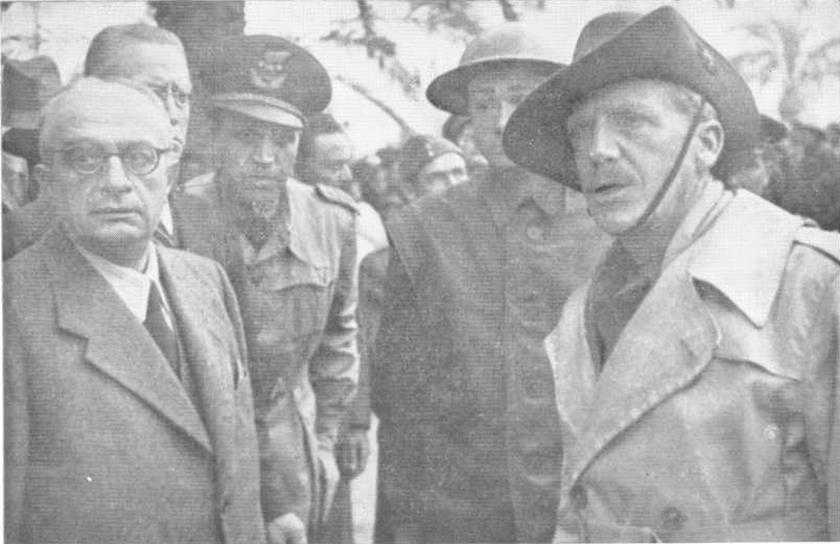
Brigadier H. C. H. Robertson meeting the local dignitaries. Left to right: The Mayor, the local carabinieri commander, an interpreter, and the Australian commander. (Australian War Memorial)
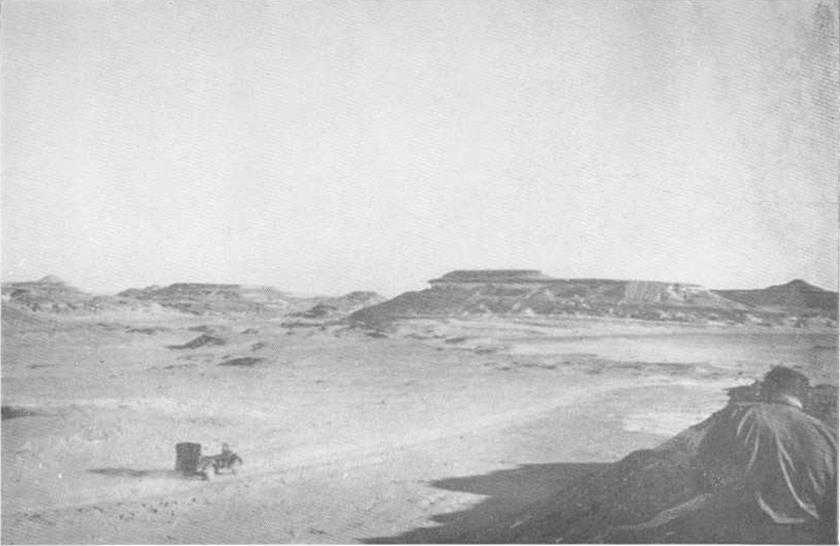
Gateway to Siwa, where the track drops into the depression that stretches from Siwa to Giarabub. (Author)
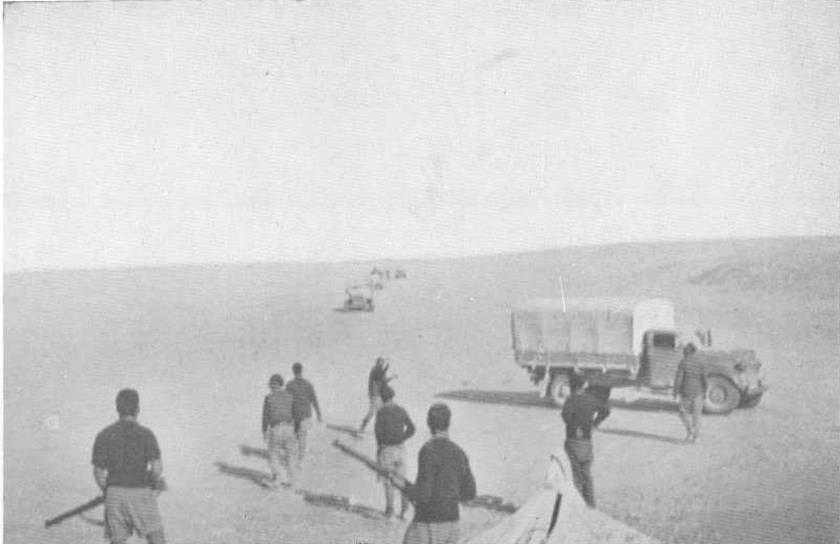
A convoy bringing supplies across the desert from Siwa to troops outside Giarabub. (Author)
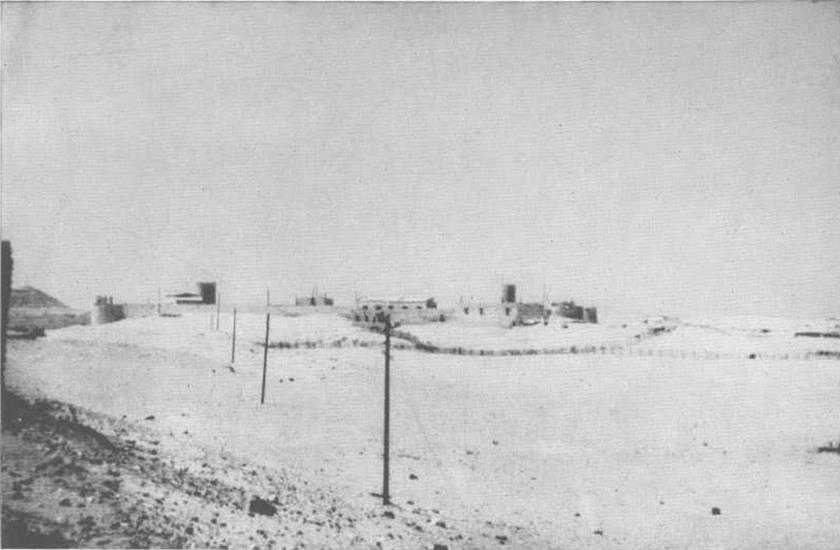
The fort of Giarabub. (Australian War Memorial)
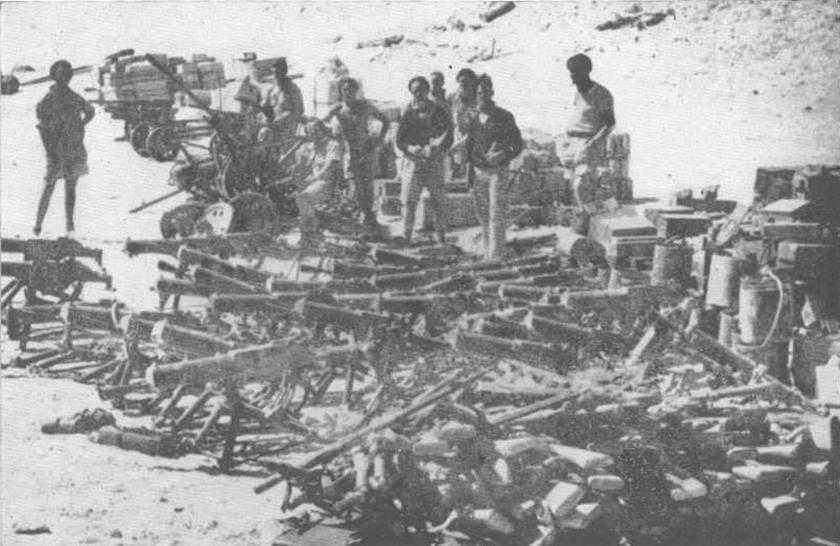
Machine-guns and rifles captured at Giarabub, March 1941.

At Barraca, February 1941. Left to right: Col G. A. Vasey; Maj G. H. O’Brien; Brig J. Harding (BGS XIII Corps); Lt-Col L. C. Lucas; Lt-Col N. B. Loveridge; Brig E. F. Herring; Copt R. R. Vial; Maj I. R. Campbell (partly obscured); Lt-Gen R. O’Connor; his ADC; Maj-Gen I. G. Mackay; Brig S. G. Savige; Col H. C. Dither; Brig H. C. H. Robertson; Maj R. K. Anderson; Col C. E. Prior. (Australian War Memorial)
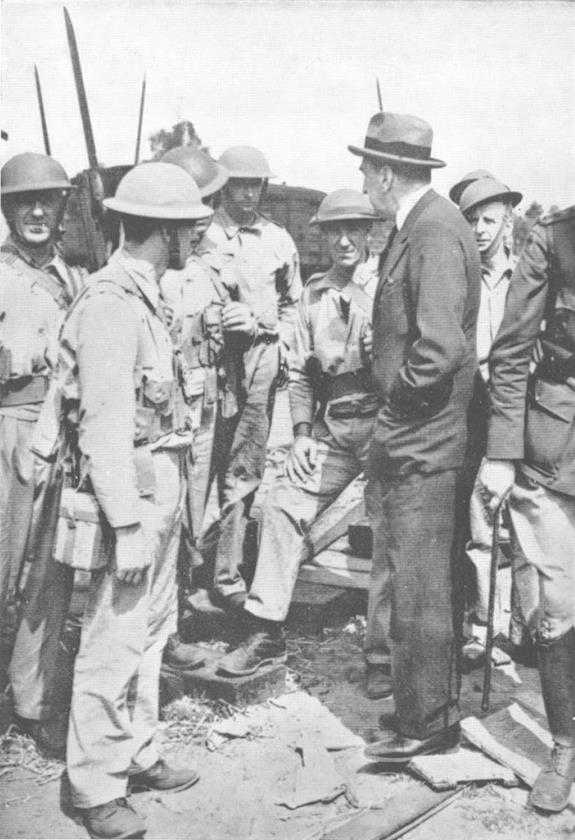
The Australian High Commissioner, Mr S. M. Bruce, with Australian troops in England, August 1940 (British Ministry of Information)
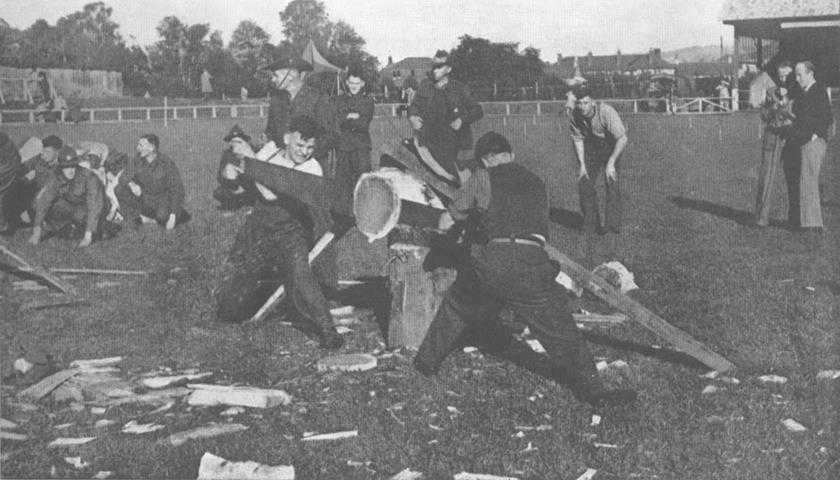
A scene at Dumfries, Scotland, in 1943, during the annual axemanship and sawing competition between New Zealand and Australian foresters in the United Kingdom. (Lt-Col C. R. Cole)
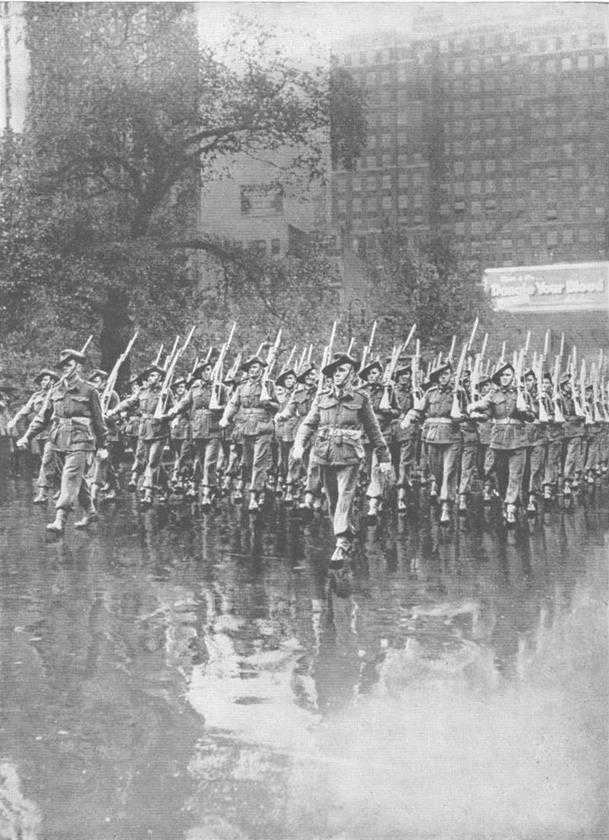
A march through New York by 600 Australian foresters on their way back from the United Kingdom, September 1943. (ACME)