Illustrations
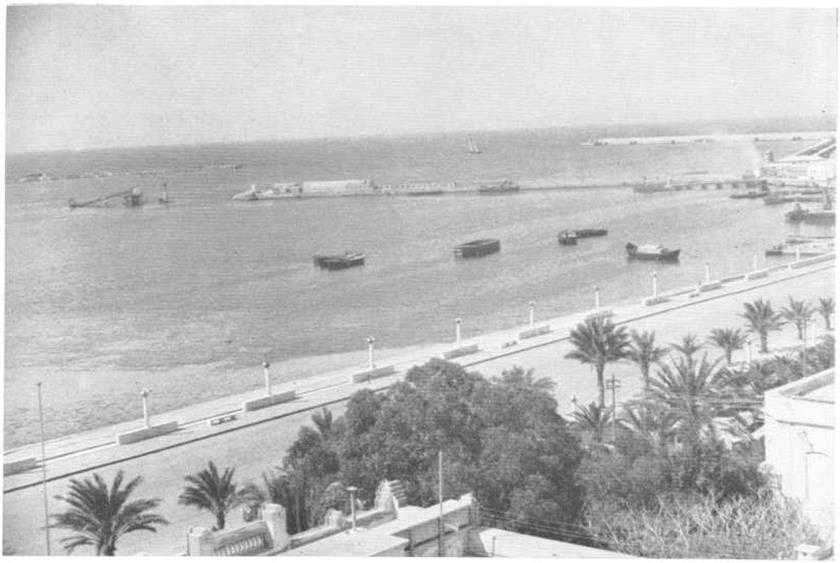
The harbour at Benghazi with the Outer Mole in the right background (Australian War Memorial)
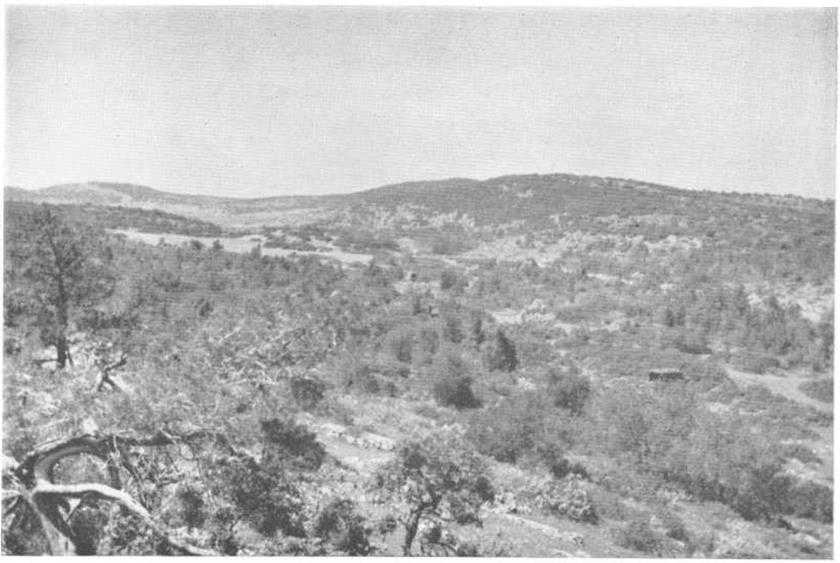
The valley in which 26th Brigade headquarters was established on 4th April 1941. Barce is situated on the plain in the left background. The 2/48th Battalion and a company of the 2 ‘23rd held positions on high ground in the left middle distance. The 1/Royal Northumberland Fusiliers occupied the high ground to the right. (Capt J. S. Cumpston)
Tobruk port and town looking South-west, April 1941 (Australian War Memorial)
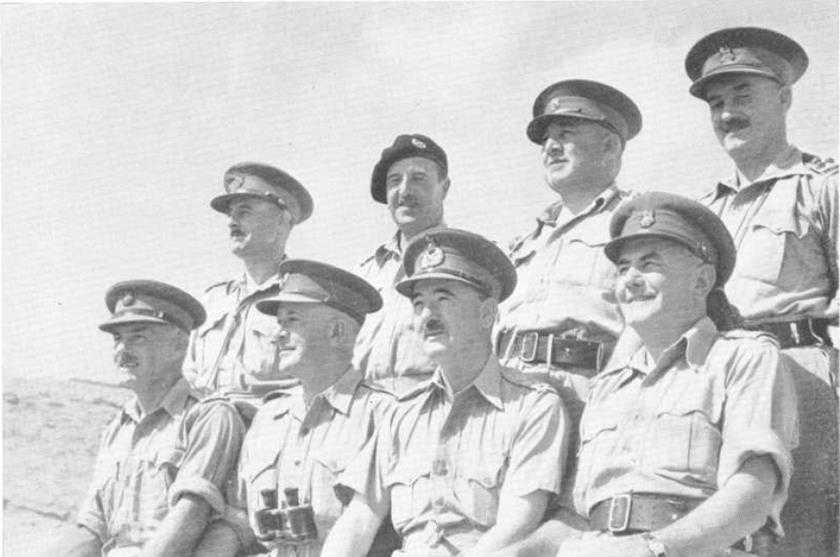
Major-General L. J. Morshead and his senior commanders at Tobruk. Left to right: standing, Brigadier J. N. Slater, Colonel R. C. Keller, Brigadiers G. F. Wootten and A. H. L. Godfrey; seated. Brigadiers L. F. Thompson and R. W. Tovell, General Morshead and Brigadier J. I. Murray. (Australian War Memorial)
Headquarters 2 /24th Battalion at Tobruk. 13th April 1941. Major C. G. Weir (extreme left) and Lieutenant J. T. Brock (at telephone). (Capt J. S. Cumpston)
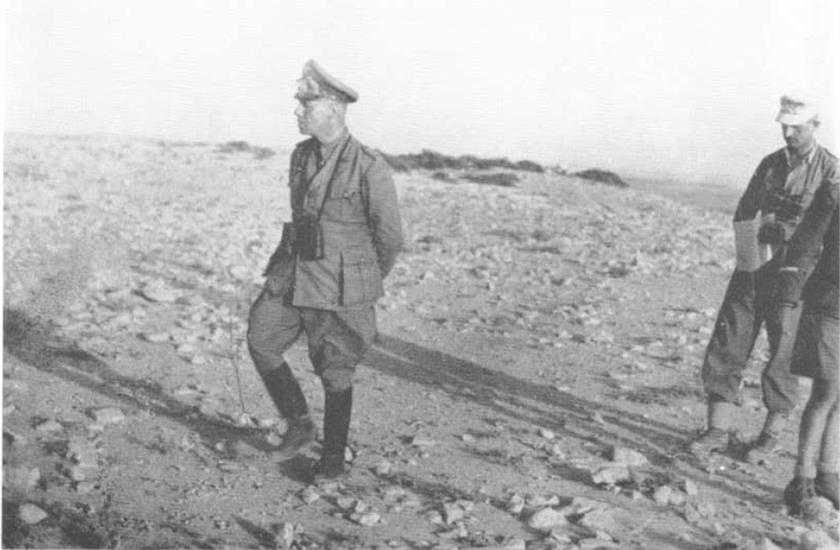
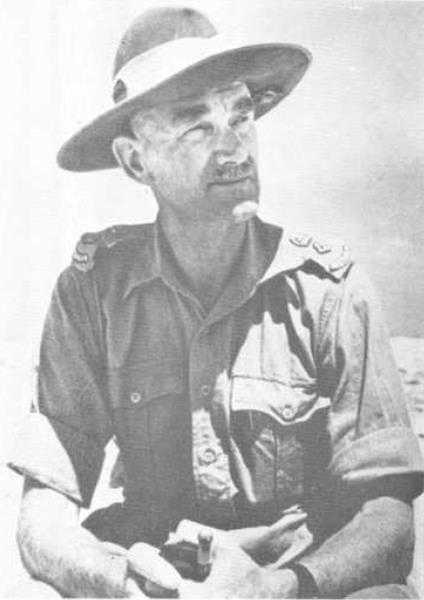
Rommel in the Western Desert (Luce)
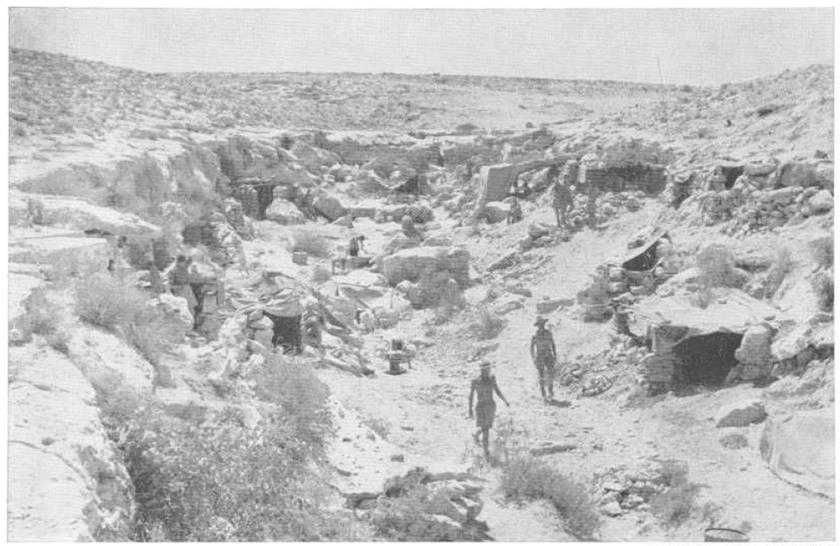
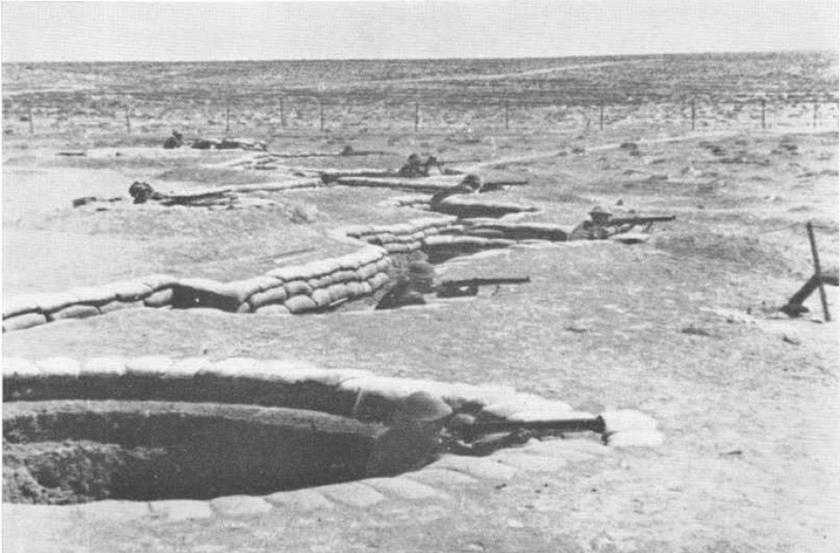
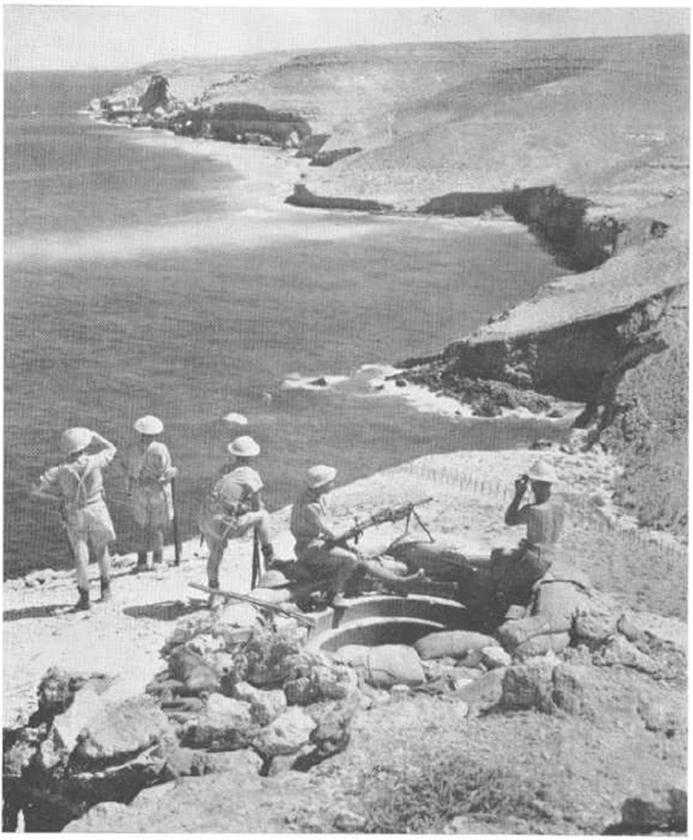
Looking across to the Derna Road from Post S17 near the head of the Wadi Sehel. (K Gillam Collection)
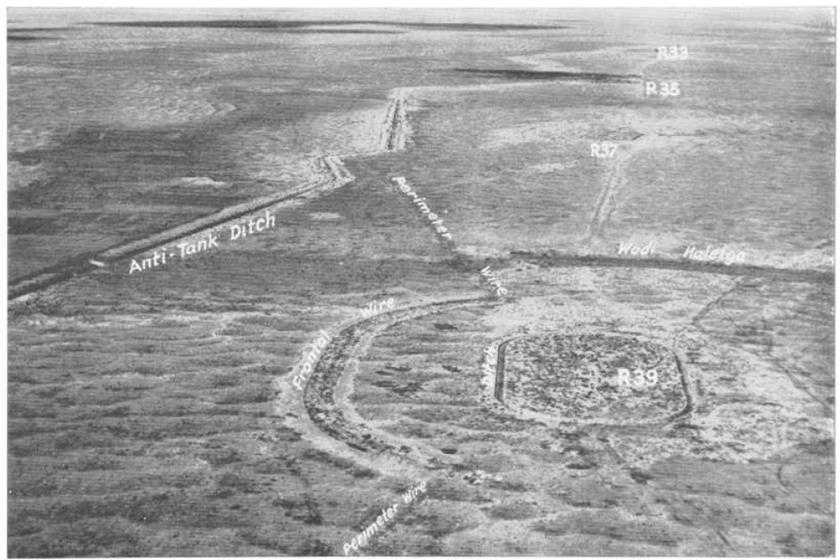
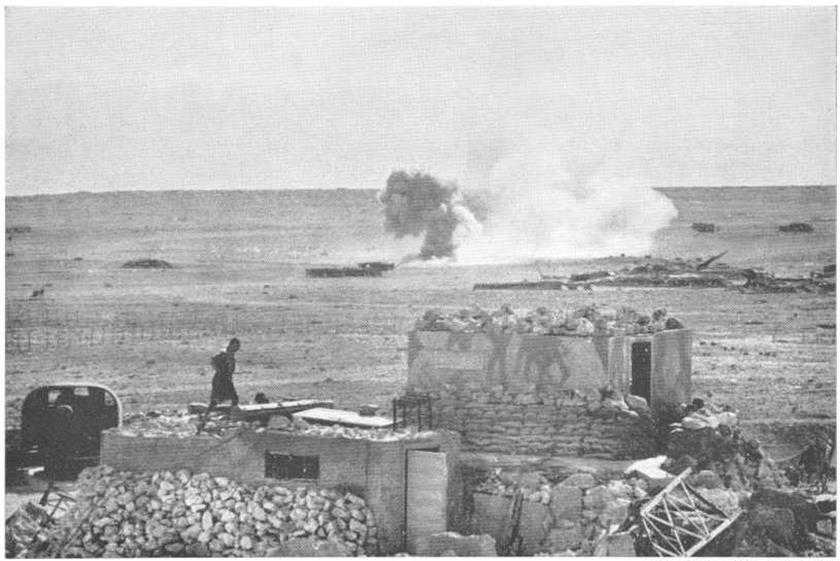
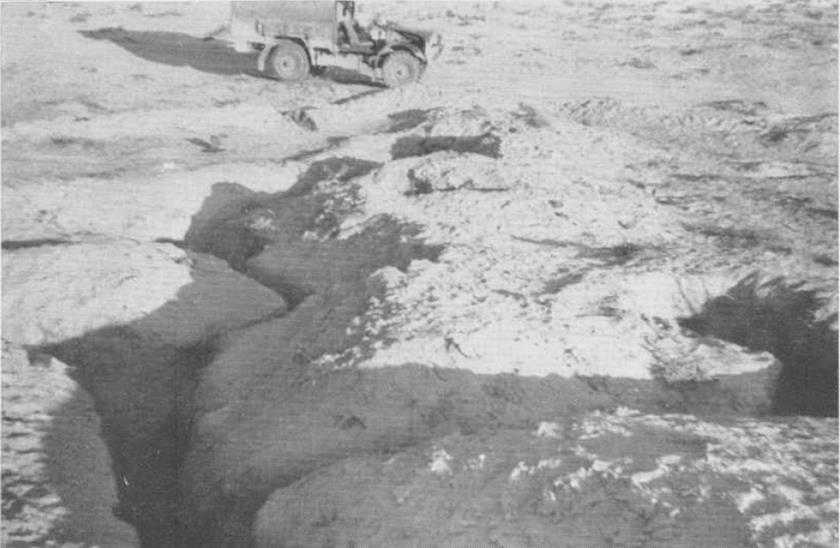
A post-war photograph of Post R39 in the southern sector. The perimeter defences between R33 and R35 (then held by the 2/17th Battalion) were breached by the Germans in the Easter attack on Tobruk.
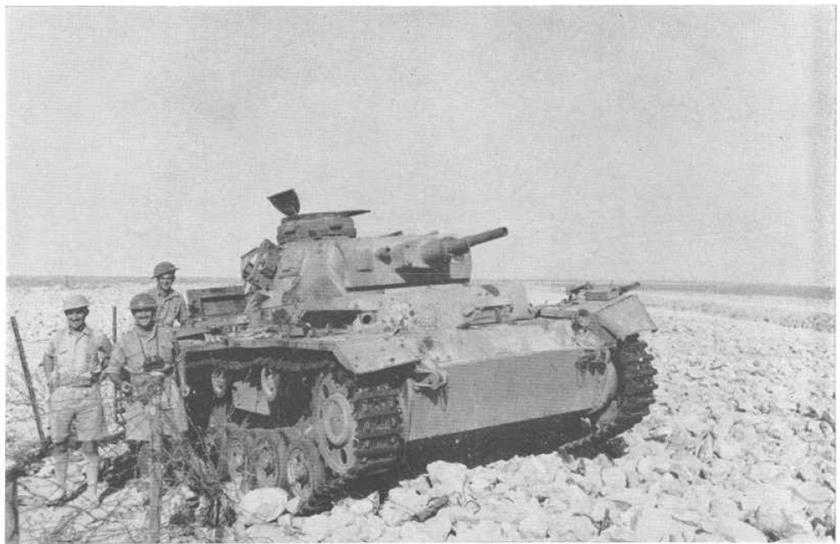
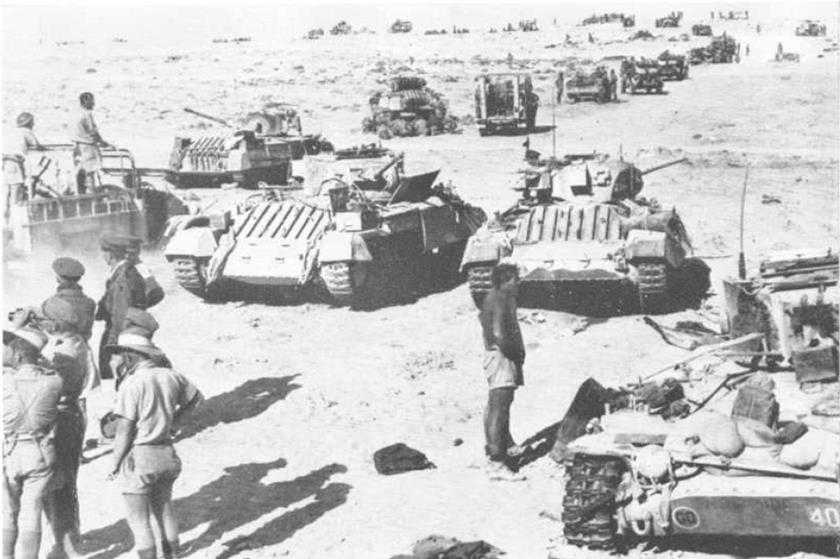
Lieut-Colonel J. W. Crawford (centre), commanding the 2/17th Battalion, beside a German tank knocked out during the Easter attacks.
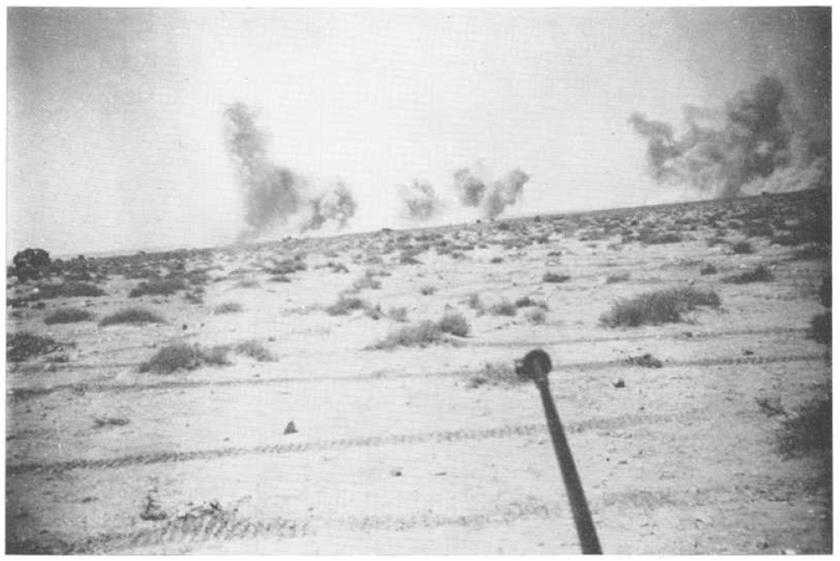
The German dive-bombing attack on the 2/24th Battalion’s positions before the enemy assault on 30th April-1st May 1941, as seen from a carrier of the 2/48th Battalion. In the foreground is the barrel of a Hayes [Boys??] anti-tank rifle mounted on the carrier.
Headquarters of the 2/23rd Battalion, at the head of the Wadi Giaida, in the Salient sector. (Australian War Memorial)
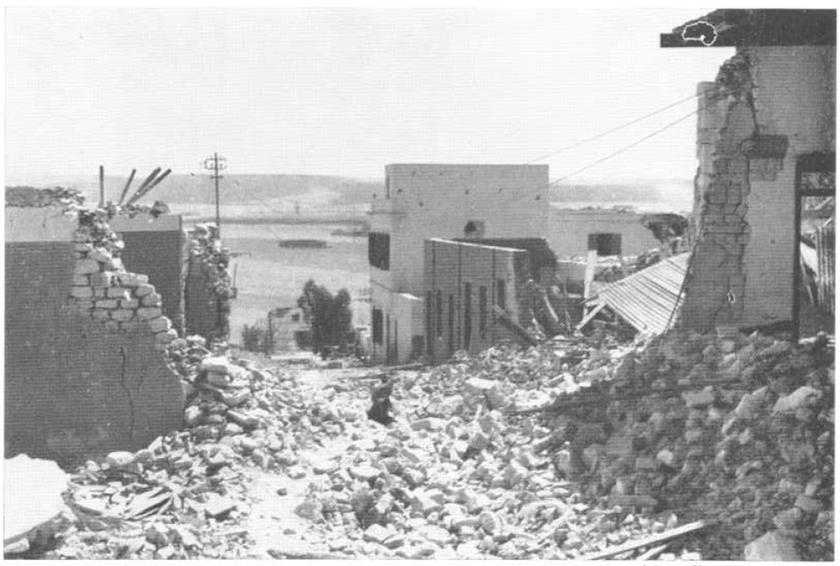
A rubble-littered street in Tobruk port. (Australian War Memorial)
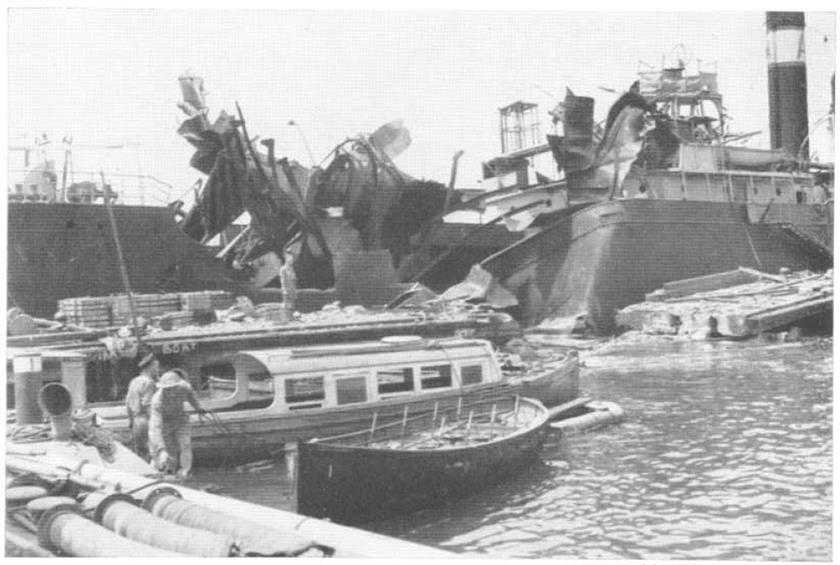
A bomb-damaged ship in Tobruk Harbour. (Australian War Memorial)

The “bush artillery” of the 2/17th Battalion in action with a captured Italian 75-mm field gun. (Australian War Memorial)
A gun position of the 8th Battery, 3rd Australian light Anti-Aircraft Regiment, alongsidc the remains of a Stuka dive bomber at Tobruk. (Australian War Memorial)
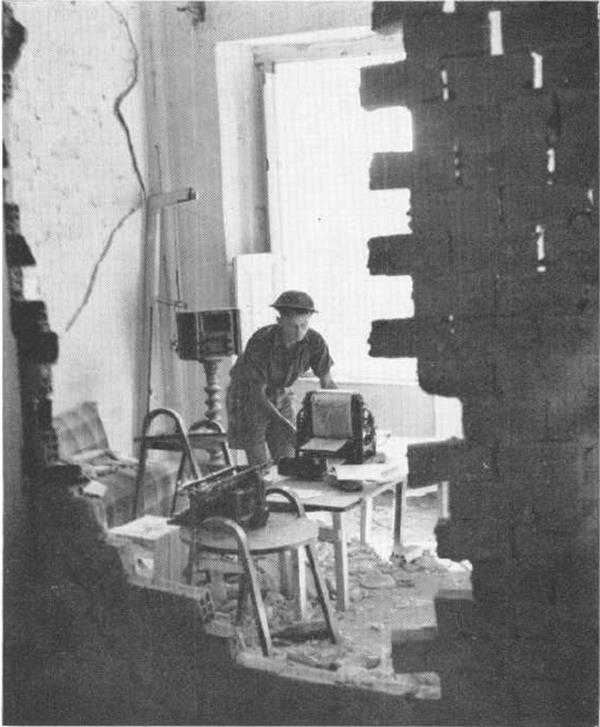
The printing press of Tobruk Truth which gave the garrison authentic news throughout the siege. (Australian War Memorial)
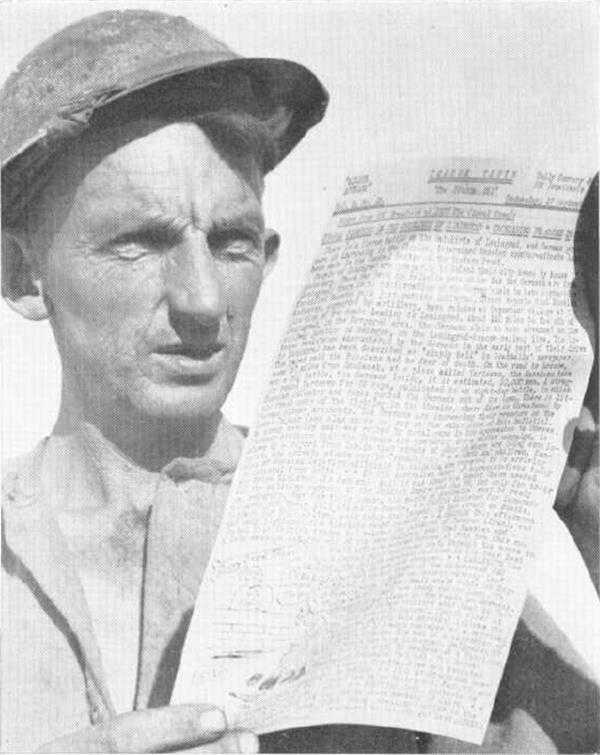
An Australian soldier reading a copy of Tobruk Truth. (Australian War Memorial)
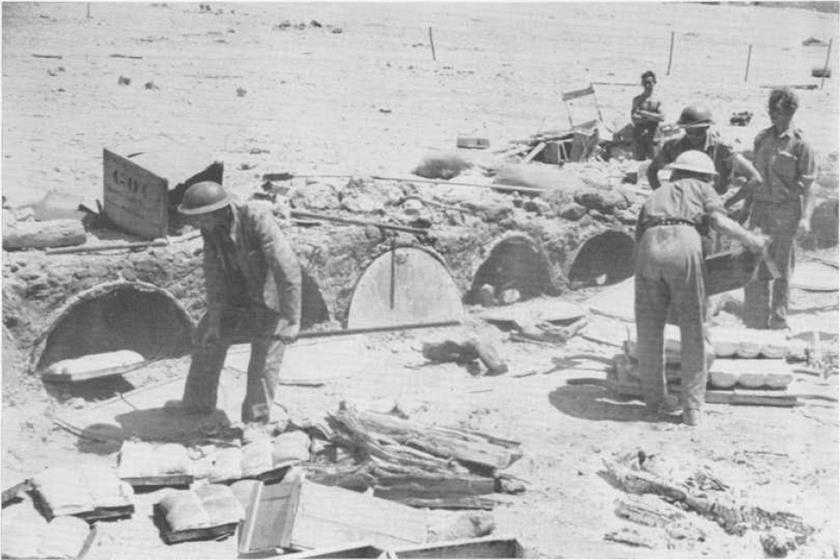
“Aldershot” ovens helped to keep the troops in Tobruk supplied with bread. (Australian War Memorial)
Drawing water from a well in Tobruk. (Australian War Memorial)

Loading stores and rations at a 9th Divisional AASC supply depot. Note dispersion of supplies to minimise damage from air attack. (Australian War Memorial)
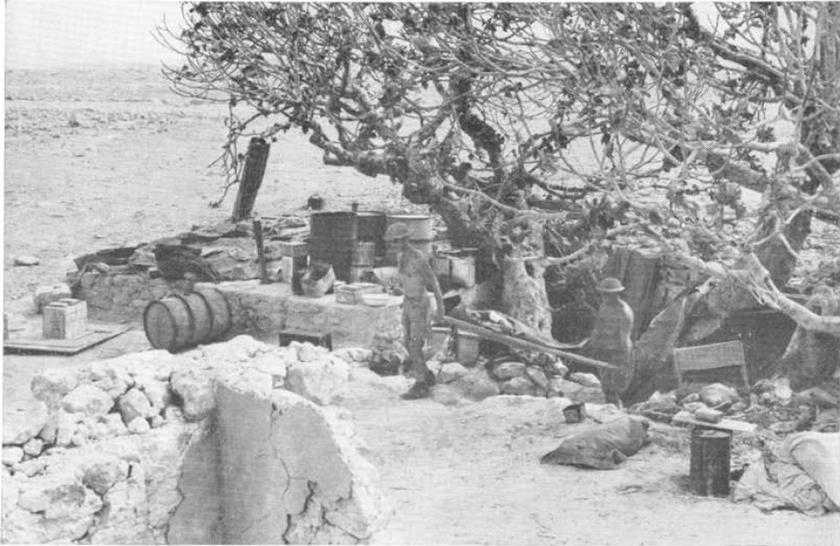
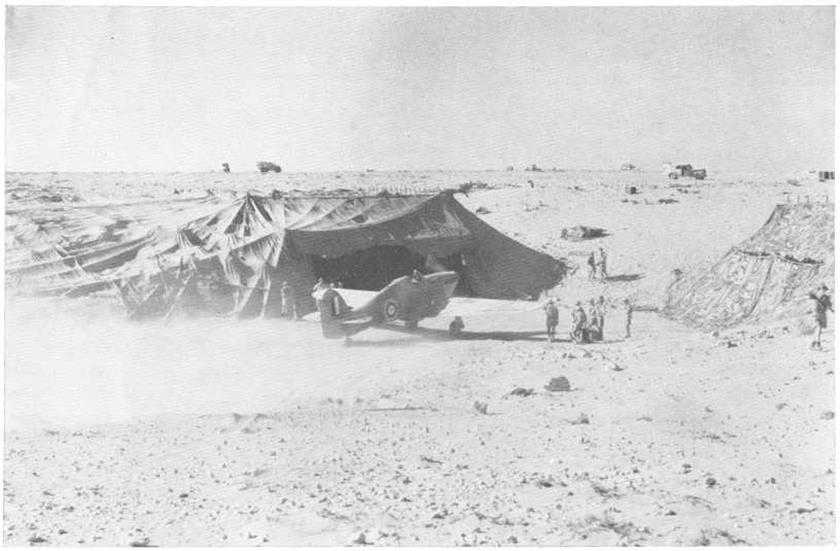
A camouflaged headquarters at Tobruk, looking north-west across the plain towards the Derna Road.
The “Garden of Eden” and a ration truck of the 2/ 13th Battalion after attracting enemy artillery fire. What appear to be bushes are the tops of fig-trees growing in a cavity around a well. (Maj O. M. Walsoe)
Post R25, just forward of the “Garden of Eden”. manned by the 2/ 13th Battalion. (Maj O. M. Walsoe)
Men of "B" Company, 2/13th Battalion, in Post R8 on the morning of 28th May 1941. This photograph was taken during a truce to allow the Germans, assisted by Australians, to recover their dead and wounded after attempts the previous night to take positions occupie d by the 2/13th . In the background are the White House and a burnt-out "I" tank and beyond them the enemy-occupied R7 (H.J . Ferres)
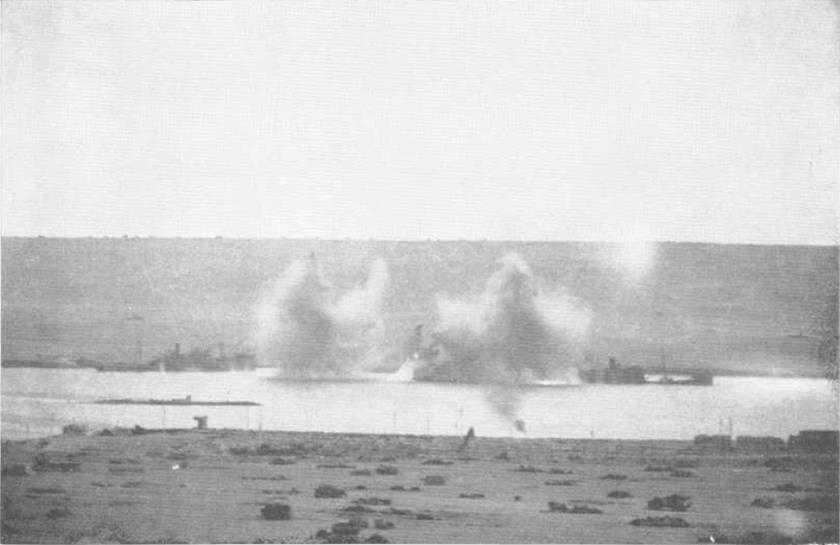
Bombs bursting among shipping in Tobruk Harbour, August 1941 (Australian War Memorial)
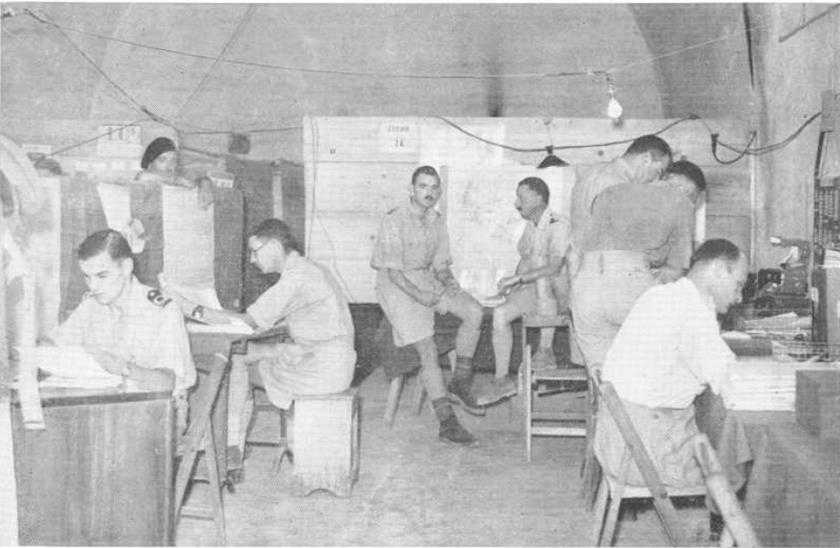
Underground headquarters of the 9th Division at Tobruk, August 1941 . Left to right: Lieutenant P. H. Bayley, R .N ., Colonel R. C. Keller (commanding the 3rd Armoured Brigade) , Captains S . H. Good and L. K. Shave, Major T. W. White, Colonel C. E. M . Lloyd, Captain s H. K . Oxley and F . E . C . Loxton (Australian War Memorial )
The Figtree, a leafy landmark growing over a deep cavern, was used as a regimental aid post by the battalion occupying the western sector (Australian War Memorial)
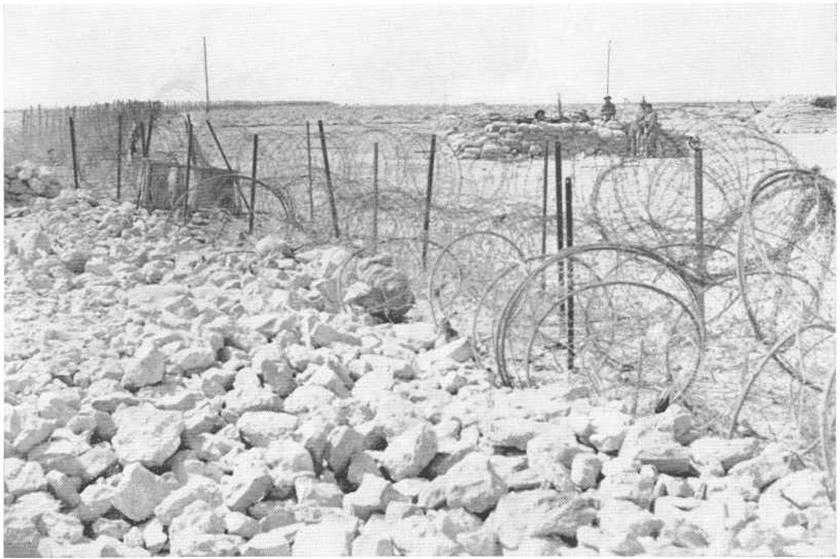
Sandbagged sangars close to and to the east of the El Adem Road, Tobruk. 1941
Shells from the enemy Long-range gun, known to the Tobruk garrison as “Bardia Bill”, falling near anti-aircraft positions close to the town. (Australian War Memorial)
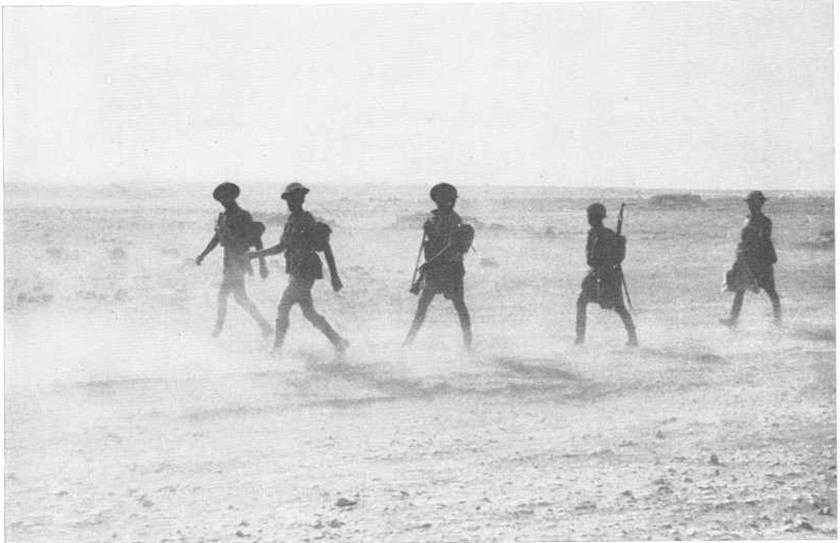
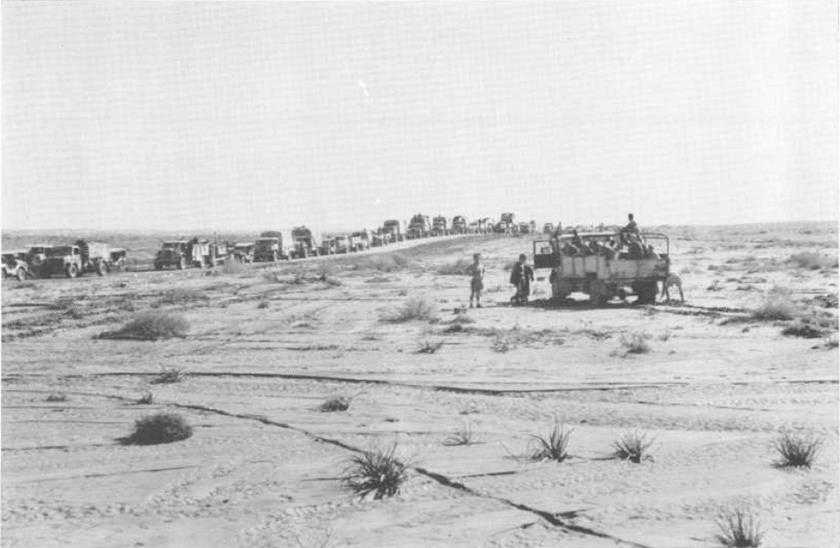
A section of Australian troops on the move at Tobruk. (Australian War Memorial)
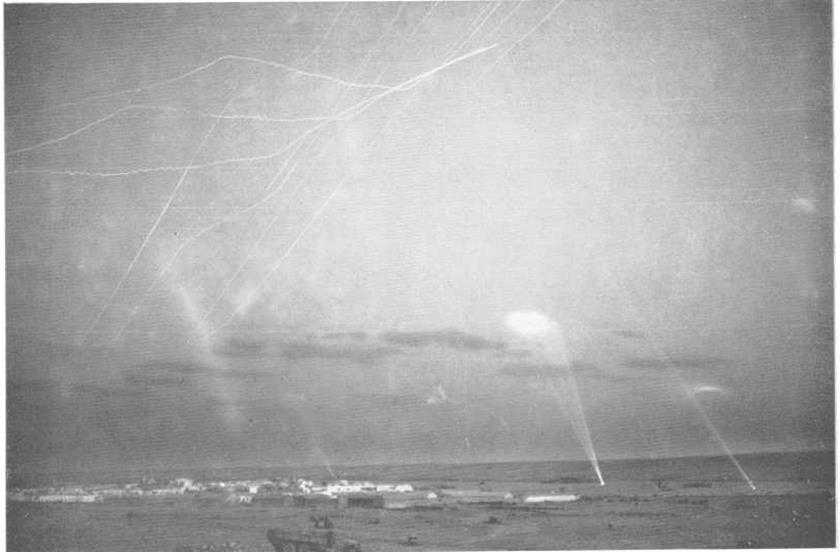
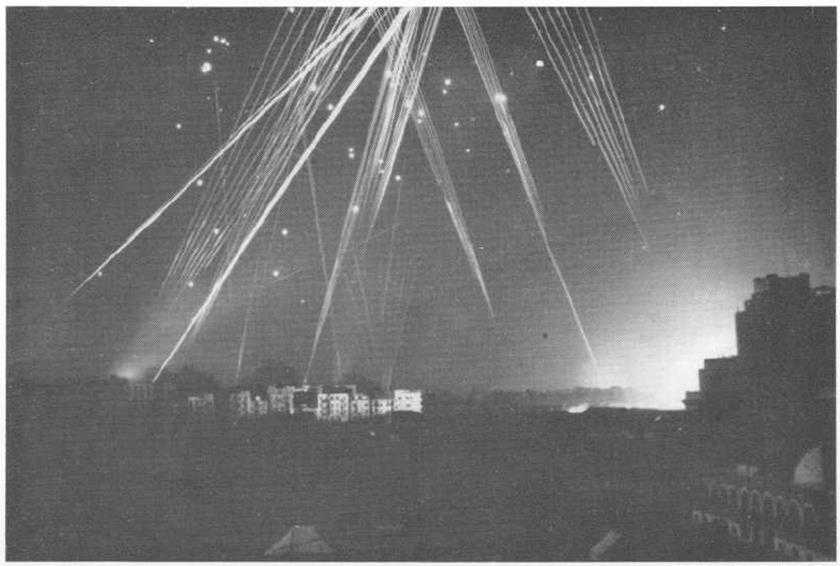
Night air raid on Tobruk, September 1941. (Australian War Memorial
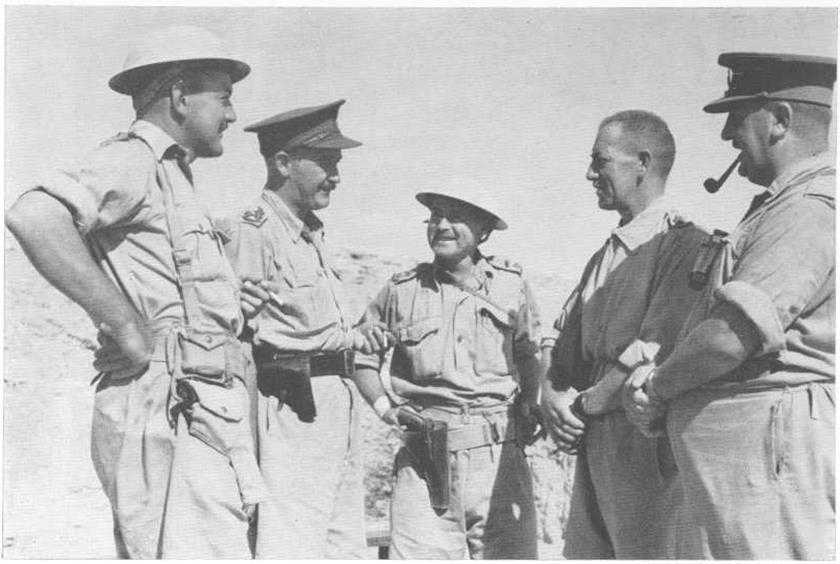
Brigadier J. J. Murray, commanding the 20th Brigade, with his battalion commanders at Tobruk. September 1941. Left to right: Lieut-Colonels J. W. Crawford 2/ 17th ). H. W. Ogle (2/15th), F. A. Burrows (2/131111; and Brigadier Murray. (Australian War Memorial)
Men of the 9th Divisional AASC manning Post Z84 near the mouth of the Wadi Zeitun on the eastern perimeter. (Australian War Memorial
Brigadier A. H. L, Godfrey, commanding the 24th Brigade, with his battalion commanders at Tobruk, September 1941. Left to right: Lieut-Colonel T. M. Conroy (2/32ndz1, Brigadier Godfrey. Lieut-Colonels W. W. Crain 12/43zrd). and J. E. Lloyd (2 28th 1. On the right is Lieut-Colonel A. G. Matthew, commanding the 104th RHA. (Australian War Memorial)
Camouflaged hangars constructed by 9th Divisional Engineers at El Gubbi. September 1941
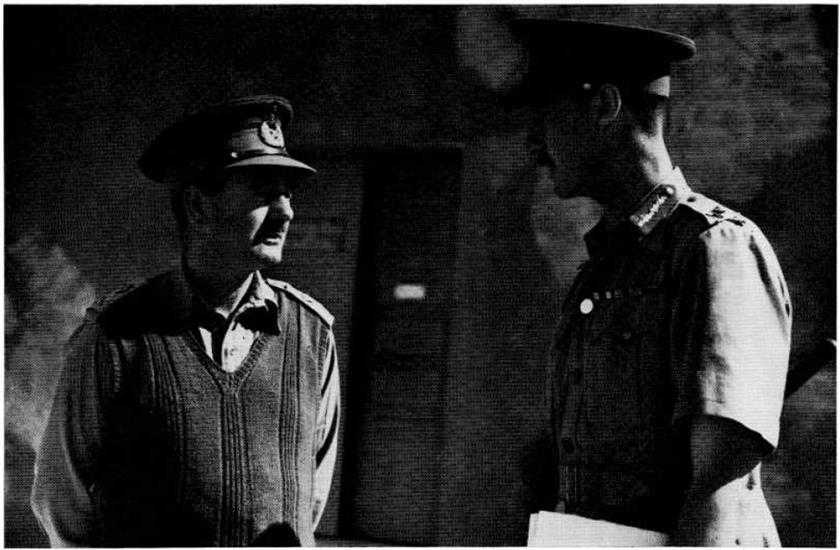
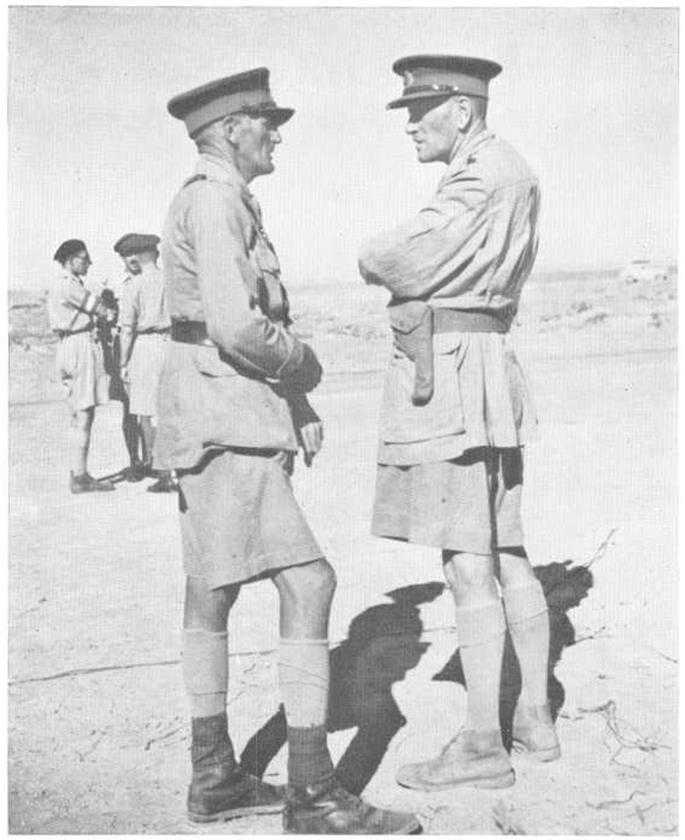
Major-General L. J. Morshead, G.O.C. 9th Division (left), with the new commander of Tobruk fortress, Major-General R. MacK. Scobie, shortly before the Australians moved out. (Australian War Memorial )
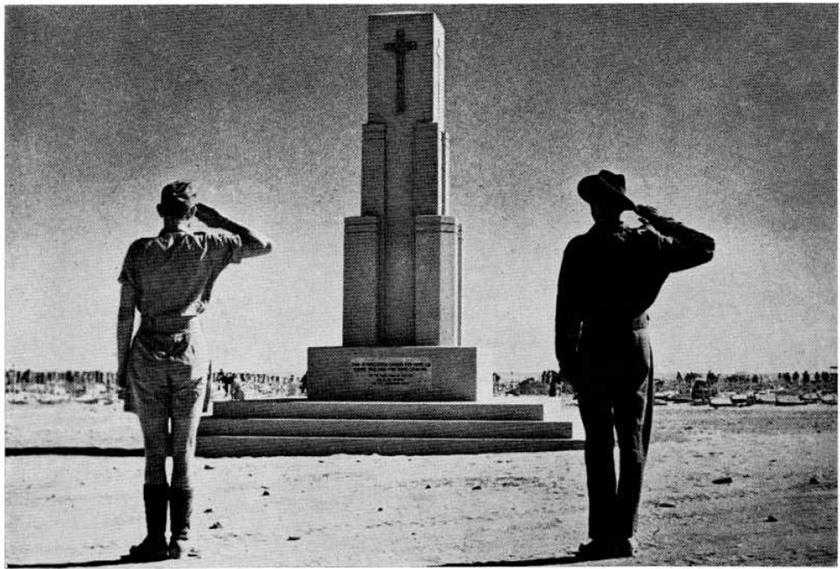
The salute after the ceremony at which General Morshead unveiled the memorial at the Tobruk War Cemetery. Designed by Lance-Corporal R. L. Sands of the 2/4th Field Company, the memorial was constructed by the 214th and 2/3rd Field Companies in August-September 1941. After the war, because of signs of deterioration, the Commonwealth War Graves Commission erected a new monument with stone quarried from near the El Alamein Cemetery. (Australian War Memorial)
Australians fraternising with Poles at Tobruk. (Australian War Memorial)
Australian troops on a destroyer bound for Alexandria on 24th October 1941, after relief from Tobruk. In the background is HMS Jaguar, also transporting troops from Tobruk. (Imperial War Museum)
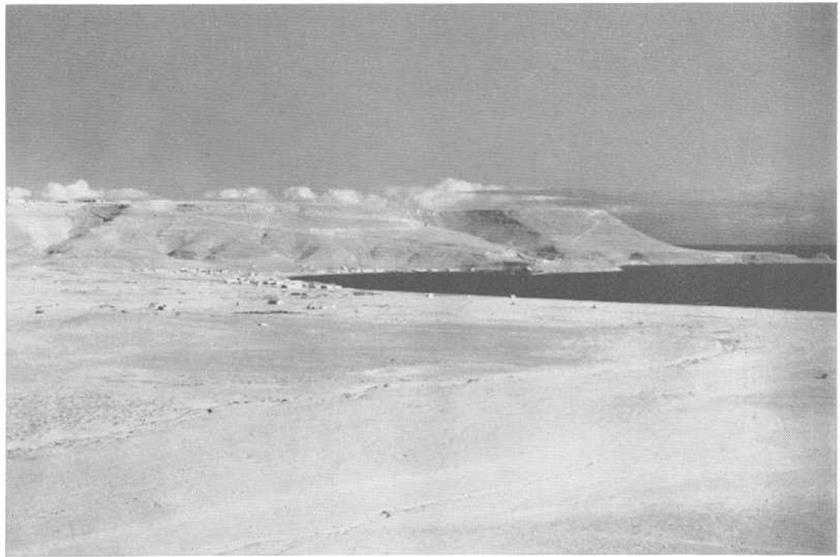
Salum bay and township. The road winds up the steep escarpment through Halfaya Pass to Saturn Barracks at top left. (Australian War Memorial)
Men of the 19th New Zealand Battalion and a Matilda of the 4th Royal Tank Regiment at Ed Duda after the link-up. (British Official)
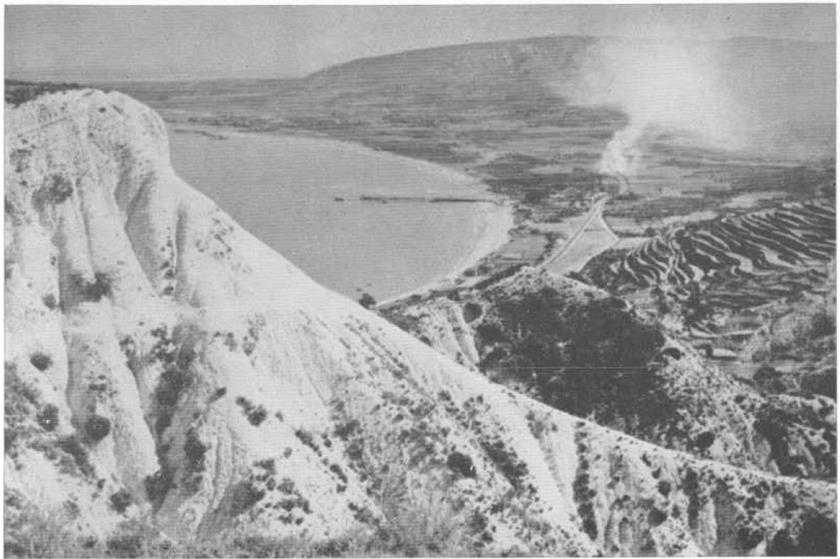
Looking towards Tripoli, Syria, from the plateau above the Chekka tunnel. Chekka village is in the valley in the middle distance. (Australian War Memorial)
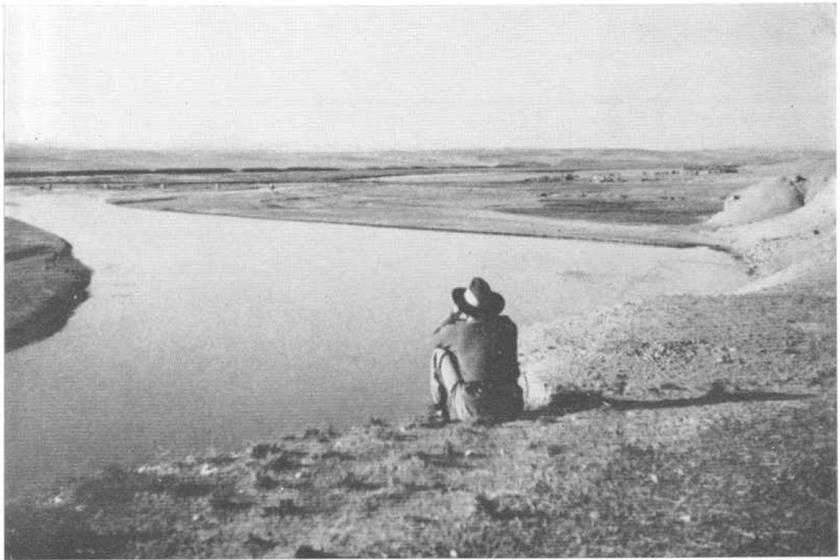
An Australian soldier looks across the border of northern Syria into Turkey at Djerablous where the Baghdad railway crosses the Euphrates River. (Capt M. D. Vincent)

In Syria at the time when the 9th Division was relieving the 7th Division. (Australian War Memorial)

The Nahr el Kelb in Syria, showing bridges under construction by the Australian Railway Construction and Maintenance Group. The bridge on the left is for rail traffic. the other for foot and vehicular use. (Imperial War Museum)
Crusader tanks of the 9th Divisional Cavalry Regiment at the Amiriya water-point on their way to the El Alamein front, July 1942. (Australian War Memorial)

British vehicles dispersed to minimise damage from air attack off the main coast road a few miles west of El Alamein, July 1942. (Australian War Memorial)
The railway cutting at Tel el Eisa, the scene of bitter fighting by the 2/23rd Battalion on 22nd July 1942. (Australian War Memorial)
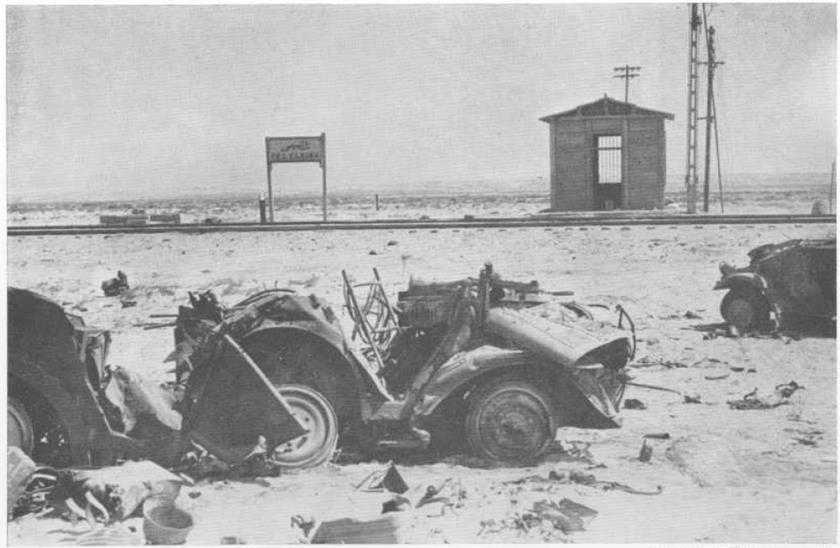
Tel el Eisa railway station. (Australian War Memorial)
On the night 14th–15th July 15 trucks approached “A” Company, 2148th Battalion, near the Tel el Eisa cutting. After a fight 7 trucks were destroyed. 32 Germans captured and arms and ammunition salvaged. Next morning the Australians found that six of the vehicles had black crosses painted on the sides and were flying white flags. The seventh was an ambulance. (Imperial War Museum)
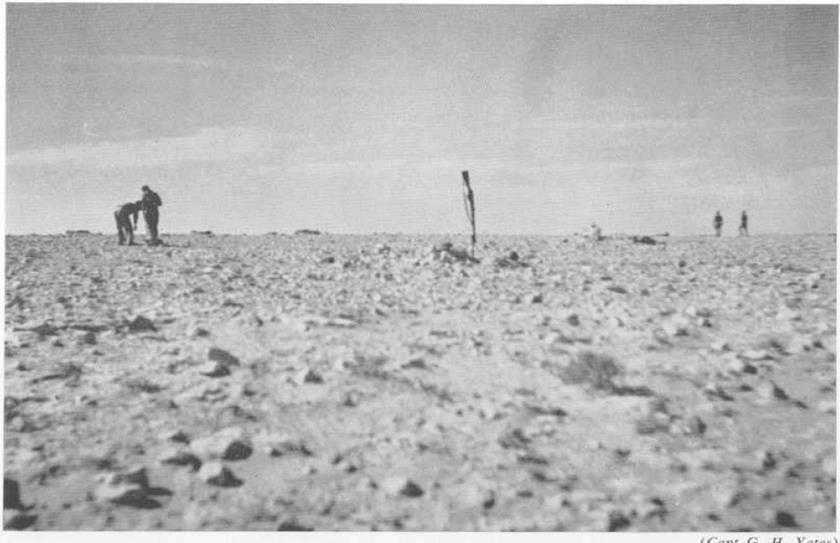
Members of the 2/28th Battalion searching for traces of men missing in the attack on Ruin Ridge in July 1942. This photograph was taken in November after the area had been recaptured. (Capt G. H. Yates)

Mr Winston Churchill in jovial mood as he emerges from the mess tent at 9th Division tactical headquarters with General Morshead during his visit to the Western Desert, 5th August 1942. (Australian War Memorial)
A 2/2nd Machine Gun Battalion position at El Alamein. August 1942
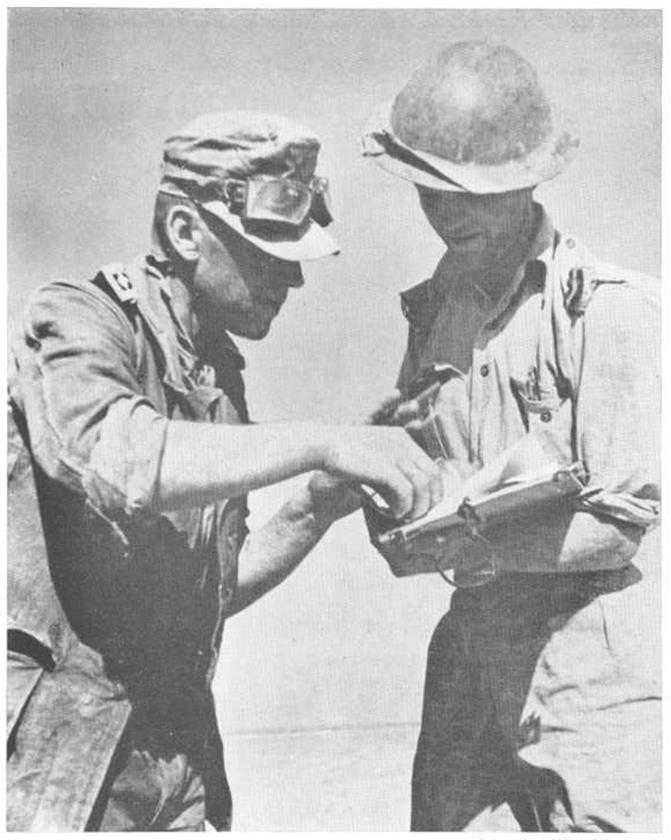
An Australian officer interrogating a German officer captured at El Alamein. July 1942
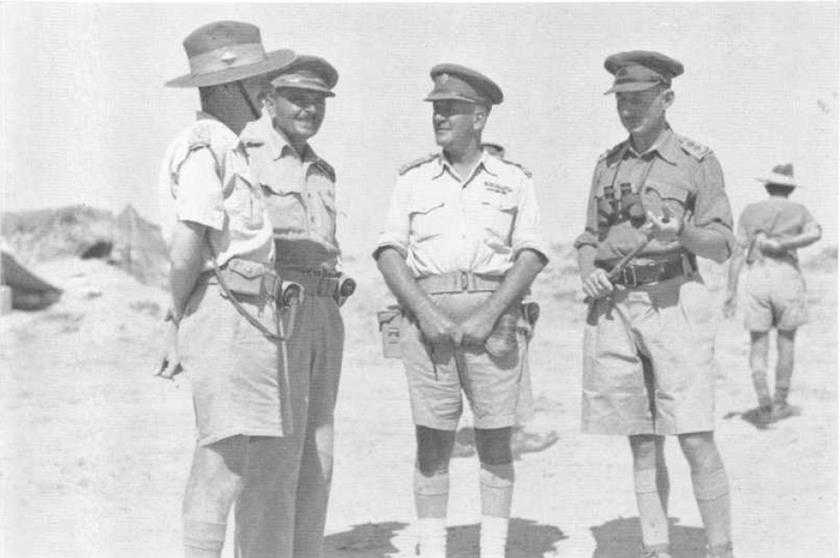
General Sir Claude Auchinleck. Commander-in-Chicf. Middle East(right), and Lieut-General W. H. C. Ramsden, commanding XXX Corps, awaiting the arrival of Mr Churchill at 9th Division Headquarters. 5th August 1942
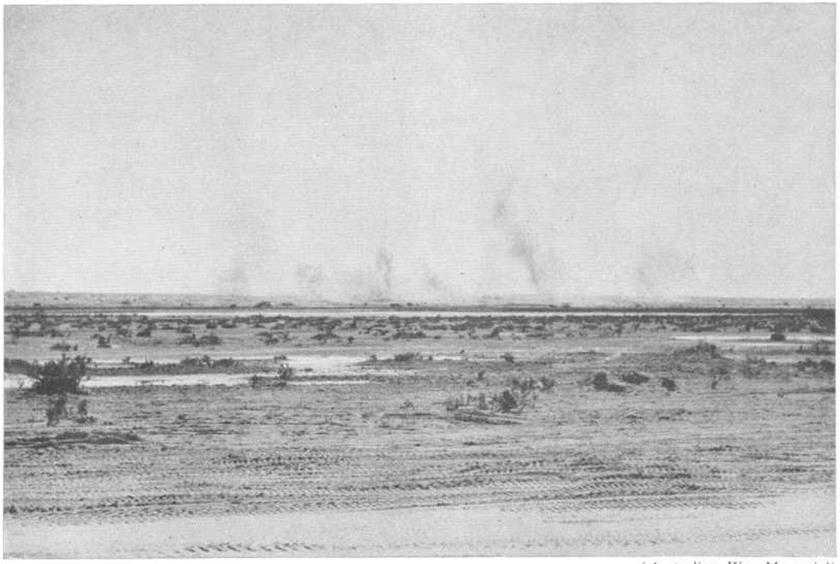
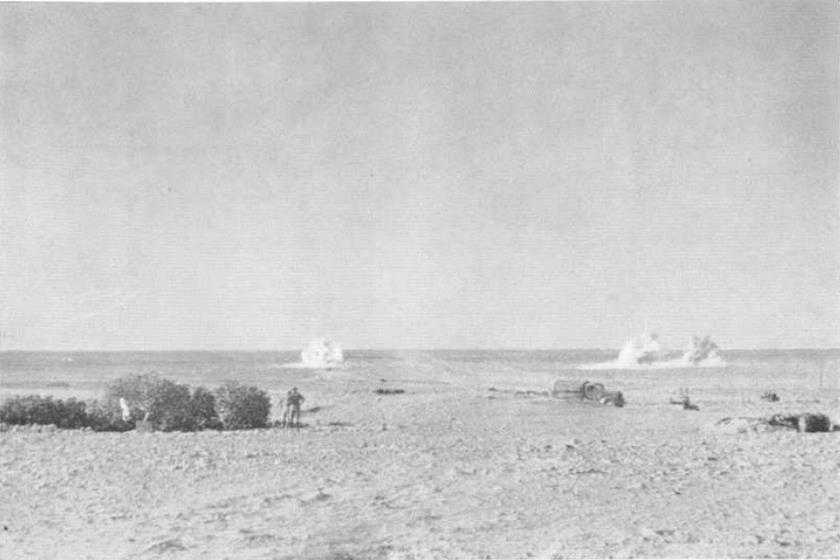
Bombs bursting along a ridge near the headquarters of the 9th Divisional Cavalry Regiment at El Alamein, 7th August 1942. (Australian War Memorial)
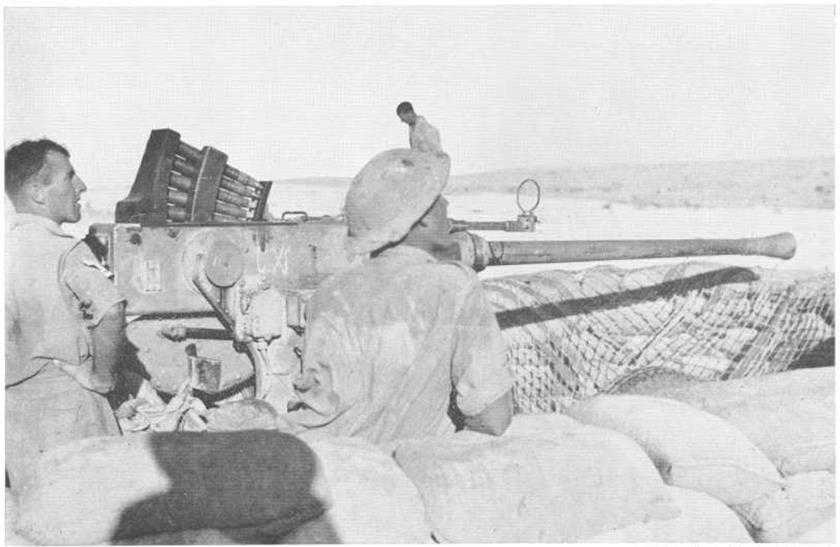
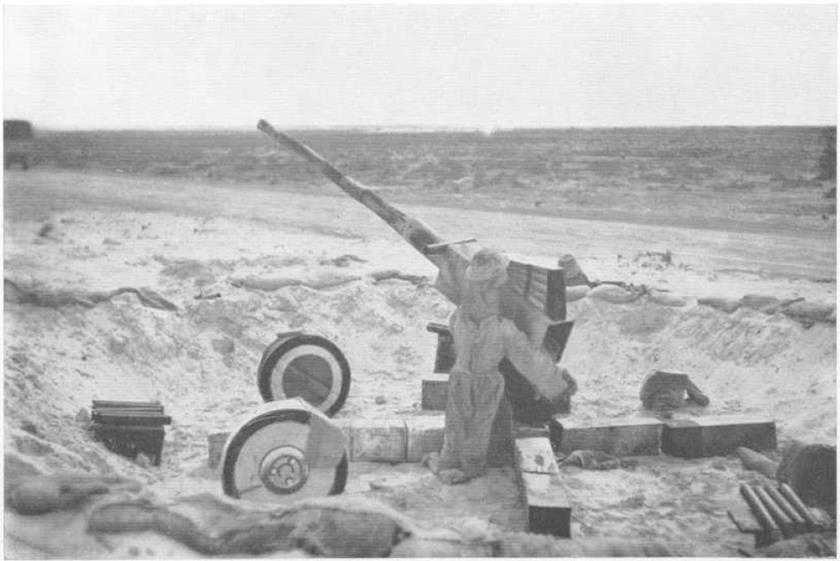
A Bofors gun crew of the 4th Light Anti-Aircraft Regiment in a sandbagged position at El Alamein, 8th August 1942. (Australian War Memorial)

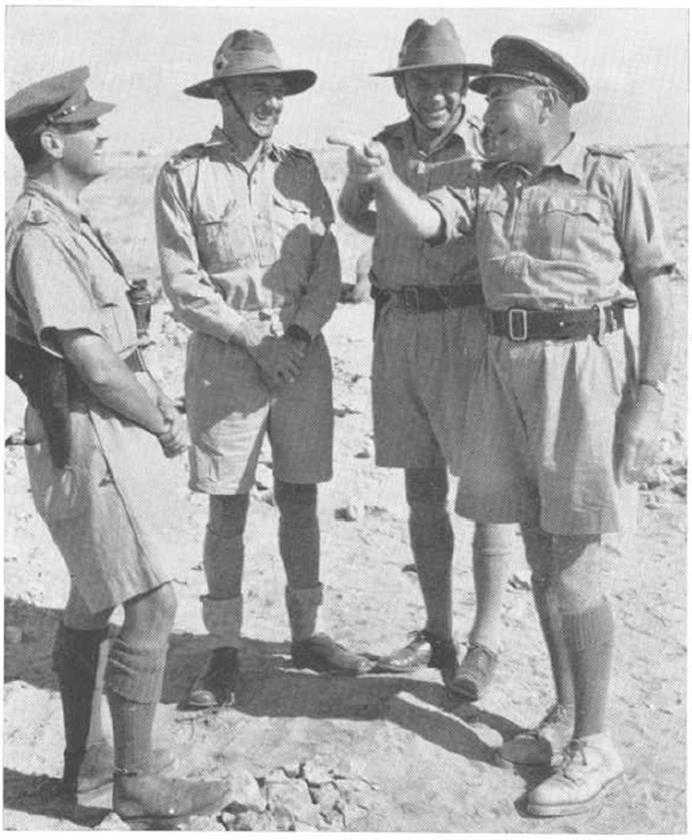
General Sir Harold Alexander, the new Commander-in-Chief, Middle East, meets officers of the 2/13th and 2/15th Battalions at 20th Brigade headquarters, 21st August 1942. Immediately following Alexander is the brigade commander. Brigadier W. J. V. Windeyer. General Morshead is on the right of the picture. (Australian War Memorial)

Lieut.-General B. L. Montgomery, the newly-appointed G.O.C. Eighth Army, wearing an Australian slouch hat, conferring with Australian officers during one of his visits to the 9th Division in August 1942. General Morshead is on Montgomery’s right. (Imperial War Museum)
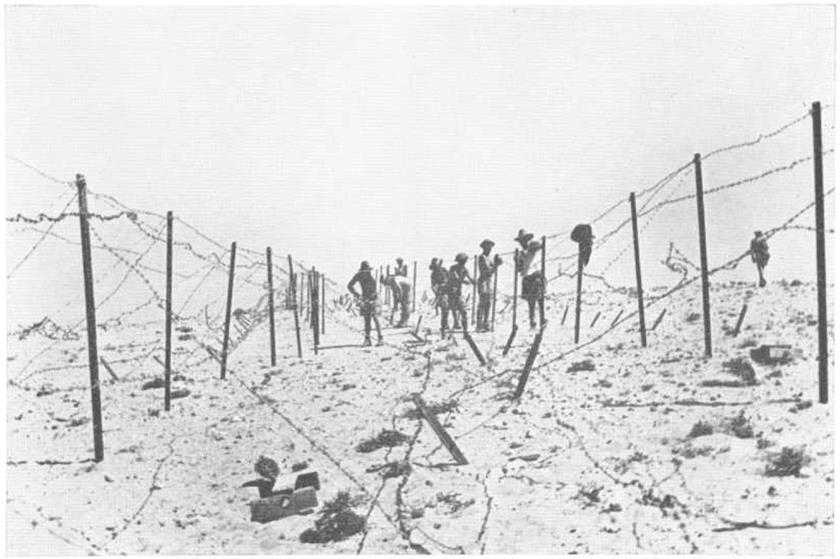
Preparing barbed-wire defences at El Alamein. (Australian War Memorial)

Brigadier A. H. L. Godfrey inspecting a captured Russian anti-tank gun used by the Germans near Tel el Eisa. (Australian War Memorial)
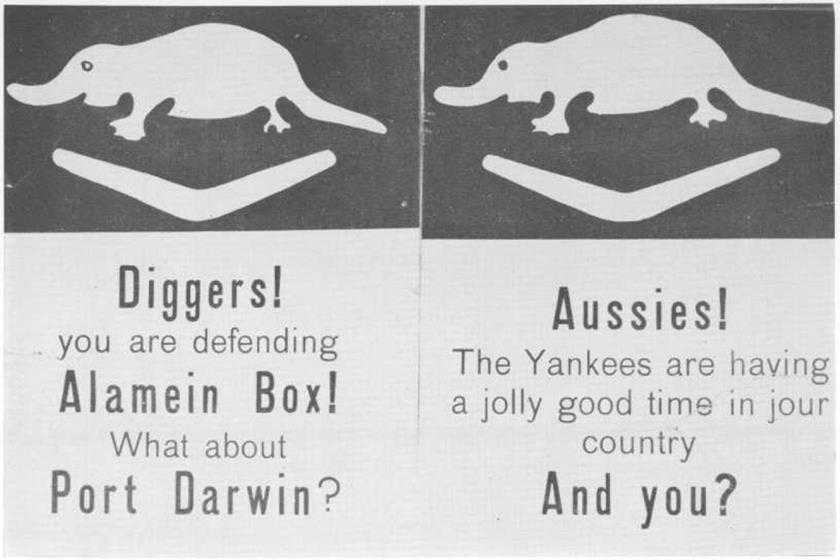
Leaflets dropped by enemy aircraft over Australian positions at El Alamein on 22nd August 1942. A platypus over a boomerang was the 9th Division’s vehicle sign. (Australian War Memorial)
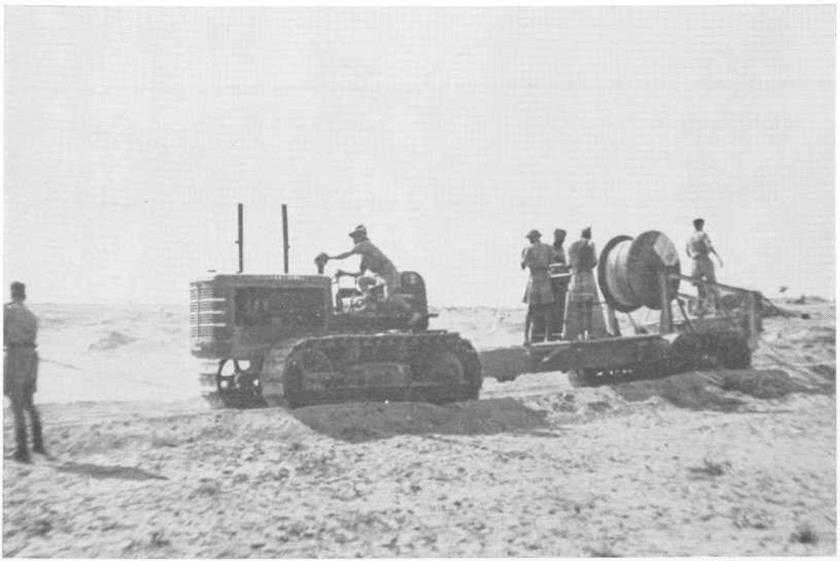
Cable-layer laying armoured signal cable for the Eighth Army’s offensive, October 1942. (9th Divison War Diary)
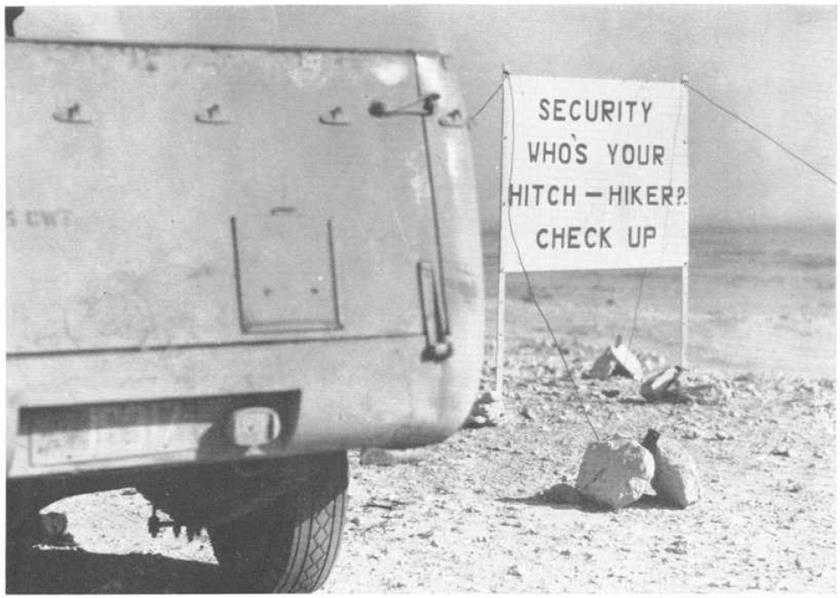
A roadside security sign in the Australian sector at El Alamein. October 1942. (Australian War Memorial)
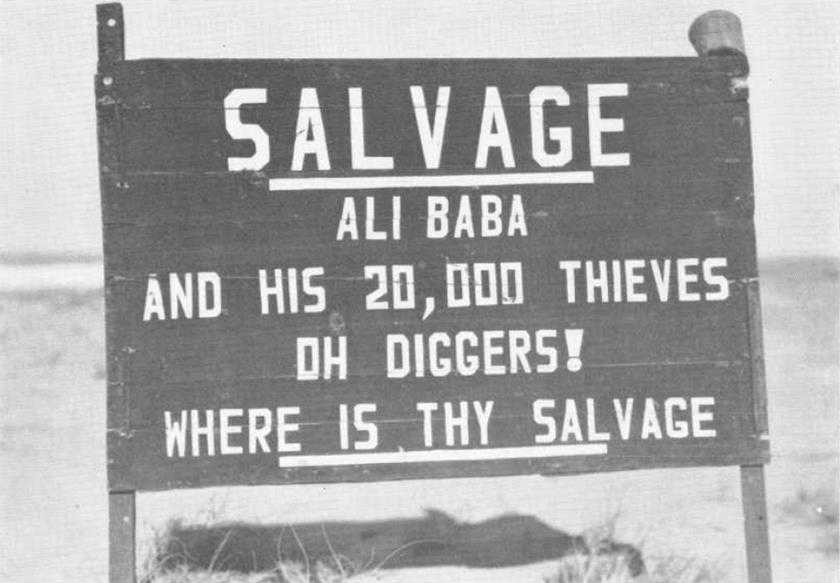
An Australian salvage notice near El Alamein. The reference to “Ali Baba Morshead and his 20,000 thieves” is said to have originated in a German broadcast announcing the arrival in the Western Desert from Syria of the 9th Australian Division. (Australian War Memorial)
Brigadier D. A. Whitehead who commanded the 26th Brigade in the October offensive at El Alamein. (Australian War Memorial)
Brigadier A. H. Ramsay, commanding the 9th Divisional Artillery at El Alamein. (Australian War Memorial)
Brigadier R. W. Tovell, commanding the 26th Brigade, with his battalion commanders, September 1942. Left to right: Lieut-Colonels C. G. Weir (2/24th) and B. Evans (2/23rd), Brigadier Tovell and Lieut-Colonel H. H. Hammer (2/48th). (Australian War Memorial)

A tank, with a false truck body attached, as part of the British deception arrangements before the El Alamein battle. (Australian War Memorial)
A dummy light anti-aircraft gun position in the coastal sector. (2/28 Bn war diary)
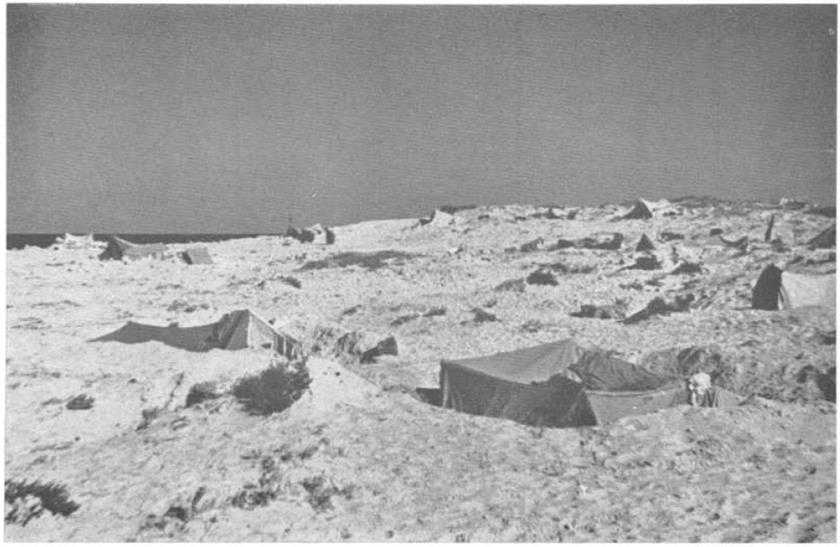
Australian positions near the sea, El Alamein. September 1942. (2/28 Bn war diary)
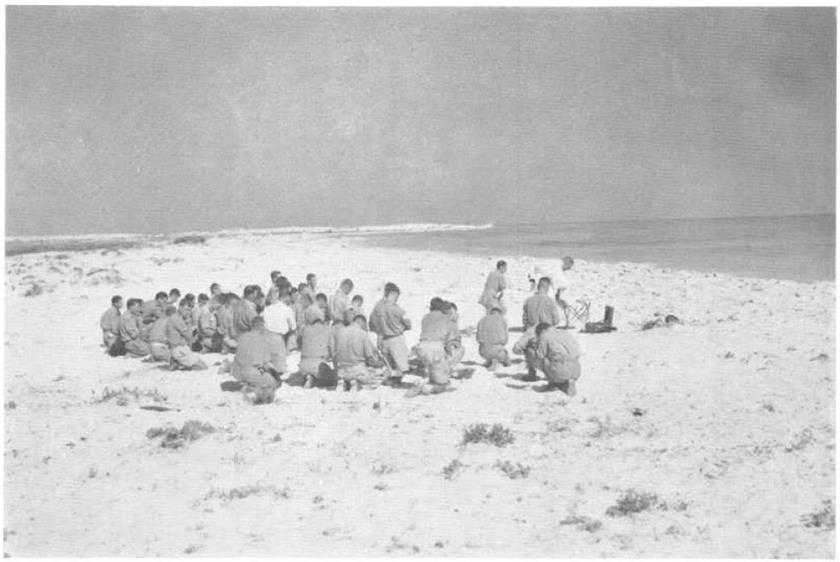
A church service in the sand dunes at El Alamein, September 1942. (Australian War Memorial)

El Alamein. 9.40 p.m. 23rd October 1942. The silence of the desert was broken by the Eighth Army’s opening artillery barrage. (Imperial War Museum)

British bombers over the baffle area on the first day of the advance at El Alamein. Usually Flying in a formation of eighteen, they were nicknamed “The Football Team” by the Australians. (Australian War Memorial)
Enemy night raid on Alexandria, October 1942
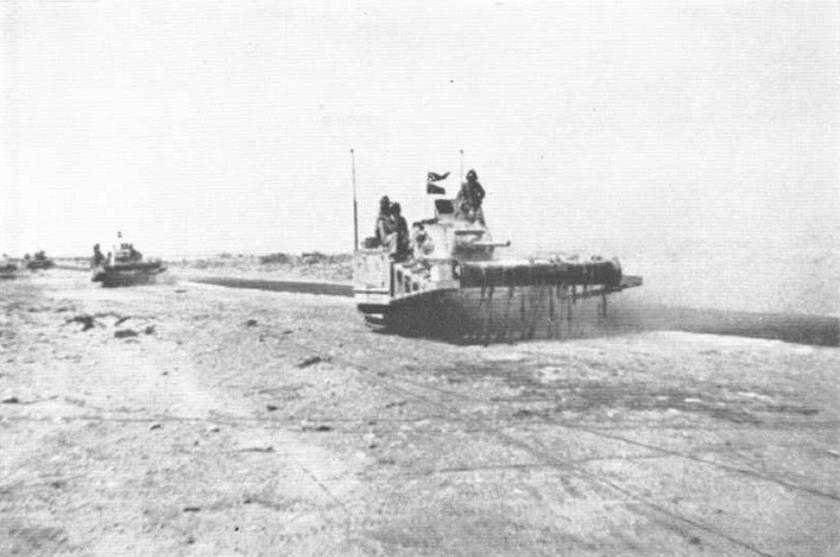
"Scorpions" manned by Australian engineers, at El Alamein. Scorpions were tanks fitted with rotating drums to which were attached chains which flailed the ground and exploded mines thus clearing a passage through enemy minefields (9th Division war diary)
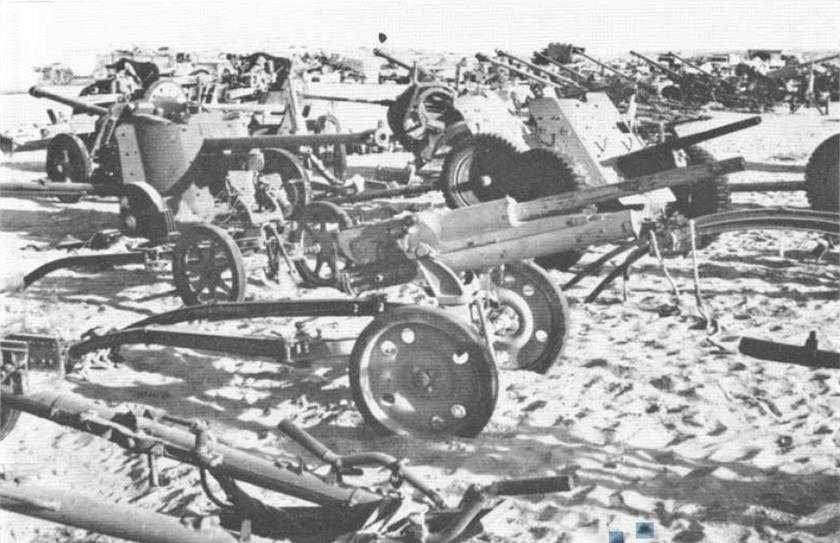
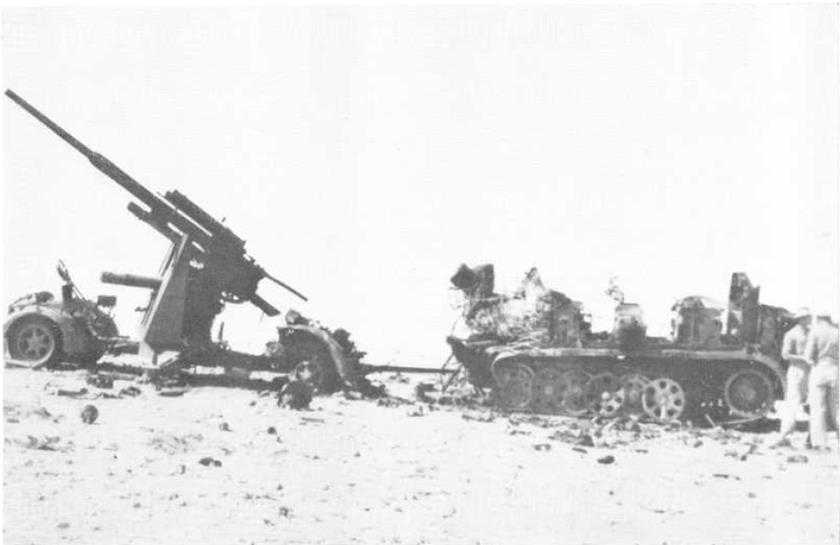
Captured enemy anti-tank guns at El Daba, November 1942 (Australian War Memorial)
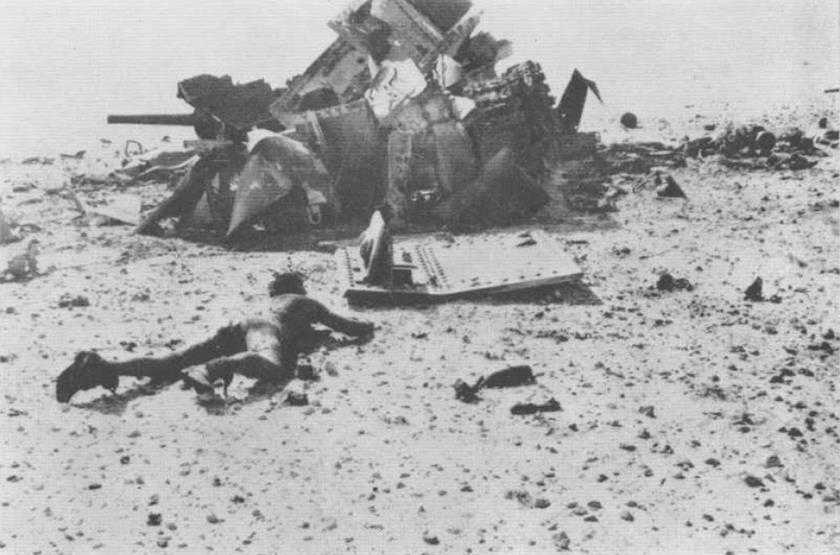
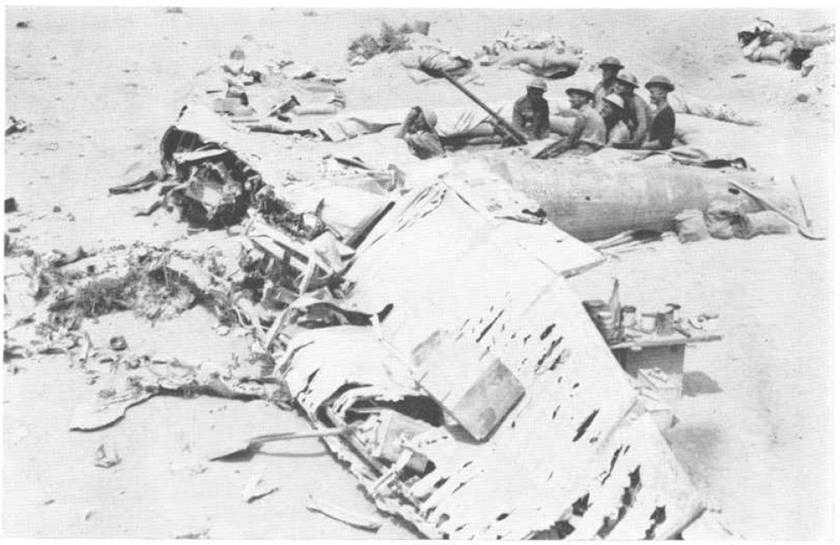
A German tank destroyed during operations at El Alamein, with the burnt and blackened body of a crew member near by (Imperial War Museum)
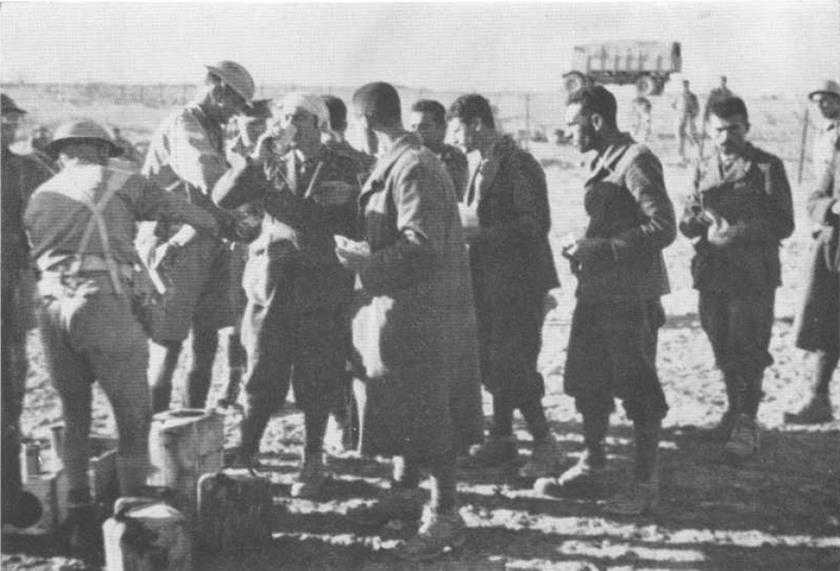
Feeding captured Italians at the prisoner-of-war cage at El Alamein (Capt G. H. Yates)

Positions of the 24th Brigade, west of Tel el Eisa, under enemy shell fire late in the afternoon of 1st November 1942 (Imperial War Museum)
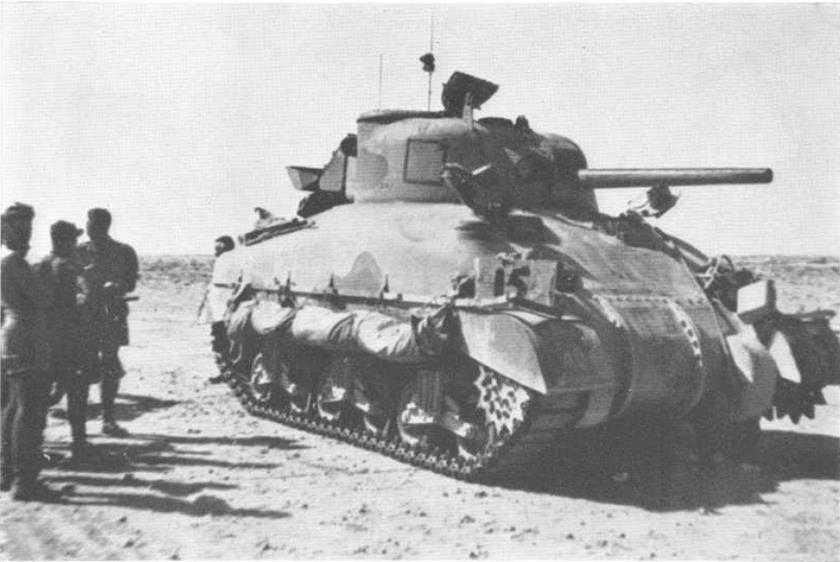
A Sherman tank used during the Eighth Army offensive at El Alamein. This tank had received several hits and had retired because of a casualty in the crew. (9th Division war diary)
Abandoned German positions at Ring Contour 25 in the 9th Division's sector at El Alamein, November 1942 (2/28 Bn war diary)
Transport moving in the wake of Rommel's retreating army in the Western Desert. 13th November 1942. In the foreground a captured truck transporting prisoners to the rear has bogged (Australian War Memorial)
Scene of a decisive tank battle near the Blockhouse, west of Tel el Eisa. In the foreground are knocked-out British tanks; eighteen German tanks were accounted for in the same action (Australian War Memorial)
German 88-mm gun and tractor destroyed in the Trig 29 area, El Alamein, by fire from "F" Troop, 2/7th Field Regiment, on 28th October 1942 (Maj W. G. R. Hall )
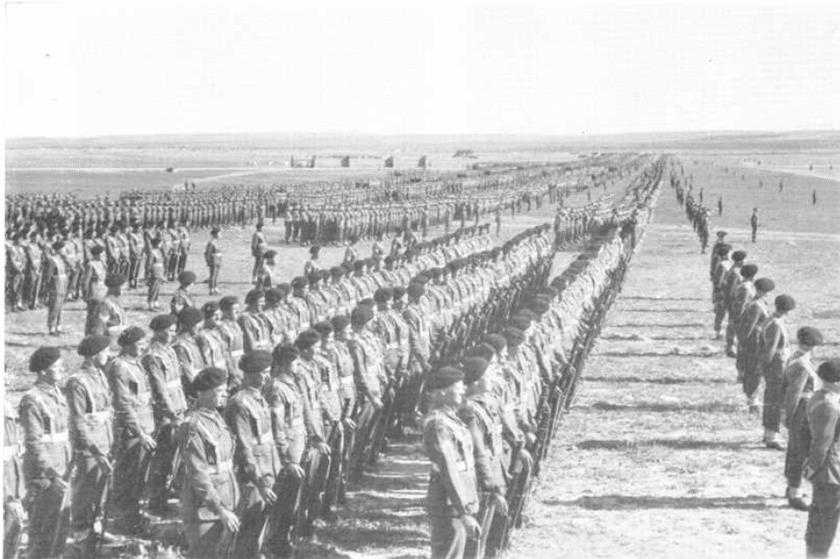
The ceremonial parade of the 9th Division at Gaza Airport, 22nd December 1942. The divisional cavalry regiment was on the right of the line which extended for almost a mile (Australian War Memorial)
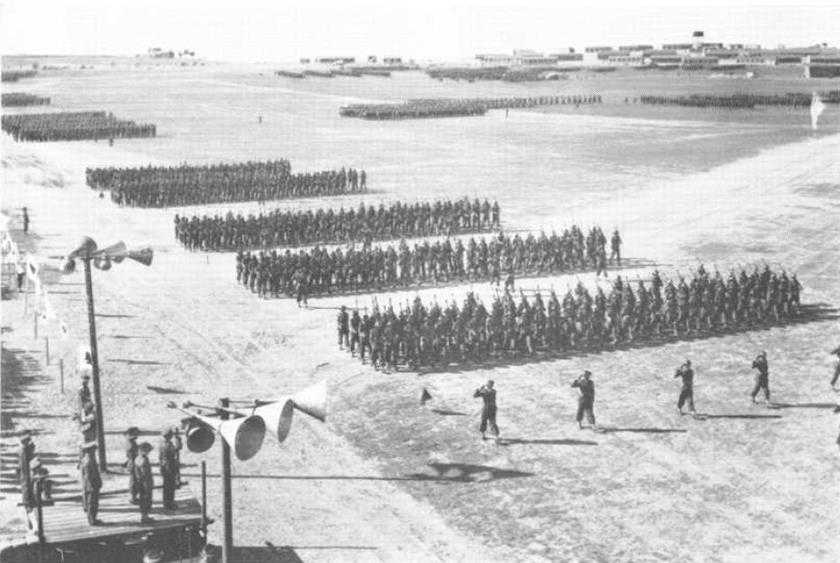
General Sir Harold Alexander took the salute as the men swung past the saluting base (Australian War Memorial)

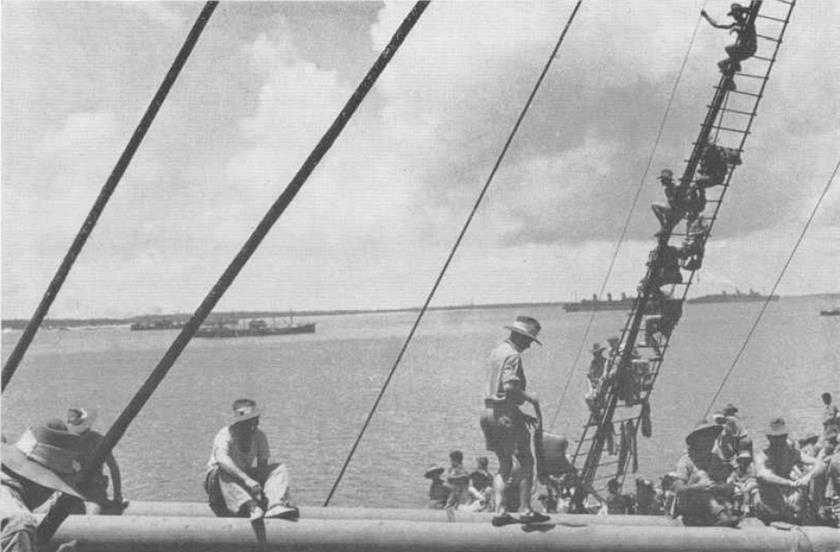
Stowing kits on to a lighter for trans-shipment to the Queen Mary, one of the ships which transported the 9th Division home. Port Tewfik, January 1943 (Imperial War Museum)
Troops of the 9th Division aboard the troopship Nieuse Amsterdam anchored off Addu Atoll, one of the small islands in the Maldive Group in the Indian Ocean, where the homeward bound convoy refuelled in February 1943 . The Queen Mary (right) and Aquitania can be seen behind the rigging (Australian War Memorial)

Prisoners of war in transit by cattle-truck from Italy to Germany (M. Lee Hill)
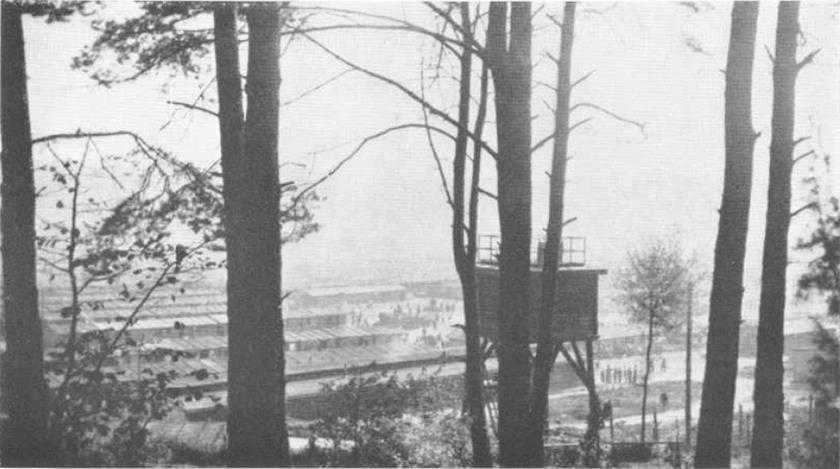
Stalag 383, Hohenfels (R. I. Bridge)
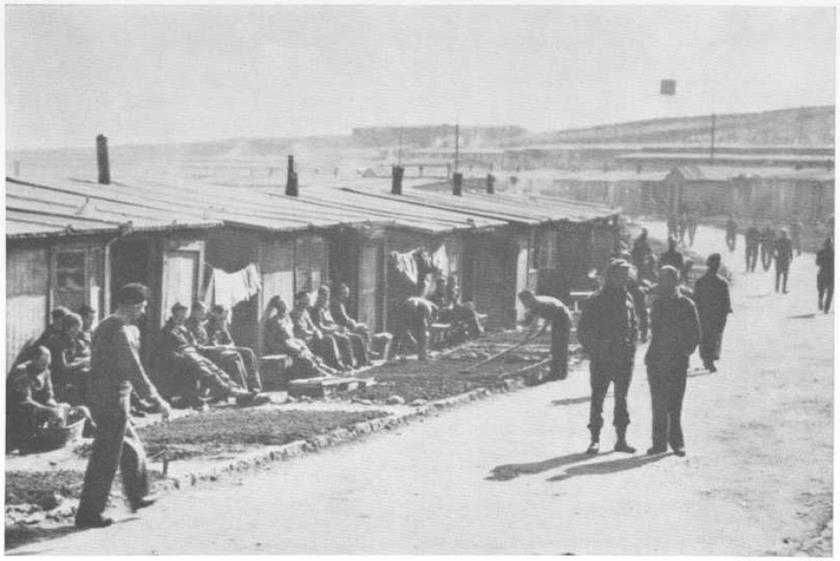
“Anzac Avenue”, Stalag 383.

The costumes and props, all made in the camp, used in the presentation of this play at Oflag VIIB. Eichstatt, demonstrate remarkable ingenuity in improvisation by the prisoners of war.
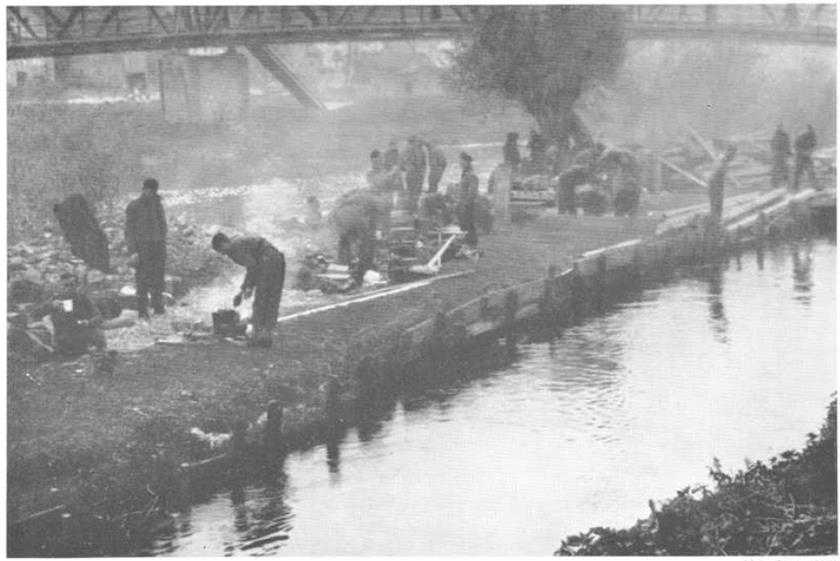
Forced marches. Men from Stalag 383 halt for a meal at Etehausen during their journey south.
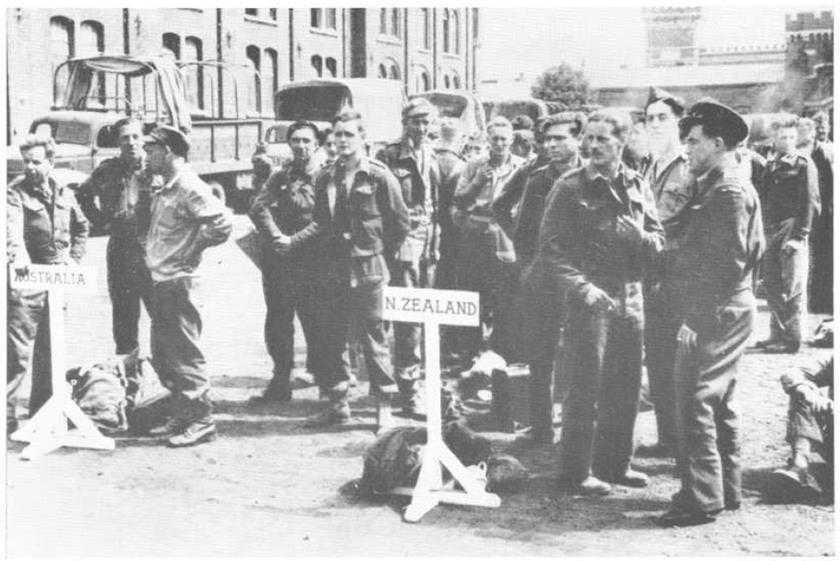
Recovered prisoners of war at a transit centre at Brussels, Belgium, whence they were flown to the United Kingdom.