Illustrations
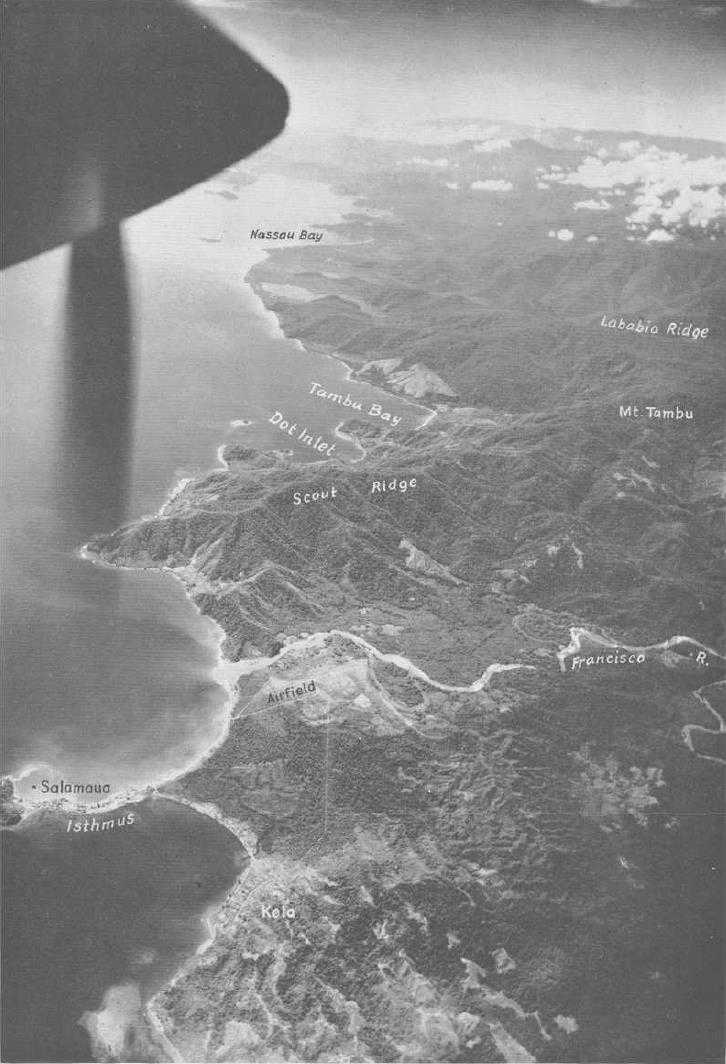
Salamaua isthmus and the coastline looking south to Nassau Bay (RAAF)

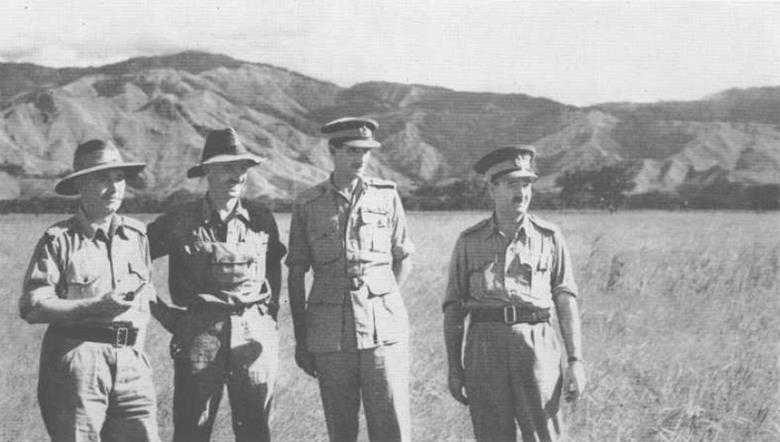
General Sir Thomas Blamey and Lieut-General Sir Iven Mackay at New Guinea Force headquarters. (Australian War Memorial)
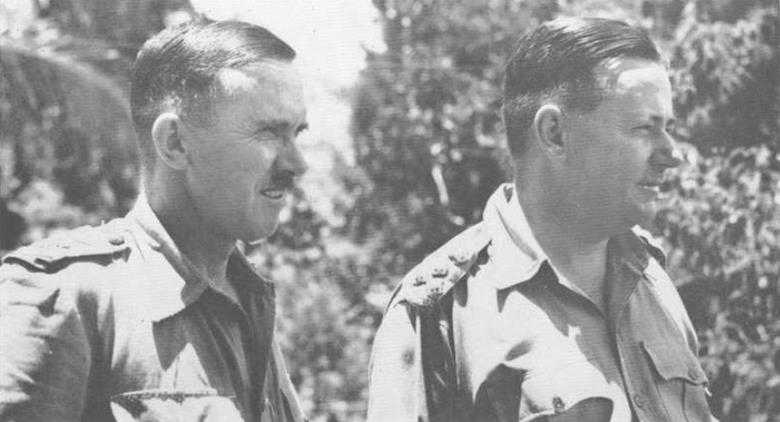
Major-General F. H. Berryman, Deputy Chief of the General Staff (left 1, with Brigadier M. J. Moten, commander of the 17th Brigade. (Australian War Memorial)
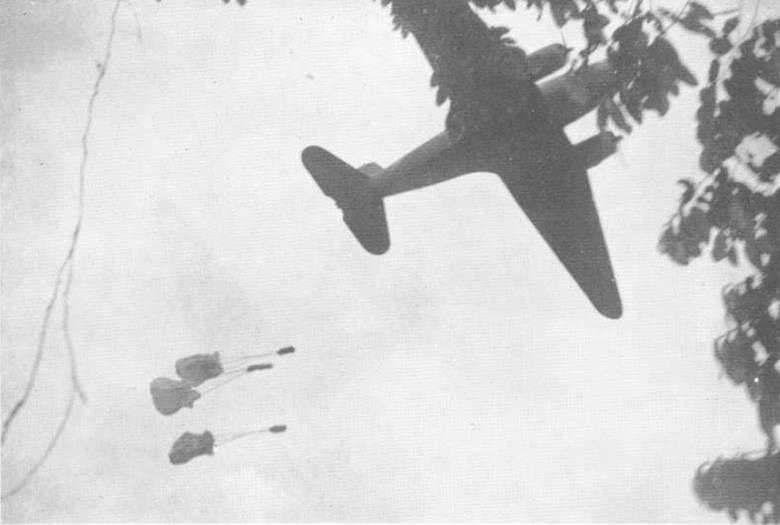
During the Salamaua operations troops in the forward areas were largely dependent on air droppings for fond and ammunition. Here a -biscuit bomber is shown dropping supplies to the Australians at Goodview, 600 yards from the Japanese lines. on 1st August 1943. (Australian War Memorial)
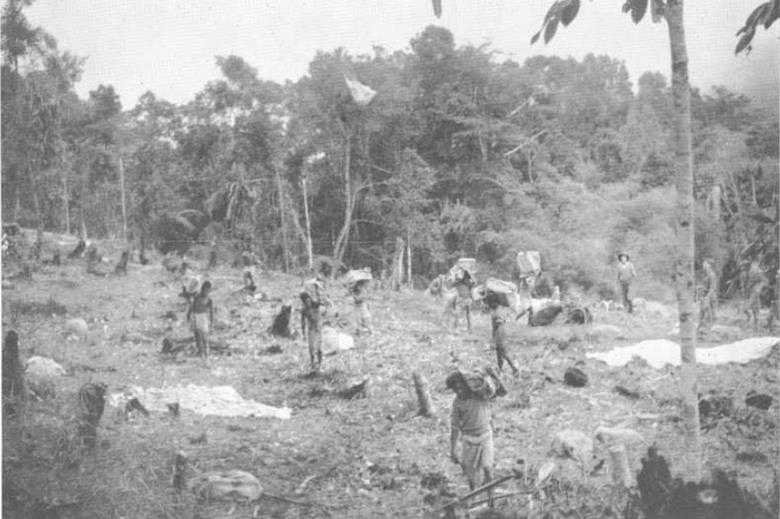
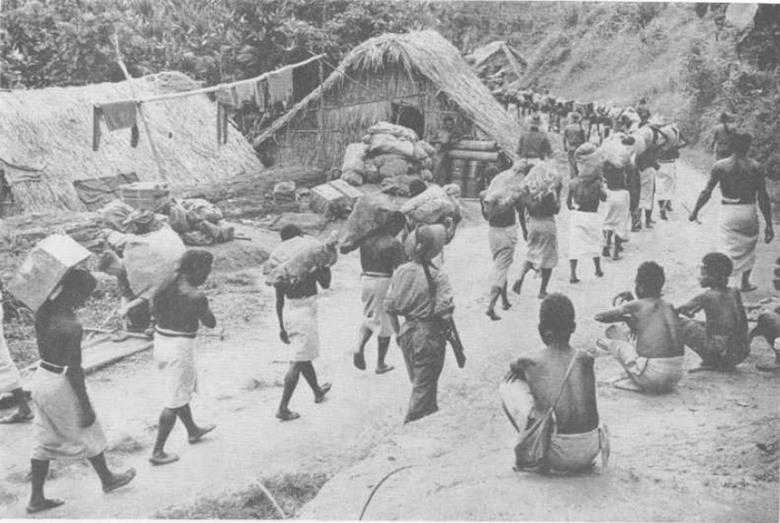
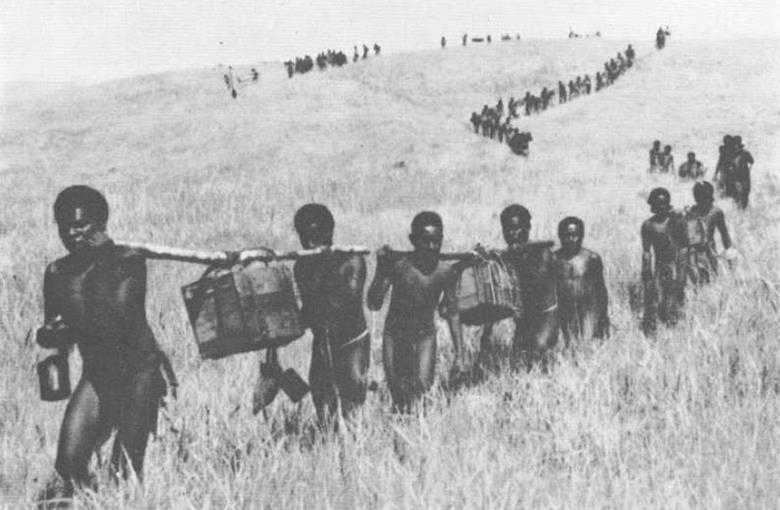
Natives gathering supplies at the Goodview dropping ground. (Australian War Memorial)
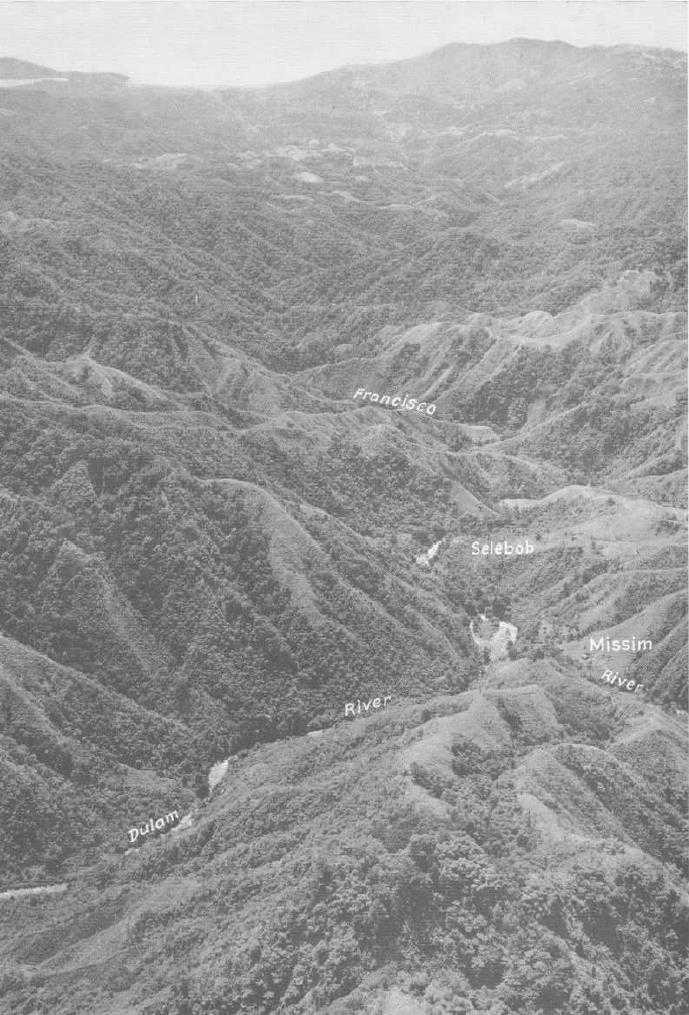
Looking eastward towards Salamaua from the junction of the Dulam and Francisco Rivers. (RAAF)
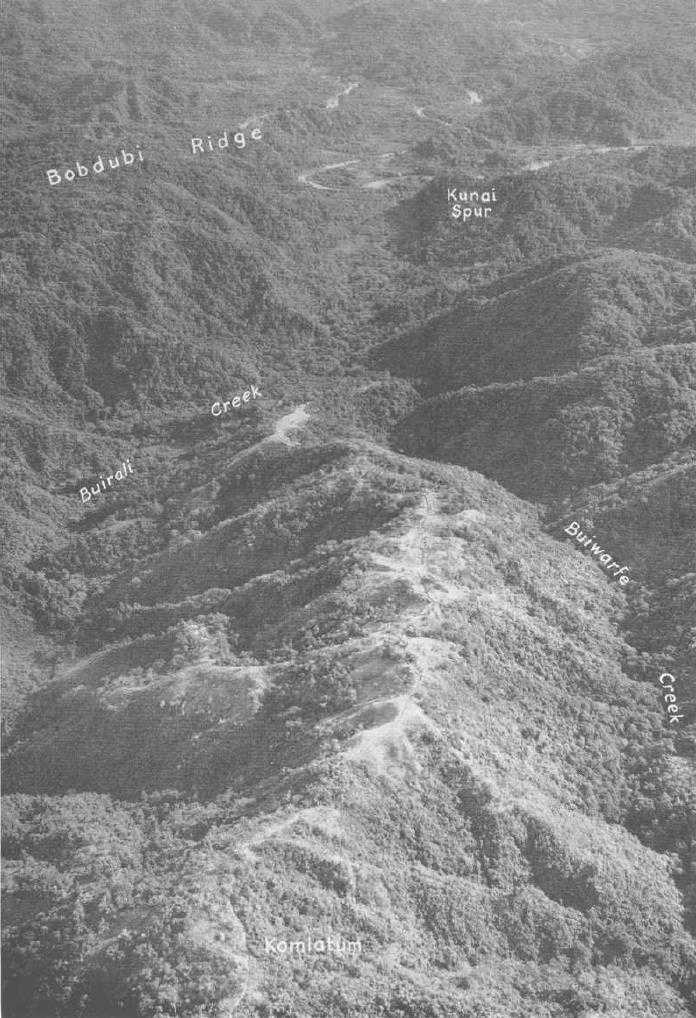
Looking north along Kontiatum Ridge to the Francisco River.
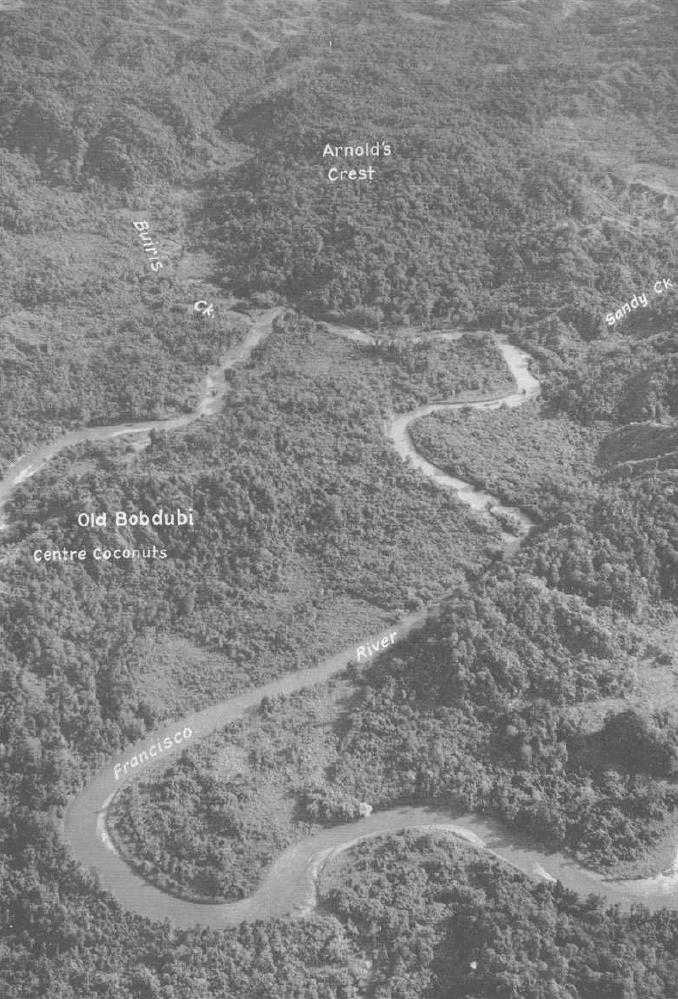
The Francisco River, looking north to Arnold’s Crest. Much of the heavy fighting by the 15th Brigade took place in this area.
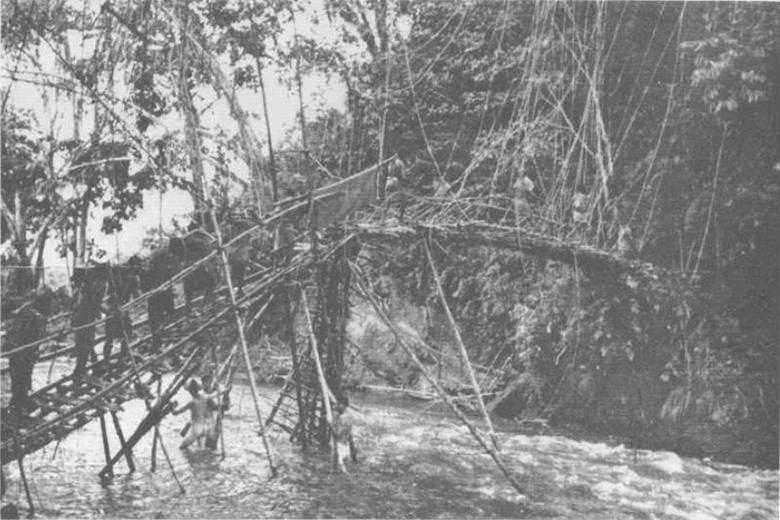
Native carriers crossing the kunda bridge over the Francisco River near New Bobdubi on the way forward to the 58th/59th Battalion, in June 1943. The two natives in the centre of the bridge are carrying a bush stretcher. (G. R. Warfe)
A carrier line setting out from the Mubo area with supplies for the forward troops. (Australian War Memorial)

A 2/3rd Independent Company medium machine-gun pit on Ambush Knoll. July 1943. This gun-pit, commanding enemy movement along Komiatum Ridge, was typical of others in the area. The soldier in the bottom left-hand corner is using a rangefinder. Above him is Lieutenant H. L. Egan (killed in action on 21st July 19431, and on the right (pointing) is Private H. F, C. May. (G. R. Warfe)

Sergeant G. R. C. Ayre helps Private W. O. W. Johnson of the 58th/59th Battalion across a creek to an advanced dressing station. Johnson was wounded by a Japanese grenade during an attack on the Coconuts on 13th July 1943.
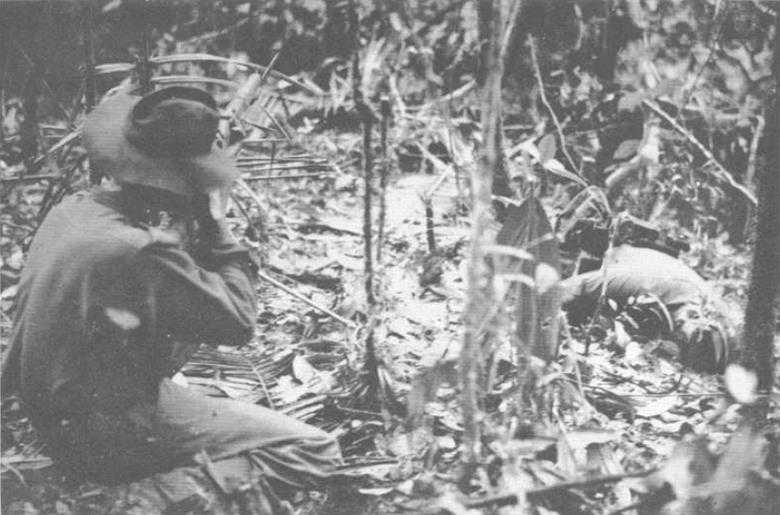
A forward scout, Private E. W. McVicar of “D” Company, 2/5th Battalion, in the attack on Mount Tambu on 23rd July 1943. McVicar was killed next day. A dead Japanese soldier can be seen on the right of the picture. (Australian War Memorial)
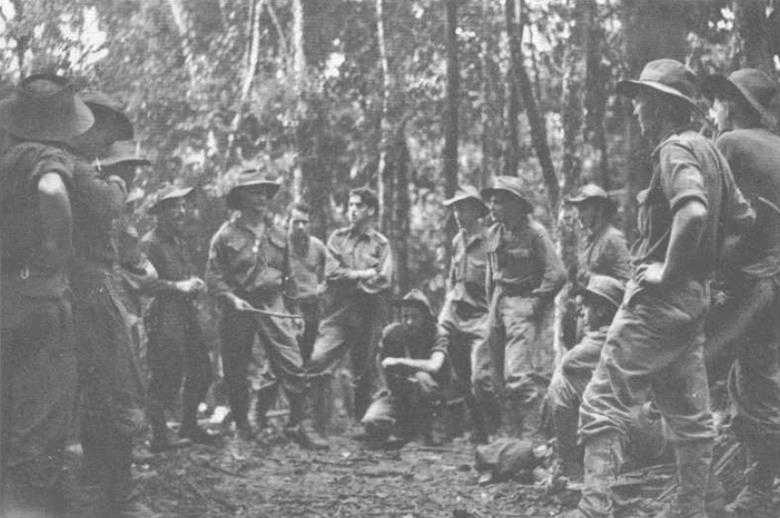
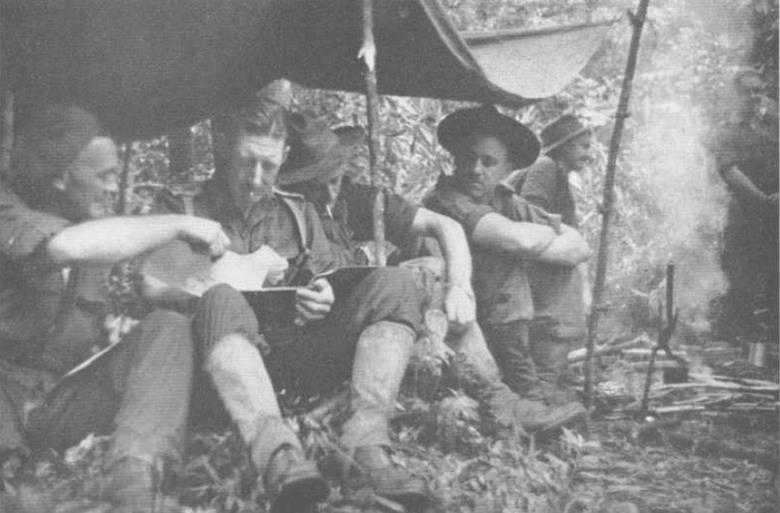
Corporal L. C. Allen of the 2/5th Battalion, NCO in charge of stretcher bearers in the Mount Tambu area, giving I It Platoon instructions on 24th July as to the signals they should give if wounded. On Allen’s; right is Lieutenant H. A. Bell, commanding the battalion’s machine-gun platoon. (Australian War Memorial)
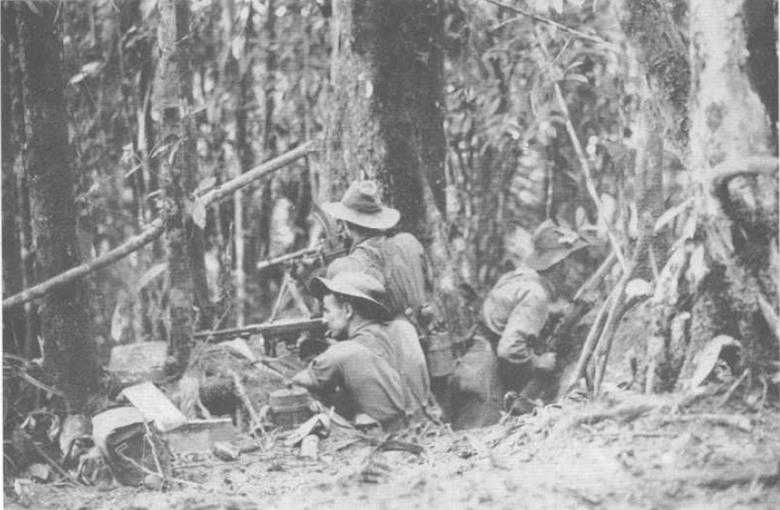
Three members of the 2/5th Battalion, equipped with Tommy-gun, Bren and .303 rifle, covering the track from captured Japanese positions in the Mount Tambu area, 24th July 1943. (Australian War Memorial)
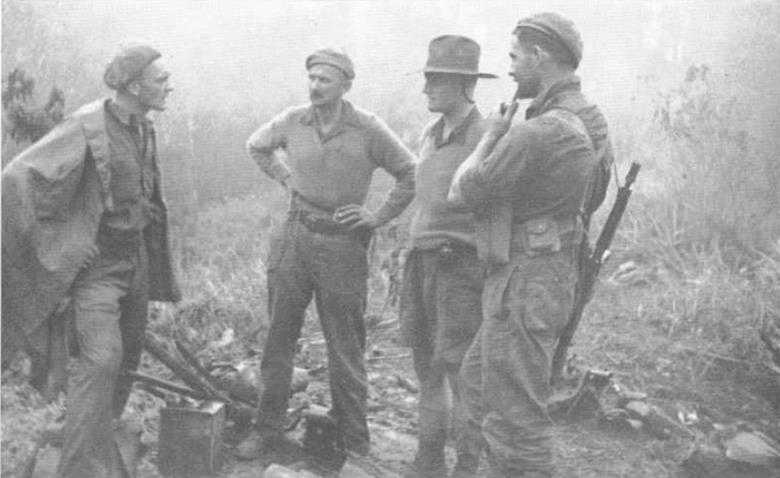
A conference of officers of the 15th Brigade at Gwaibolom on 25th July 1943. Left to right: Major O. R. Warfe (OC 2/3rd Independent Company), Brigadier H. H. Hammer (commanding the 15th Brigade), Lieut-Colonel P. D. Starr (CO 58th/59th Battalion) and Major B. H, Travers. Hammer’s brigade major. (Australian War Memorial)

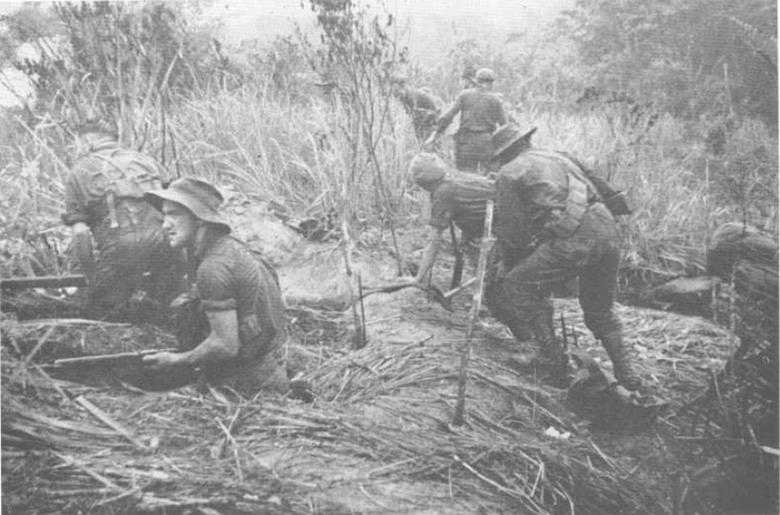
Men of the 2/3rd Independent Company moving into the assembly area for the attack on Timbered Knoll on 29th July 1943. (Australian War Memorial)
Forward troops occupying weapon-pits during the attack on Timbered Knoll. (Australian War Memorial)

The 2/3rd Independent Company at Timbered Knoll, 29th July 1943. Corporal R. R. S. Good about to dress the wounds of Private H. W. Robins with the assistance of Private R. S. Wood (left) and Sergeant K. M. MacLean.
On the summit of Timbered Knoll. July 1943. Left to right: Major G. R. Warfe, Lieutenants E. J. Barry, J. E. Lewin and S. Read of the 2/3rd Independent Company, waiting for the mist to clear before making a visual reconnaissance of Graveyard and Oroduhi.
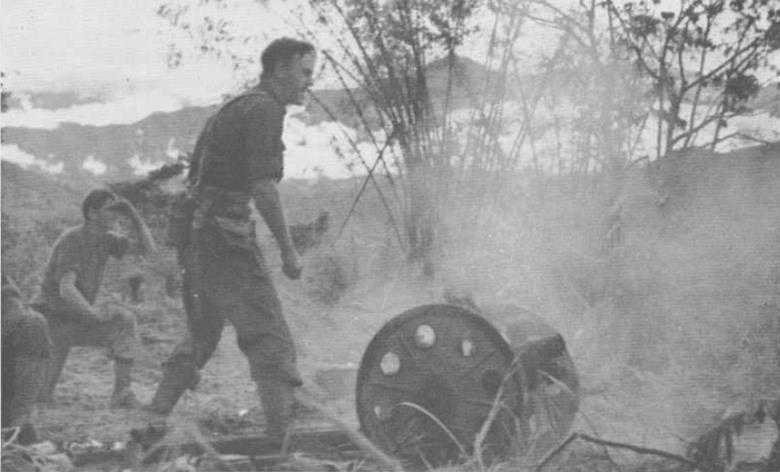
Lieutenant R. H. Dawson of the 2/6th Field Regiment firing a captured mountain gun on in Japanese in the Coconuts area on 30th July 1943, watched by a member of his observation post party, Gunner W. G. Pengelly. (G. R. Warfe)

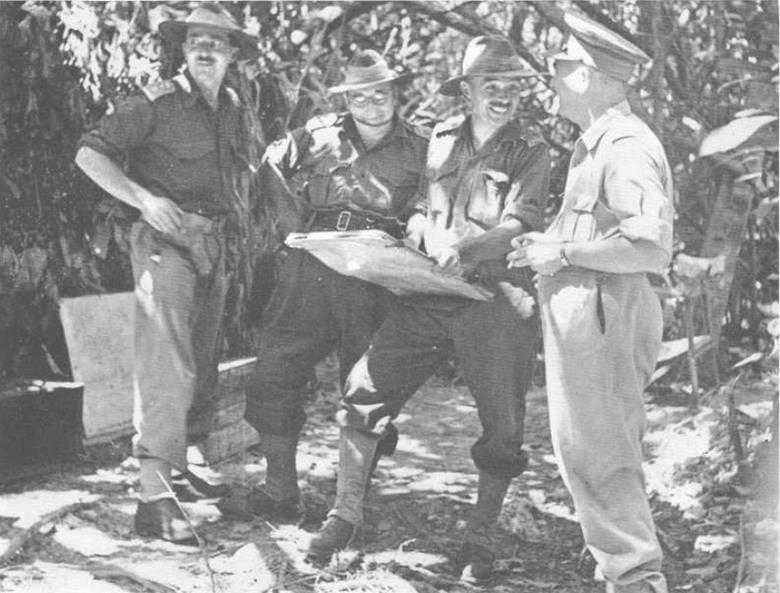
A 2/6th Battalion forward observation post in the Goodview Junction area, 10th August 1943. Left to right: Sergeant J. W. Hedderman, Captain H. L. Laver, Lieut-Colonel F. G. Wood (farthest from camera), Brigadier M. J. Moten and Major-General S. G. Savige, with binoculars. (Australian War Memorial)
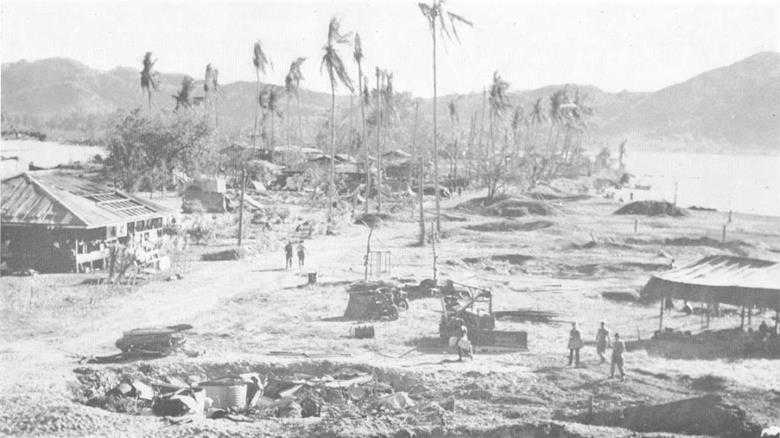
Salamalua isthmus after its capture by the 5th Division on 11th September 1943. (Australian War Memorial)
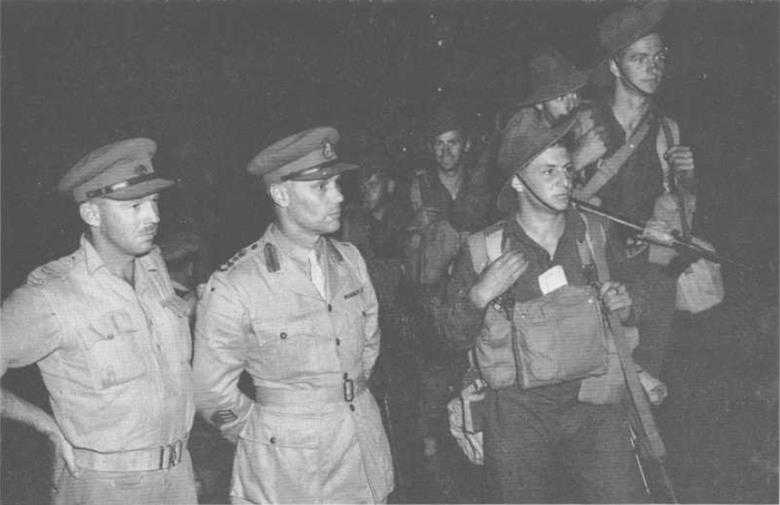
Brigadier W. J. V. Windeyer with his brigade major, Major B. V. Wilson. at the embarkation of the 20th Brigade at Cairns on 26th July 1943, in preparation for the Allied offensive against Lae. (Australian War Memorial)
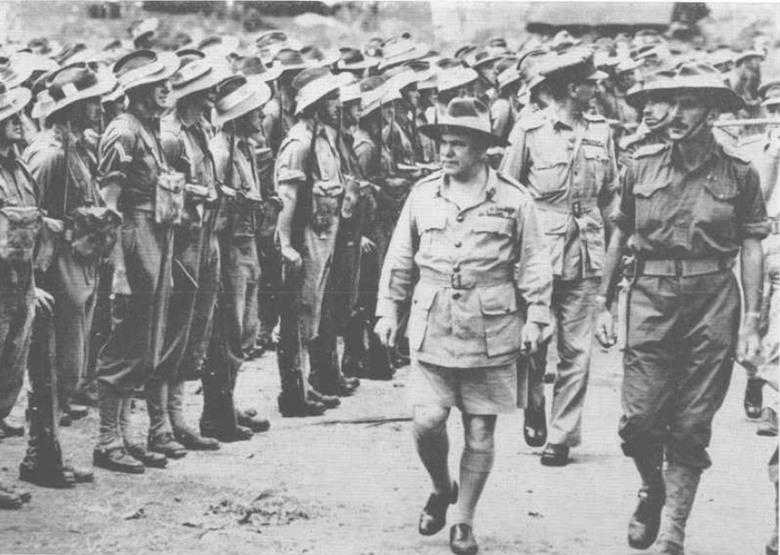
Inspecting the 25th Brigade at Port Moresby on 28th August 1943 before their departure for the Lac operation. The colour patches on the men’s puggarees have been obliterated by the wartime censor. Left to right: General Blamey. Major-General Vasey, Brigadier K. W. Eather and Lieut-Colonel T. R. W. Cotton (CO. of the 2/33rd), whose battalion is being inspected. (Australian War Memorial)
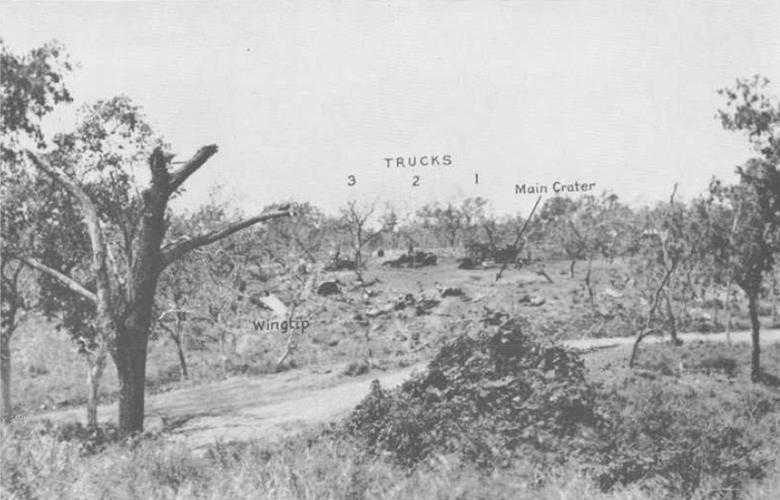
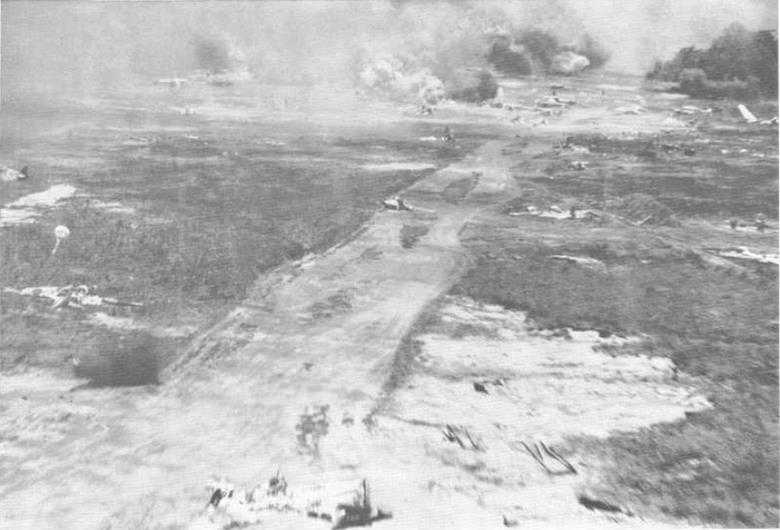
The scene after the crash of a Liberator bomber on the marshalling park at Jackson’s airfield, Port Moresby, on 7th September 1943. The aircraft hit the tree shown in the left foreground and crashed into trucks carrying members of the 2/33rd Battalion and the 158th General Transport Company. Fifty-nine were killed or died of injuries and 92 were injured but survived. (Australian War Memorial)

Men of the 2/4th Field Regiment checking over their equipment before taking off for the parachute landing at Nadzab on 5th September 1943. Left to right: Gunner 1. G. Robertson. Lance-Bombardier W. D. Laurie, Lance-Bombardier W. G. Indian and Gunner T. A. Kettle. (Australian War Memorial)
Lieut-Colonel J. T. Lang’s force of engineers, pioneers and Papuans crossing the Markham River on 5th September 1943 on the way to Nadzab, after their overland march from Tsili Tsili. (Australian War Memorial)
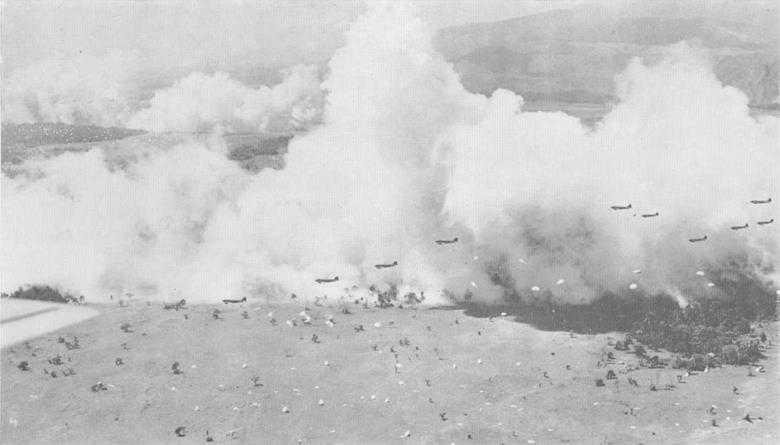
The landing of the 503rd American Parachute Infantry Regiment at Nadzab on 5th September 1943. One battalion is landing in the foreground and in the left background another battalion ringed by smoke can be seen dropping. (Australian War Memorial)
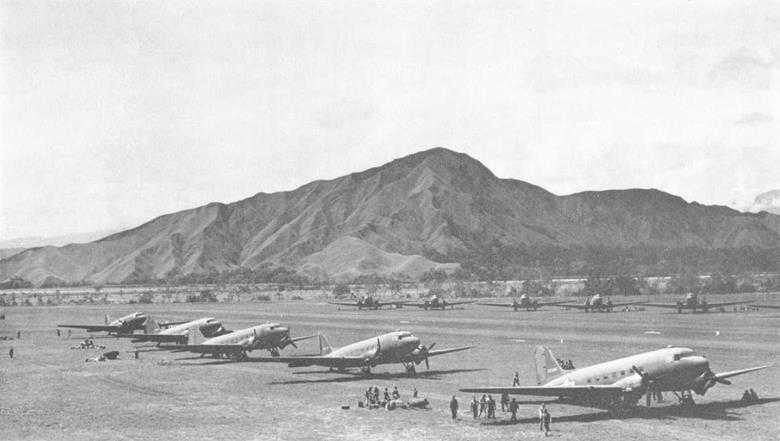
Transport aircraft at Nadzab airfield on list September 1943. After its capture on 5th September the airfield was rapidly developed into one of the largest air bases in New Guinea. (Australian War Memorial)
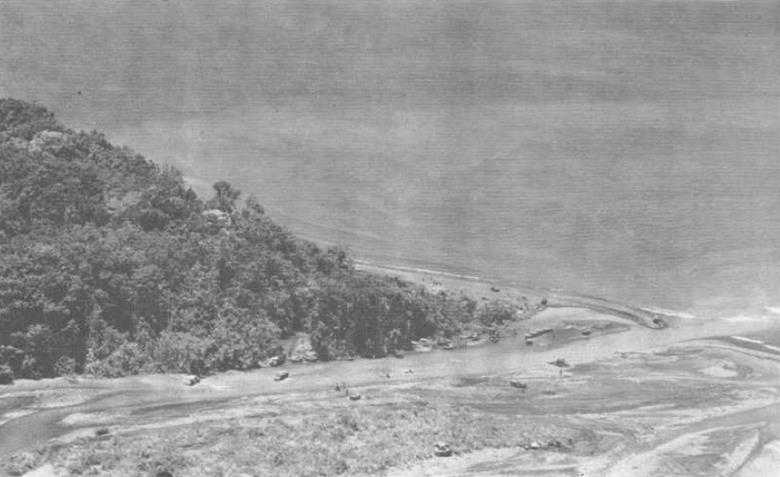
Crossing at the mouth of the Buso River on 5th September 1943 after the 9th Division’s landing at Red Beach. (Australian War Memorial)
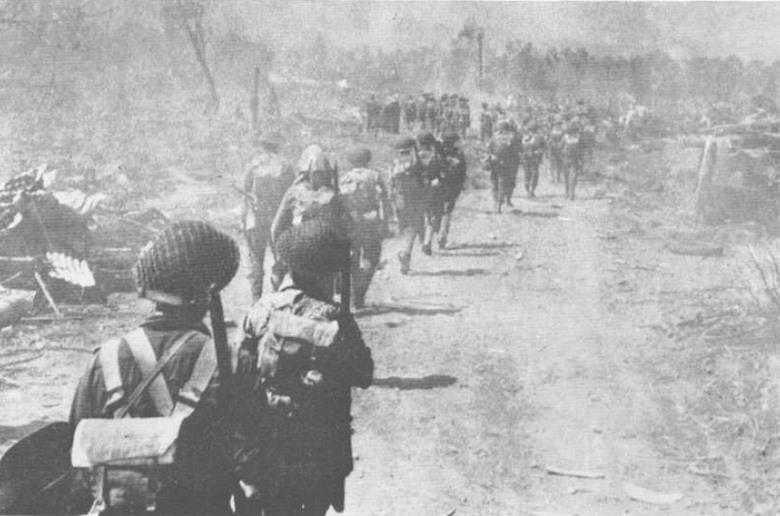
Troops of the 7th Division entering Lae on 16th September 1943 along a road littered with debris from air and artillery bombardments. (Imperial War Museum)
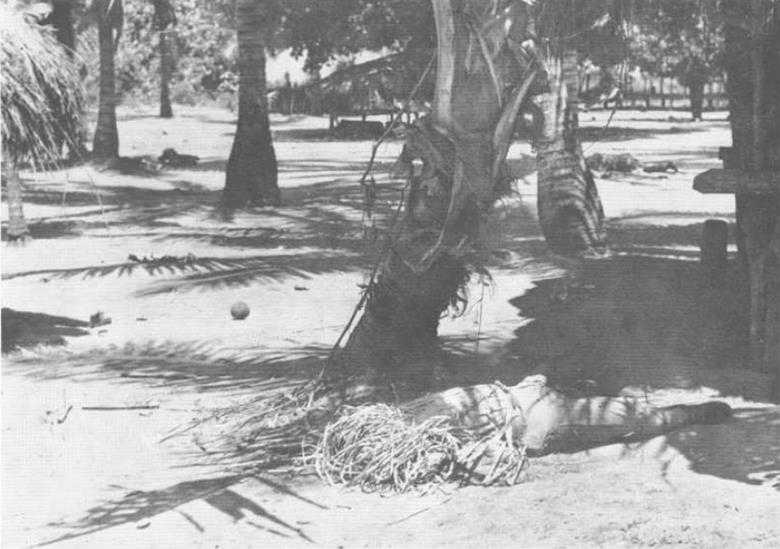
Kaiapit village, scene of the fighting by 2/6th Independent Company on 19th–20th September 1943. (Australian War Memorial)
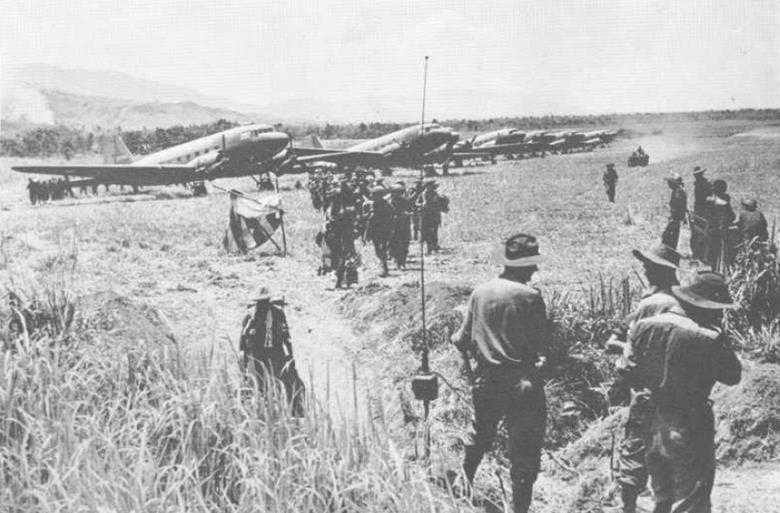
Men of the 2/16th Battalion arrive at Kaiapit by plane on 21st September 1943 to begin their advance on foot along the Markham and Ramu Valleys. (Australian War Memorial)
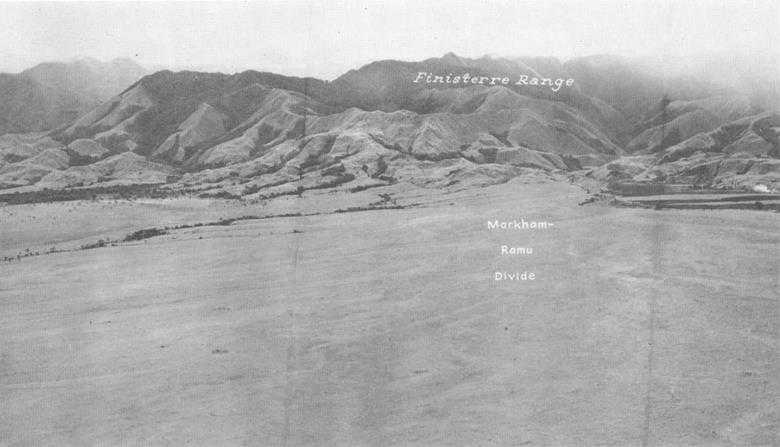
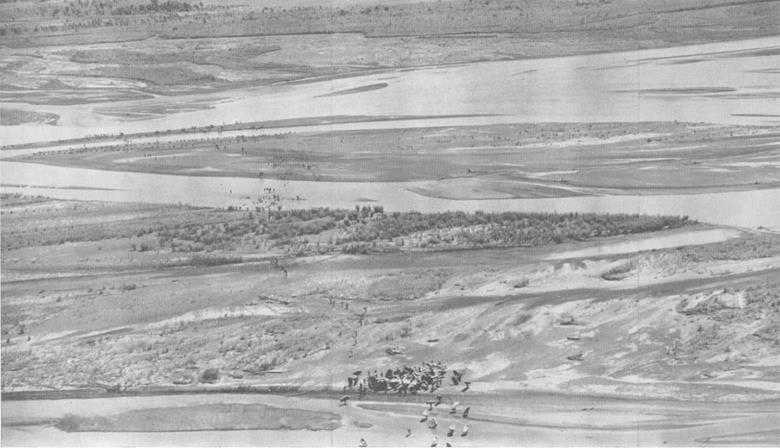
The Markham–Ramu divide. It was impossible to pinpoint the divide on the ground. The only indication was that the rivers were flowing in opposite directions – the Ramu in the west (left of picture) and the Markham to the east (right of picture).

Brigadier I. N. Dougherty, commander of the 21st Brigade, hoarding a Dauntless dive bomber at Kaiapit on 25th September 1943 for a reconnaissance flight over the Markham and Ramu Valleys. (Australian War Memorial)

Brigadier F. O. Chilton, of the 18th Brigade, outside his hut on the side of a steep slope in the foothills of the Finisterres, 8th February 1944. (Australian War Memorial)
Lieut General Sir Edmund Herring (GOC I Corps), Lieut-Colonel J. A. Bishop (CO 2/27th Battalion), Major-General G. A. Vasey (GOC 7th Division) and Lieut-General Sir Leslie Morshead (GOC II Corps) at Gusap on 1st October 1943. (Australian War Memorial)

Sappers of the 2/6th Field Company bridging the Gusap River on 3rd October 1943 while troops of the 2/14th Battalion pass over. (Australian War Memorial)
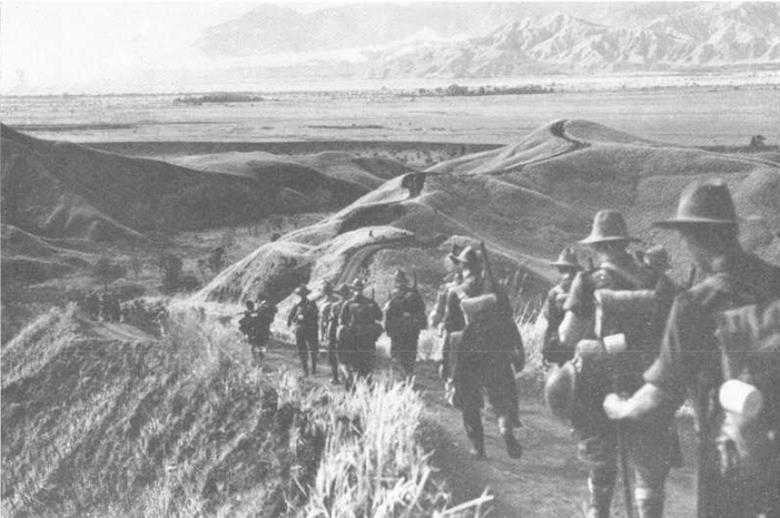
Troops of the 7th Division in the Ramu Valley resting in a village after a 20-mile march through kunai grass in sweltering heat. (Australian War Memorial)
Chimhu and Bena Bena carriers arriving at the 2/7th jndependent Company’s headquarters on 3rd October 1943. (Australian War Memorial)

Men of “A” Company. 2/16th Battalion on Johns’ Knoll, 17th October 1943. (Australian War Memorial)
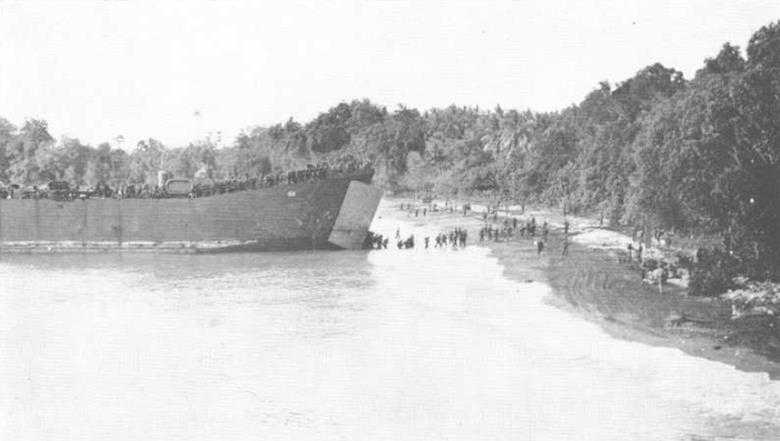
An LST landing troops of the 9th Division at Scarlet Beach, near Finschhafen, on 22nd September 1943. (Australian War Memorial)
General Morshead at 24th Brigade headquarters on 25th October 1943 during a visit to units under his command in the Finschhafen area. Left to right: Colonel A. R. Garrett (BGS I Corps). Major-General G. F. Wootten (GOC 9th Division), Brigadier B. Evans (commanding 24th Brigade) and General Morshead. (Australian War Memorial)
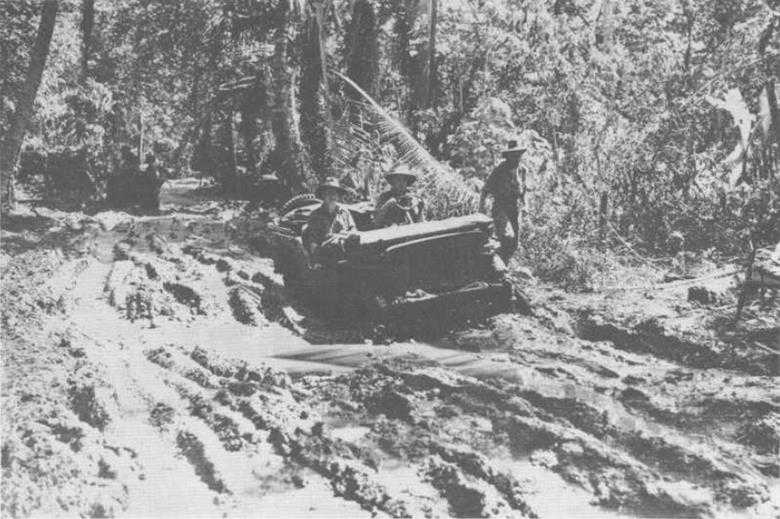
A jeep negotiating mud and slush near 9th Division headquarters in the Finschhafen area, 7th November 1943. (Australian War Memorial)
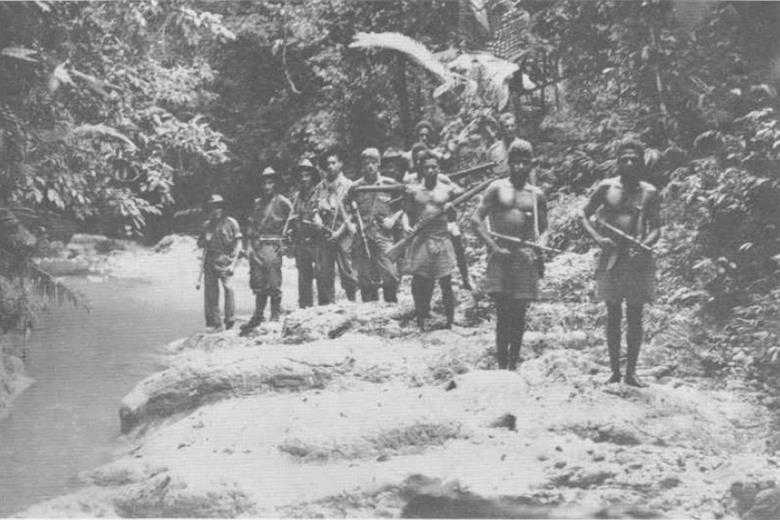
Men of the 2/24th Battalion accompanied by scouts of the Papuan Battalion setting out on patrol in the Sattelberg area, 15th November 1943. (Australian War Memorial)

Men of the 2/48th Battalion, supported by Matilda tanks, making their way forward to attack Coconut Ridge on the Sattelberg Road on 17th November 1943. (Australian War Memorial)

The attack on Coconut Ridge, 17th November 1943. (Australian War Memorial)

Horace the Horse. The bare areas are kunai grass. (RAAF)

The last steep pinch of the Sattelberg Road, just before reaching the summit, on 27th November 1943. The white coral formation shown here was typical of this area.

Shaggy Ridge, hooking South-west to the Ramu Valley. (RAAF)
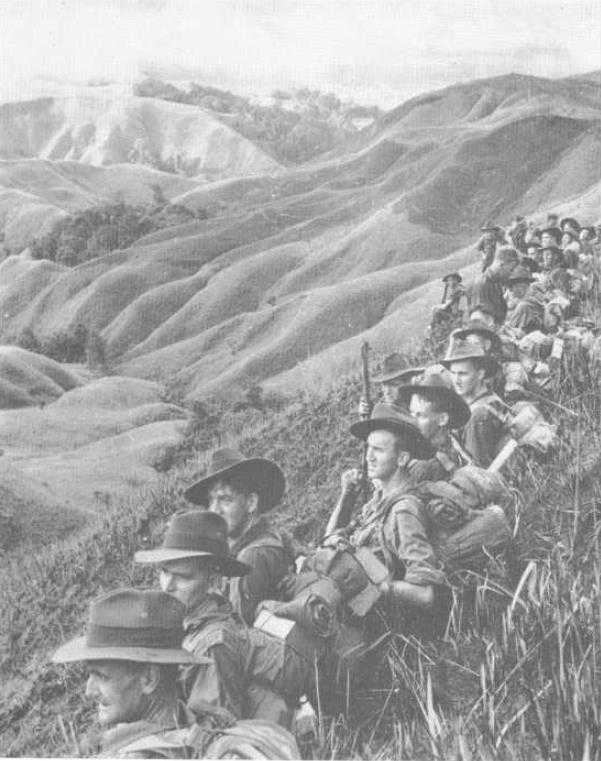
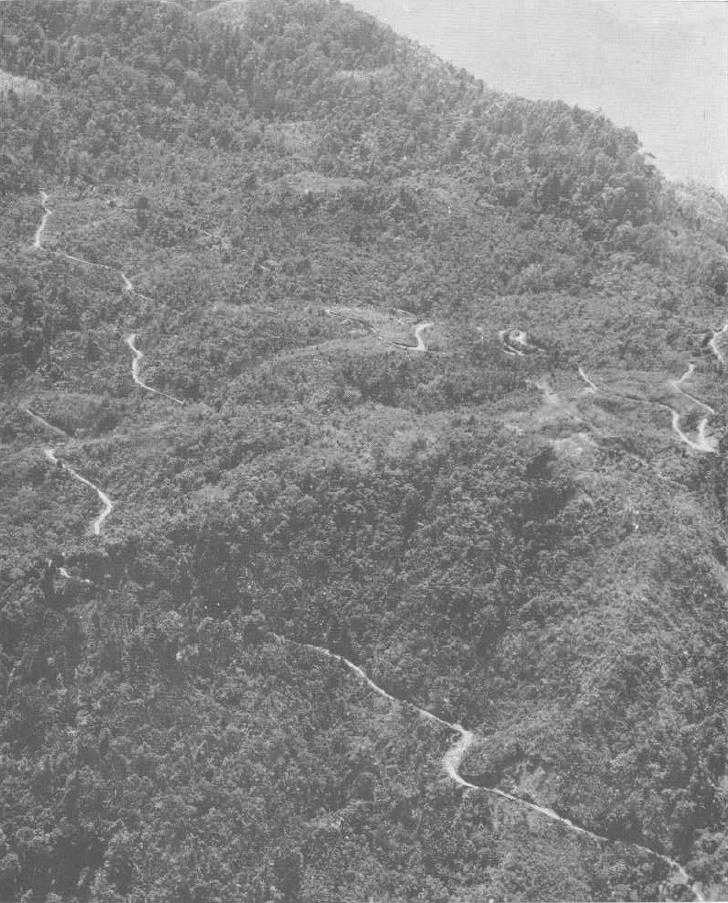
21st Brigade troops marching down a winding jeep track in the foothills of the Finisterres on 9th November 1943, after their relief by the 25th Brigade. (Australian War Memorial)
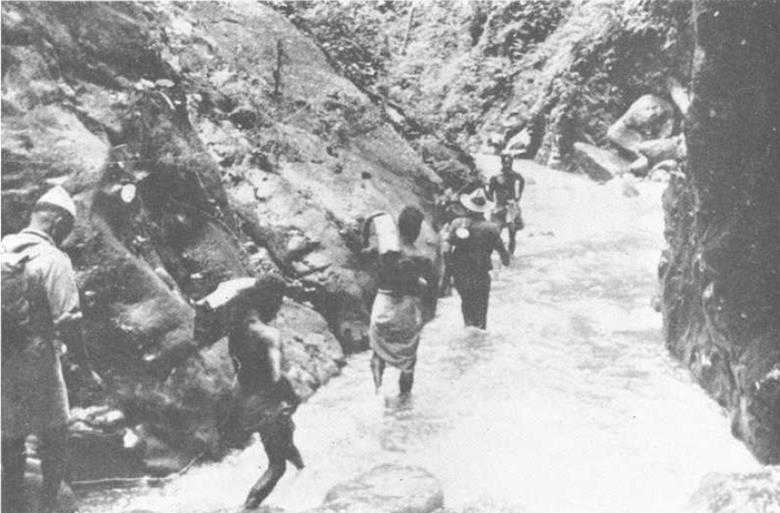
Natives carrying food and ammunition through the Masa gorge to Australian troops at advanced positions in the Finisterres. (Australian War Memorial)

Men of the 2/16th Battalion on the battle-torn Pimple (Shaggy Ridge) soon after its capture on 27th December 1943. (Australian War Memorial)
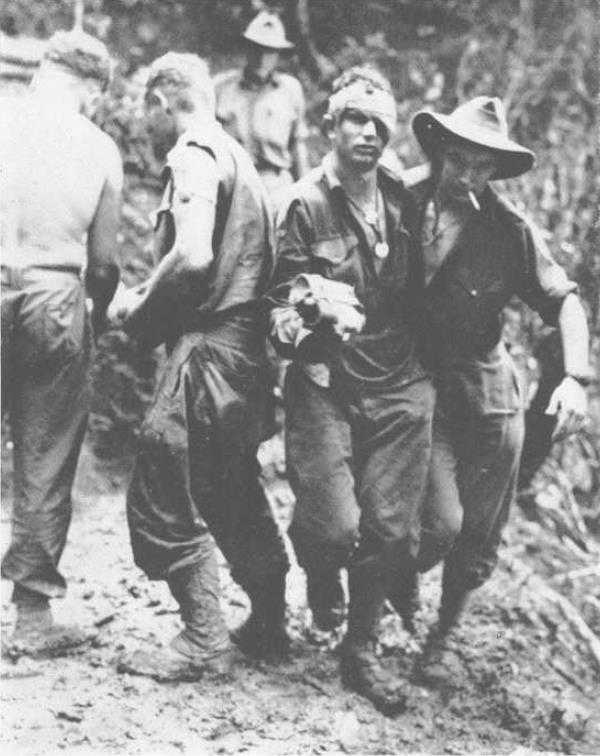
A wounded member of the 2/16th Battalion being assisted to the RAP. (Australian War Memorial)
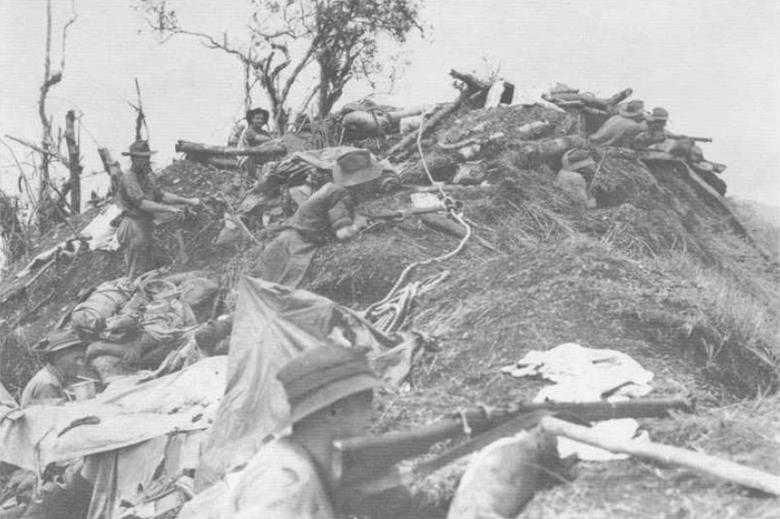
“C” Company, 2/9th Battalion. dug in on a newly-occupied feature of Shaggy Ridge, 21st January 1944. (Australian War Memorial)
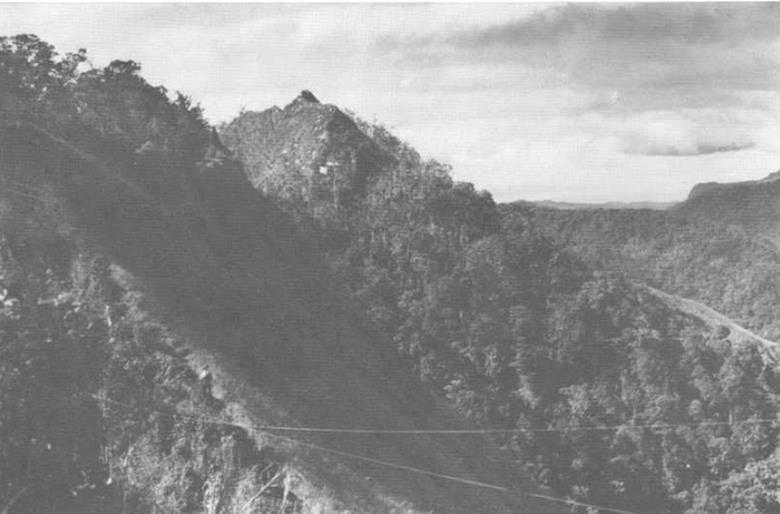
Looking towards Madang from Shaggy Ridge with the Pimple in the foreground, 22nd January 1944. (Australian War Memorial)
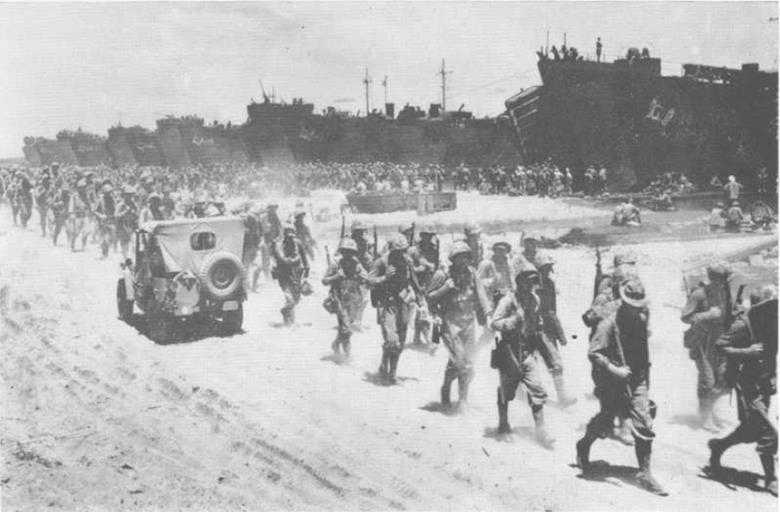
American marines boarding LSTs at Cape Sudest (Papua) in December 1943. bound for the Cape Gloucester landings. (Imperial War Museum)
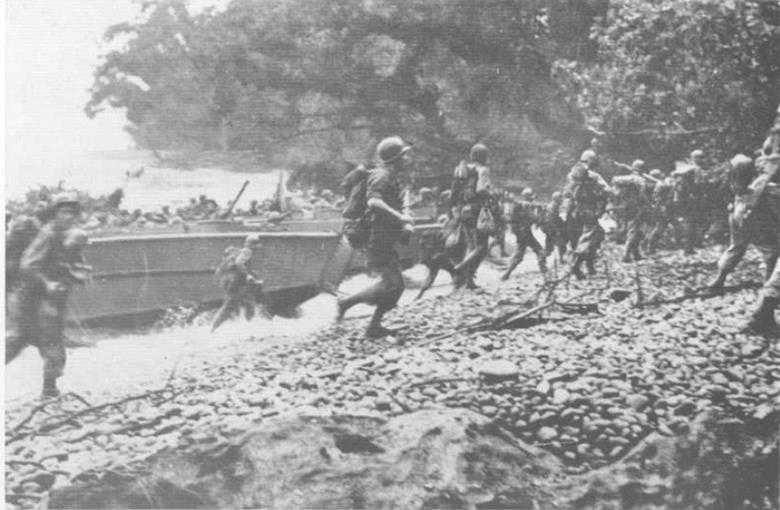
The landing of the 126th US Regimental Combat Team at Saidor. 2nd January 1944. (Australian War Memorial)
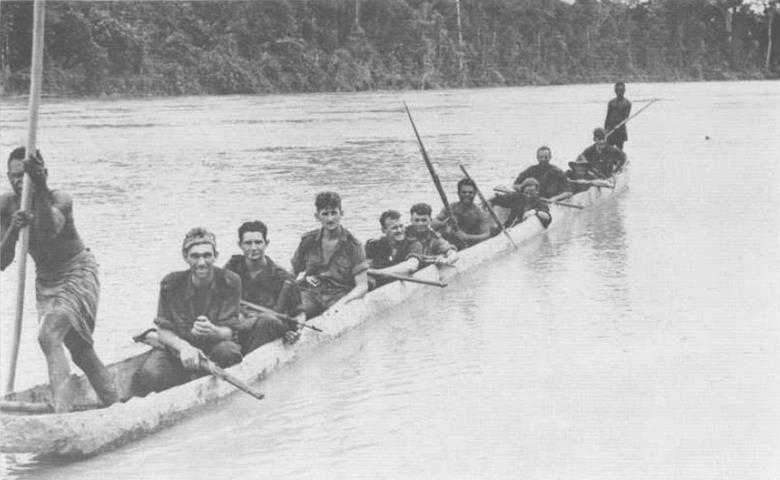
Men of the 2/2nd Commando Squadron crossing the Ramu River near Faita on 7th January 1944 after an eight-day patrol to Jappa, in Japanese territory. (Australian War Memorial)

After a 5,000-foot climb into the Finisterres the Australians found the mud just as deep as on the lower slopes. (Australian War Memorial)
Australian troops, on the way towards Japanese-held Bogadjim, rest after a hard climb in the Finisterres. (Australian War Memorial)
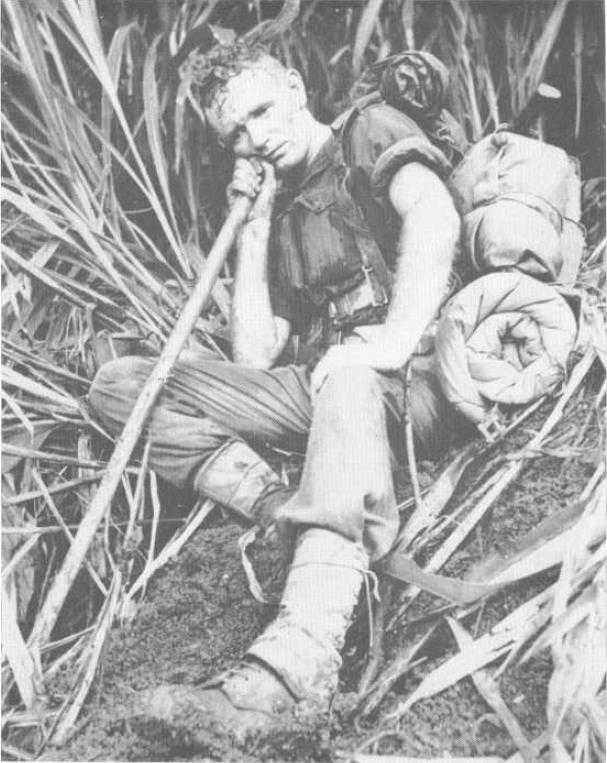
A weary soldier rests for a few moments on the side of a muddy track in the Finisterres. (Australian War Memorial)
The road from Bogadjim to Yaula, built by the Japanese.
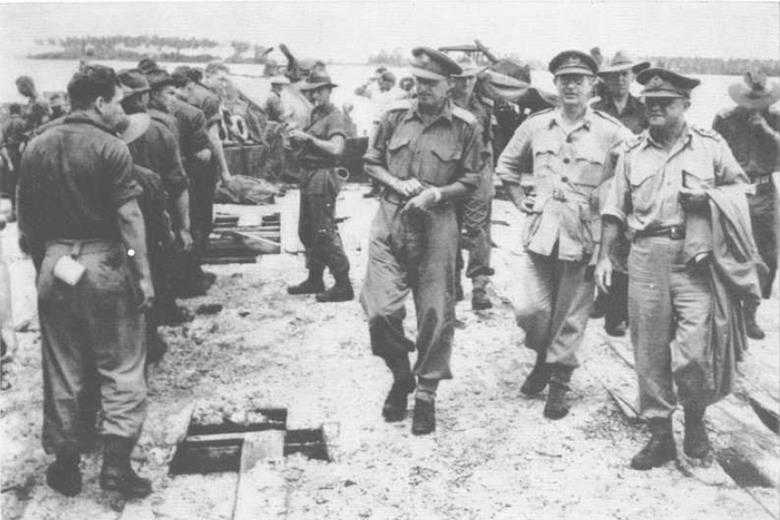
Brigadier C. E. Cameron (commander of the 8th Brigade). Lieut-General S. G. Savige (GOC II Corps) and Major-General A. H. Ramsay (GOC 5th Division) at Alexishafen, 5th May 1944. (Australian War Memorial)
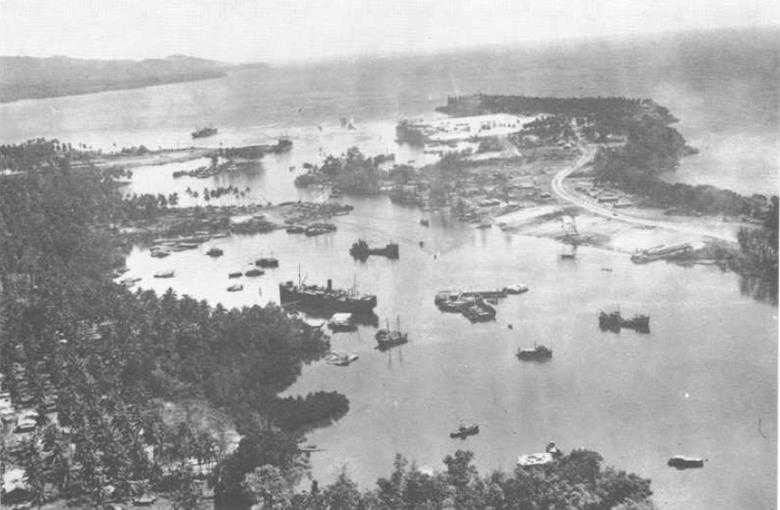
An aerial picture of Finschhafen Harbour, taken six months after its capture in October 1943. The harbour and airfield were rapidly developed, and Finschhafen became a major base for future operations. (Australian War Memorial)
Hollandia, April 1944. Allied aircraft systematically attacked airfields at Hollandia before the invasion in April. (Australian War Memorial)

The Allied invasion convoy in Humboldt Bay, April 1944