Illustrations
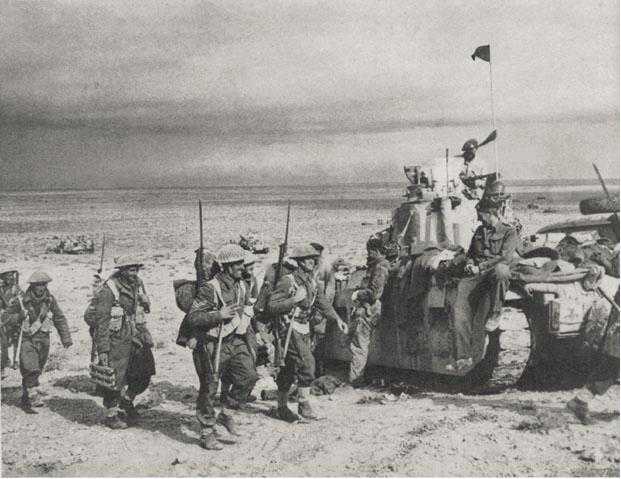
New Zealand infantry and Tobruk tanks. Men of 19 Battalion pass a Matilda of 4 Royal Tanks at Ed Duda after the link-up
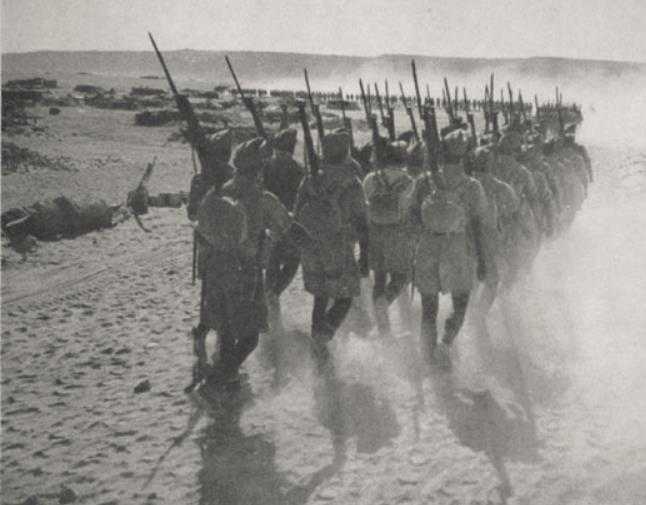
Ceremonial parade at Baggush before the battle. Note the escarpment in the background, like many another on the way to Tobruk
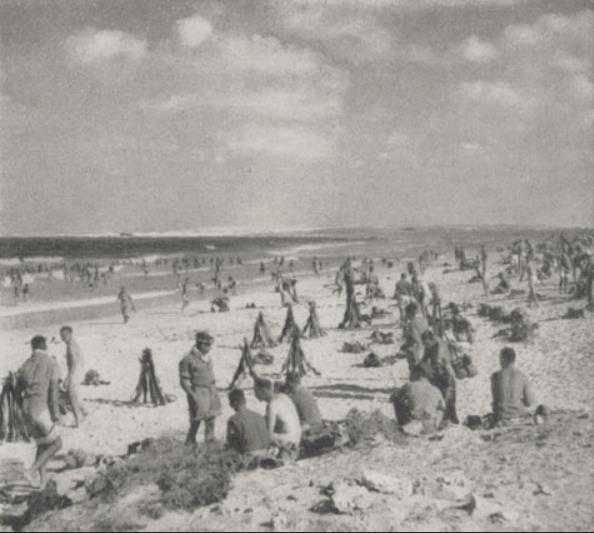
A chilly autumn swim at Baggush
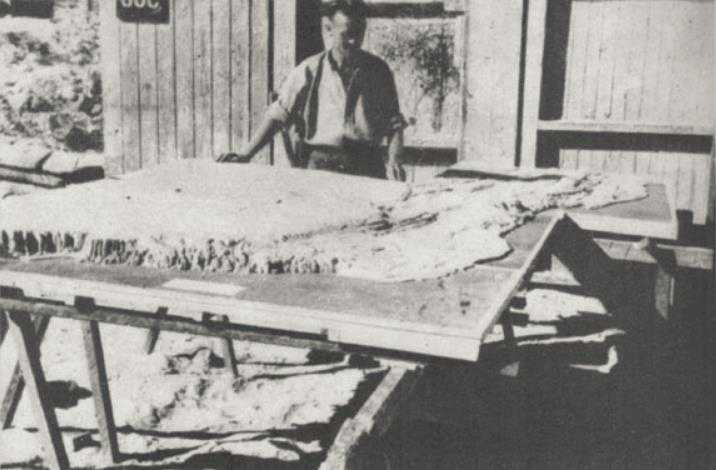
A relief model, made by the Engineers, of the battle area
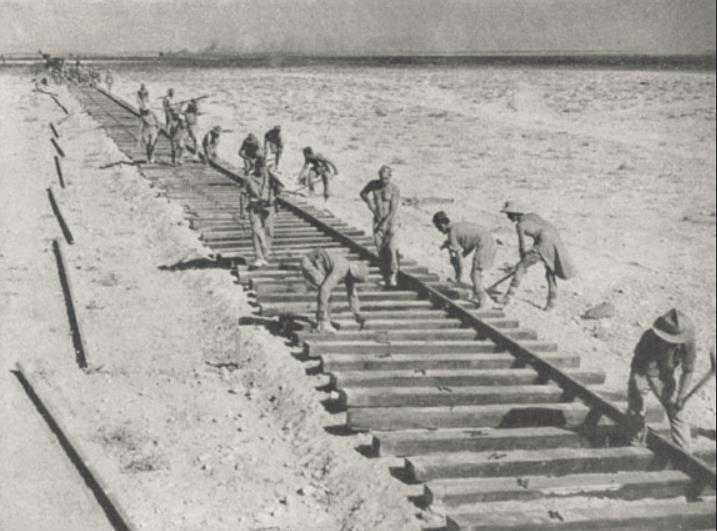
New Zealanders and Indians extend the desert railway
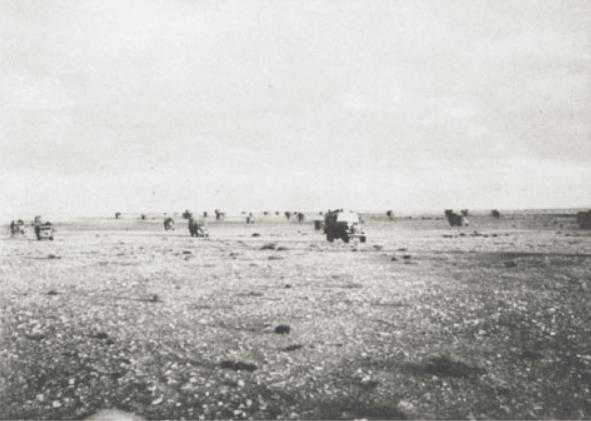
Fifth Brigade drives towards the frontier
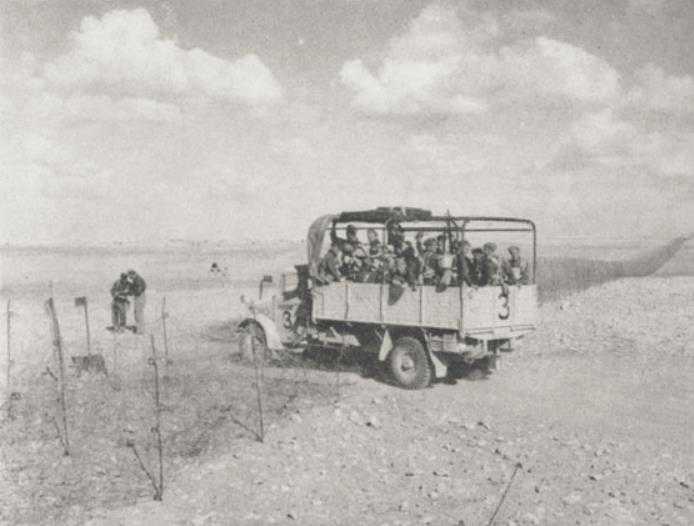
Crossing the frontier wire
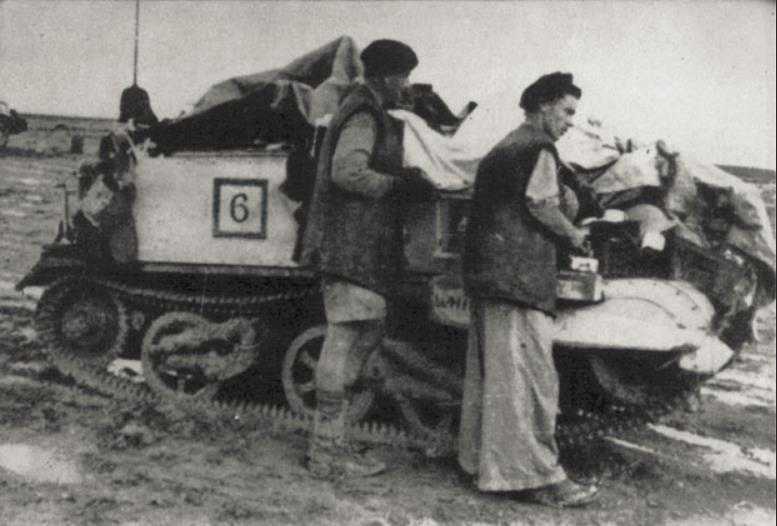
A Divisional Cavalry Bren carrier pauses in muddy going inside Libya
Crusader tanks advance across typical scrubland
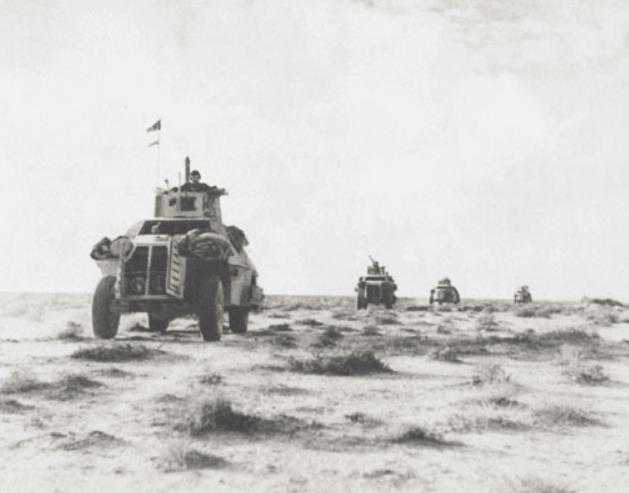
An armoured-car patrol with Marmon-Harringtons like those of Divisional Cavalry
A desert convoy led by a Stuart tank (‘Honey’)
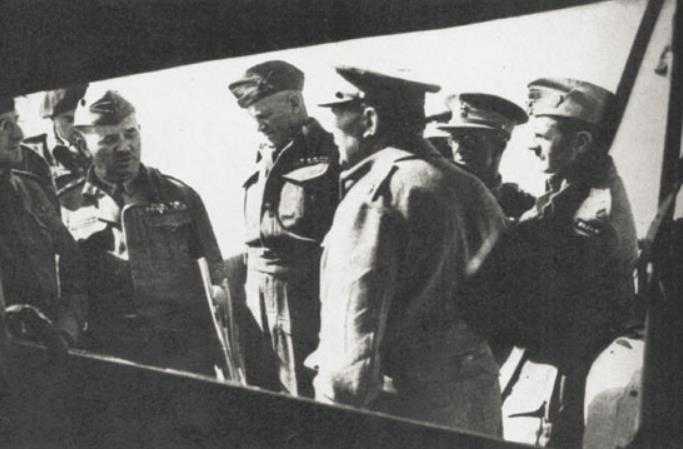
An early conference in Libya with, left to right, Lieutenant-Colonel Gentry, Brigadiers Hargest and Miles, General Freyberg, Brigadier Barrowclough and Lieutenant-Colonel Maxwell

A quick meal during a halt in the advance

Valentines of 8 Royal Tanks drive past New Zealand field guns

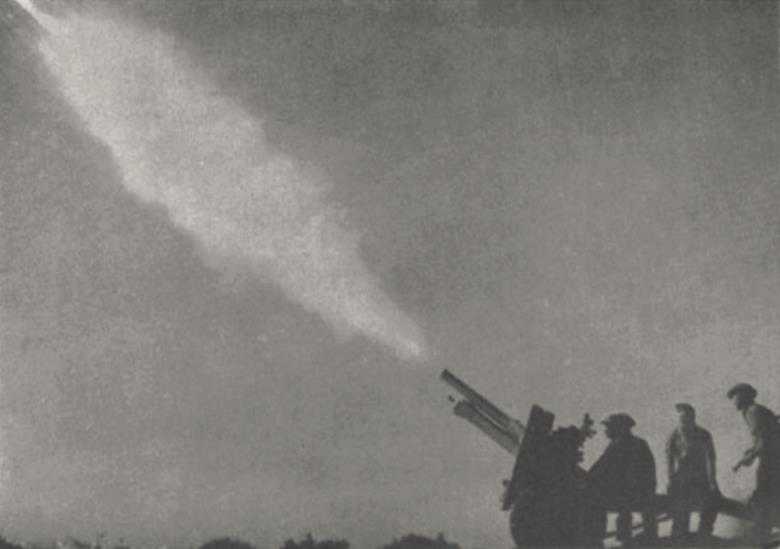
New Zealand Bofors crew ready for action at dawn, 22 November 1941

Sidi Azeiz, scene of the last stand of 5 Brigade Headquarters on 27 November
Fort Capuzzo, much battered in Wavell’s campaign, in BATTLEAXE, and again in CRUSADER
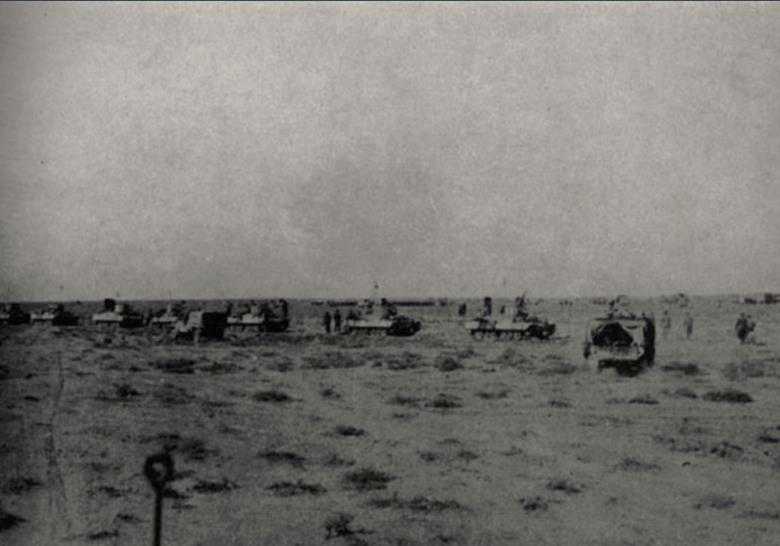
C Squadron, 8 Royal Tanks, with 6 Brigade. Probably taken after the overrunning of Africa Corps Headquarters at dawn on 23 November. In the centre is a group of prisoners. Most of the tanks were knocked out within a few hours.
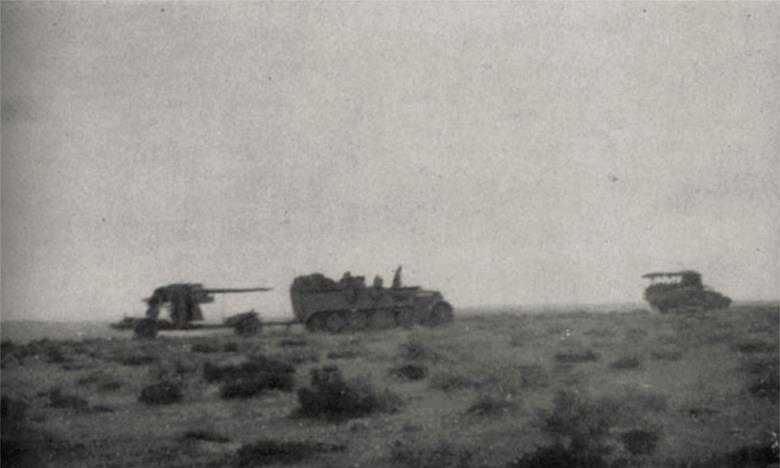
An 88 is towed away from Gambut by a ‘half-track’ as 4 Brigade arrives, 23 November

Men of 20 Battalion move past Valentines of A Squadron, 8 Royal Tanks, under heavy fire near Bir el Chleta, 24 November
An early batch of German prisoners is marched past Valentine tanks
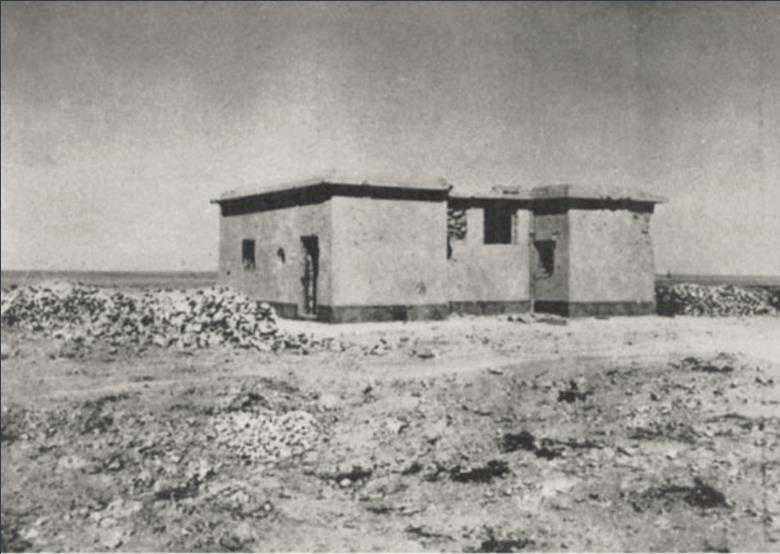
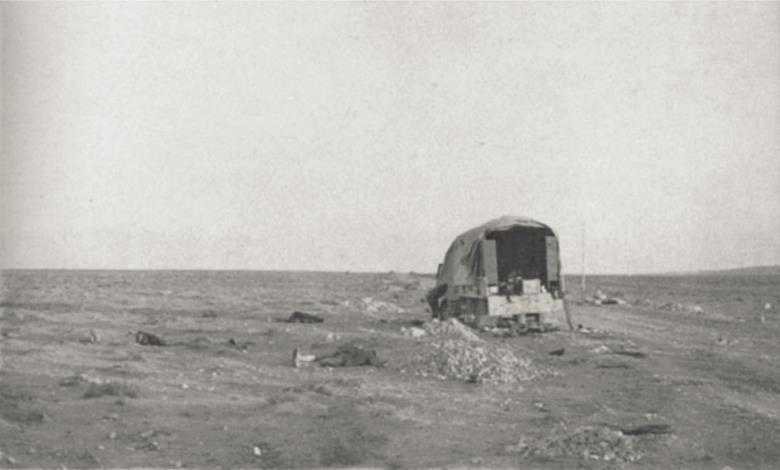
The Blockhouse

The ‘Mosque’ at Sidi Rezegh, the tomb of an Arab saint and his son
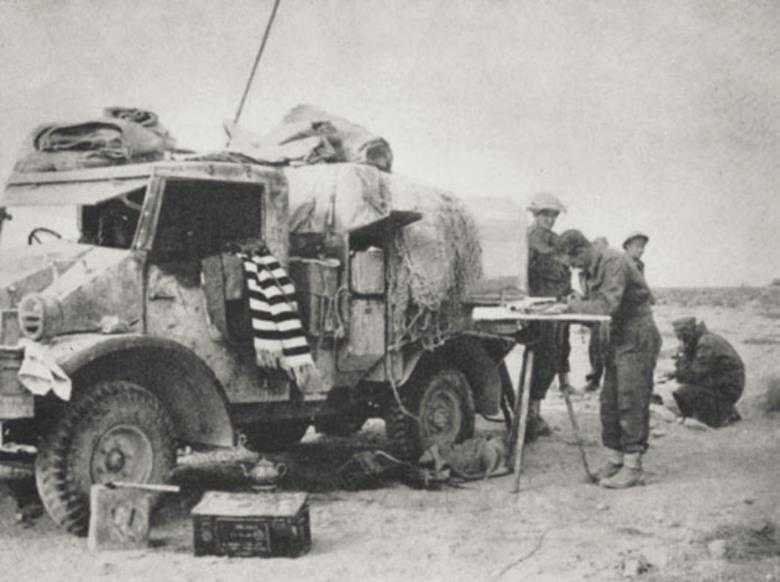
An artillery signals truck in action, with one man busy at the map board; behind him another crouches at the telephone
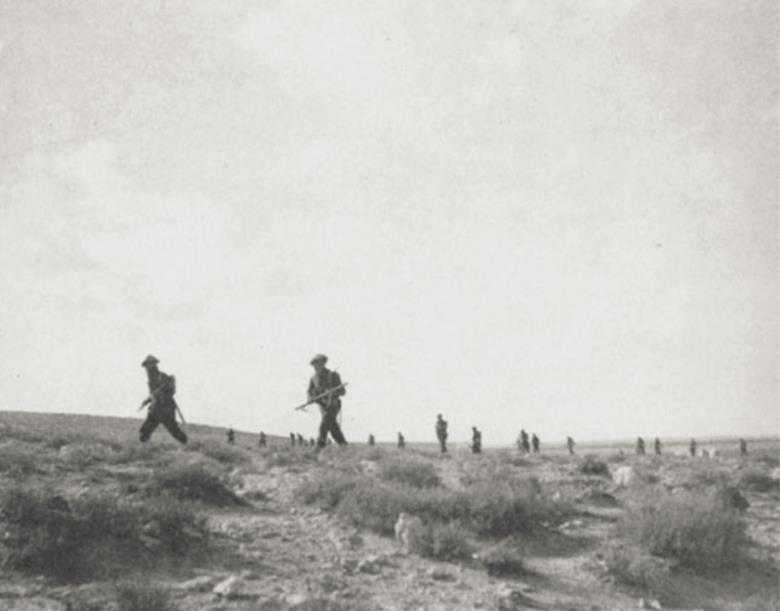
Infantry of the Tobruk garrison advance in the break-out battle
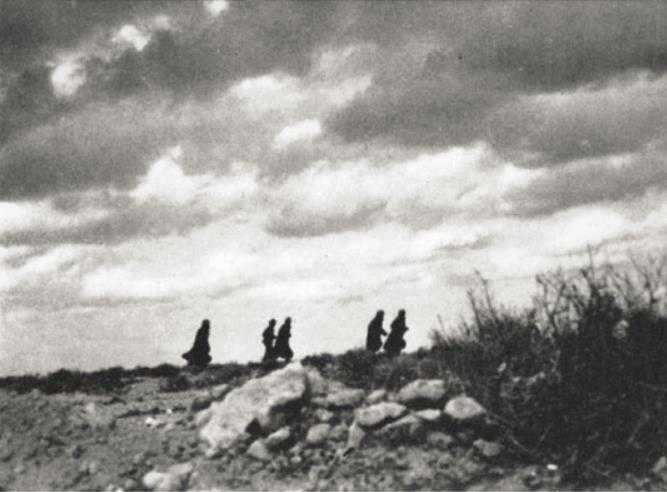
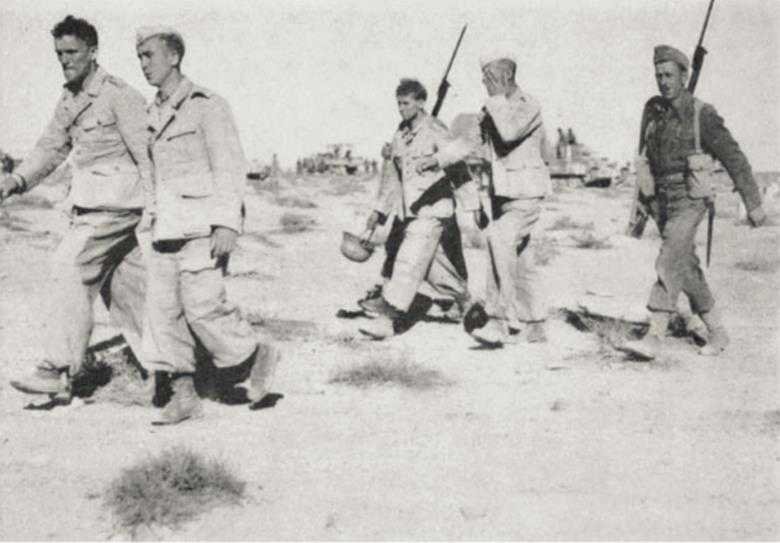
German prisoners hurrying for cover on Belhamed on 26 November. Their escort is out of sight to the left
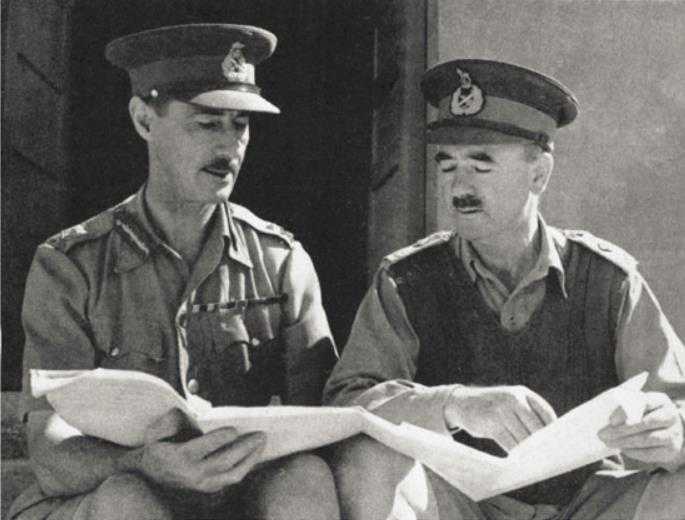
Major-General Scobie confers with his predecessor, Major-General Morshead, on taking command of the Tobruk garrison
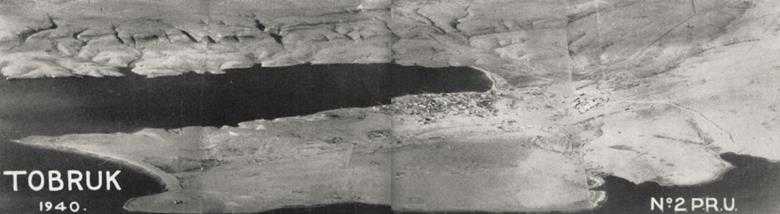
Tobruk, an aerial mosaic looking south-eastwards towards the main CRUSADER battlefield at Sidi Rezegh. The road running off to the top left is the Via Balbia

A and B Companies of 19 battalion pass 4 Royal Tanks in a thrust from Ed Duda to link up with 6 Brigade, 27 November. (They were soon recalled.)
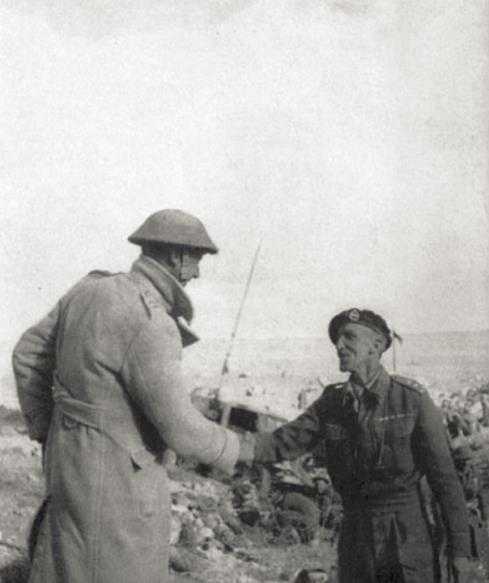
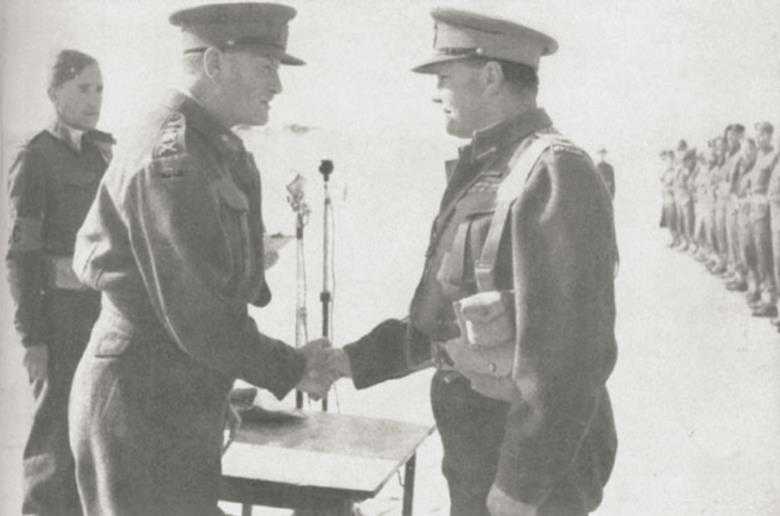
Lieutenant-Colonel Hartnell of 19 Battalion greets Brigadier Willison of 32 Army Tank Brigade at Ed Duda, the first relief of Tobruk
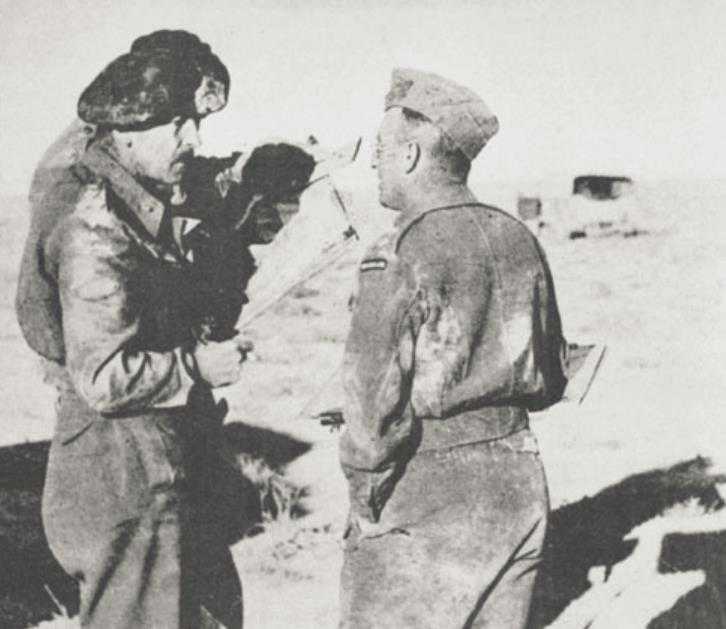
Brigadier Watkins of 1 Army Tank Brigade confers with Lieutenant-Colonel Gentry after a Stuka raid. (Note mud from slit-trenches on their jackets.)
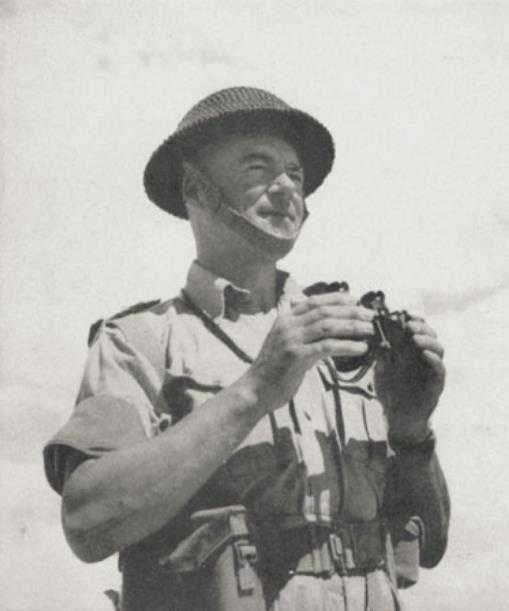
Brigadier Inglis, commanding 4 Infantry Brigade, in summer uniform

Counter-attack on the Tobruk Corridor: marked map captured with General von Ravenstein on 29 November. The two panzer divisions were to attack abreast, with the 21st on the right, driving past 90 Light Division (top left centre), followed by Ariete
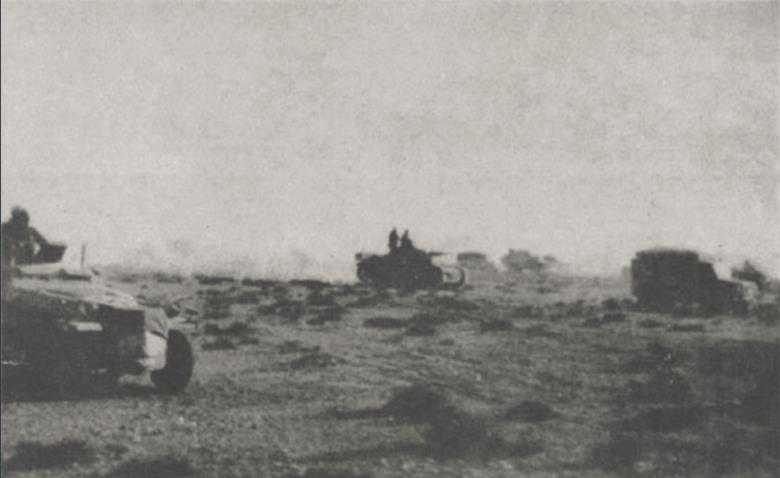
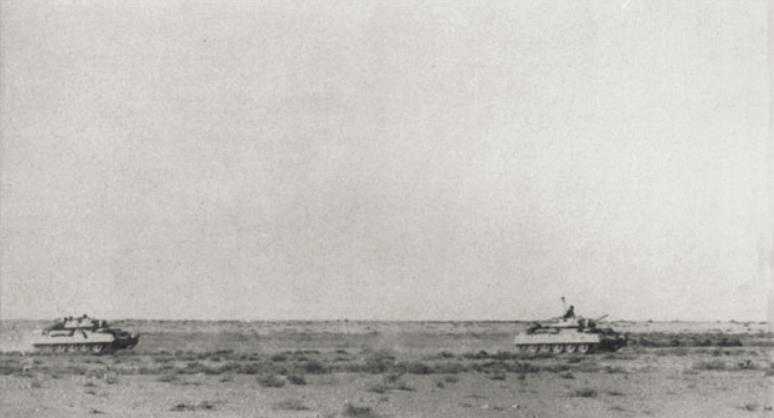
15 Panzer Division bears down on 6 Brigade at Sidi Rezegh, 30 November. In the centre is a Pzkw III

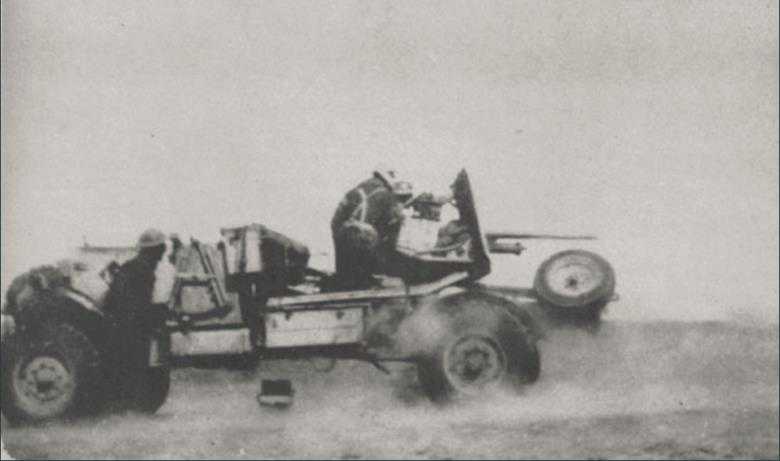
Closing in on 6 Brigade. A ‘half-track’ tows a 50-millimetre anti-tank gun alongside a Pzkw III
General Freyberg speaks by wireless to 30 Corps on the ‘Bayley to Bayley’ link. The vehicle is a South African armoured car which broke through to the New Zealand Division
A portée of L Troop in action on 1 December
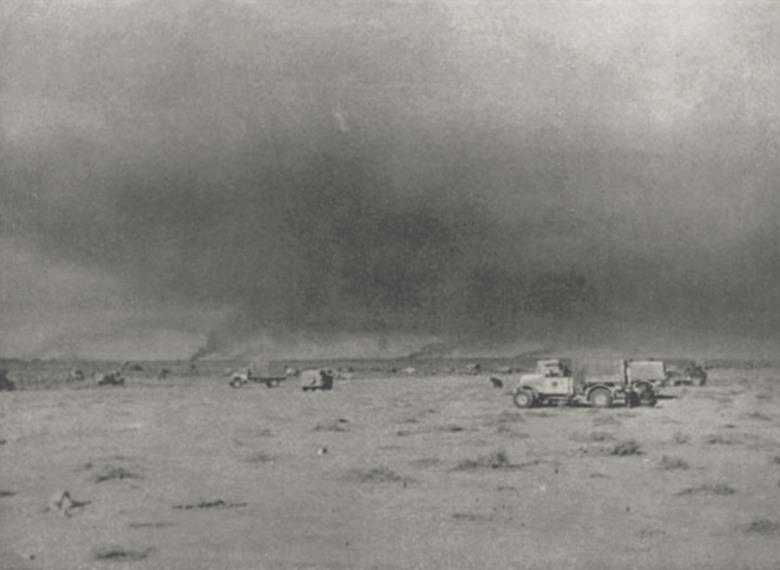
Smoke over Belhamed, 1 December. A 6 Field Regiment gun is about to withdraw. Enemy infantry are closing in from the left
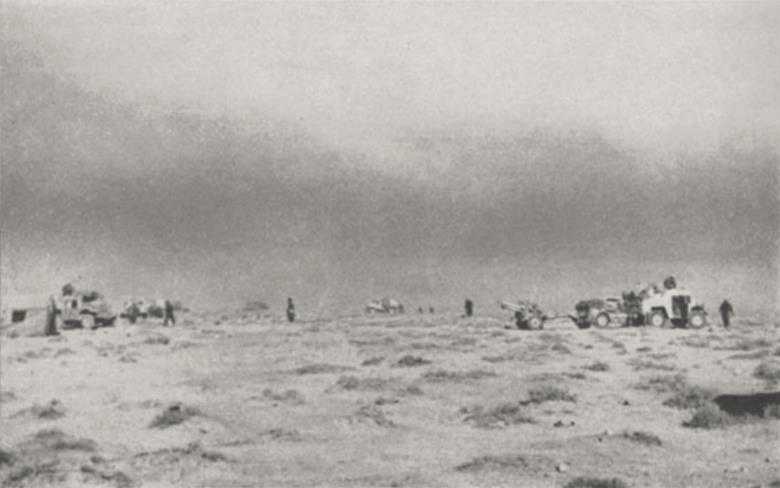
The same scene from a slightly more comfortable distance, with burning transport of 6 Brigade on the skyline
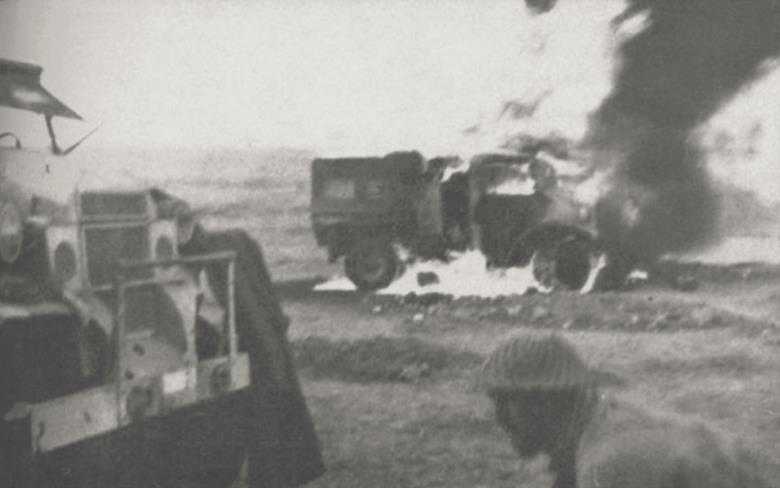
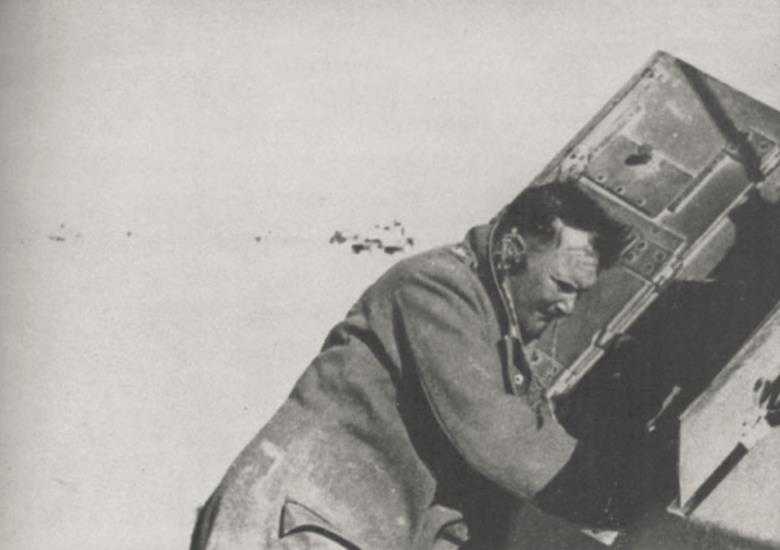
A blazing Signals truck on Belhamed. The crouching figure in the foregroundshows that the enemy is close
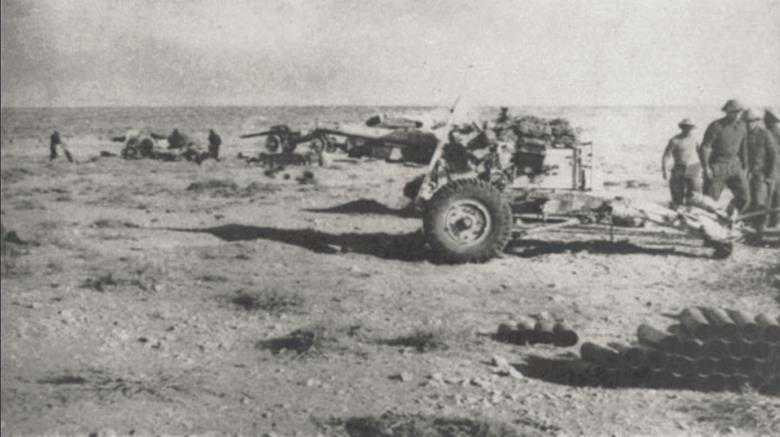
Guns of 4 Field Regiment prepare for anti-tank action after Belhamed is lost. In the background is a captured German field gun
Retreat from Zaafran. The remnants of the Division form up at dusk on 1 December
Other New Zealand vehicles enter Tobruk
Lieutenant-General Sir Alan Cunningham, first commander of Eighth Army (after a successful campaign in East Africa). His brother was C-in-C, Mediterranean Fleet

Lieutenant-General C. W. M. Norrie, GOC 30 Corps, speaking on the ‘blower’
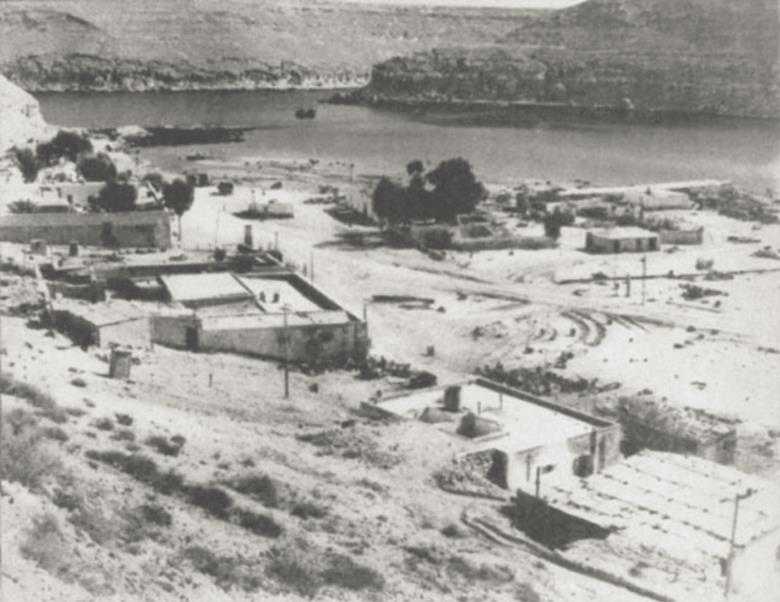
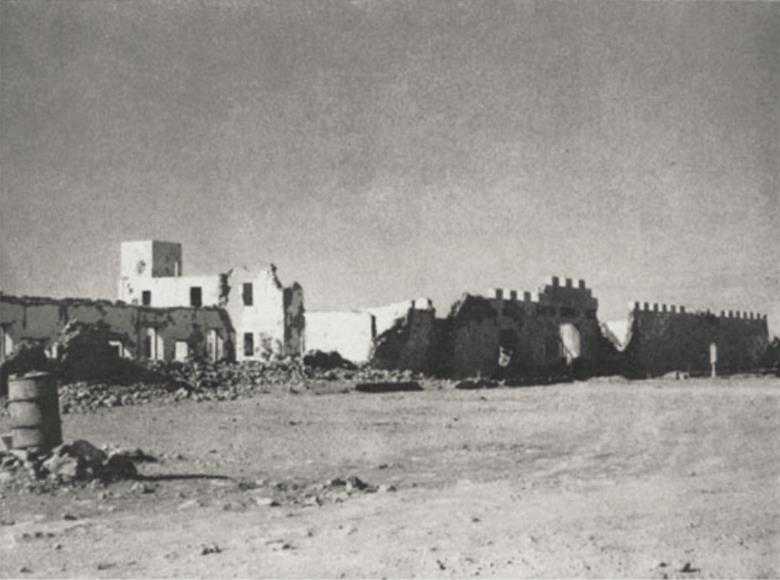
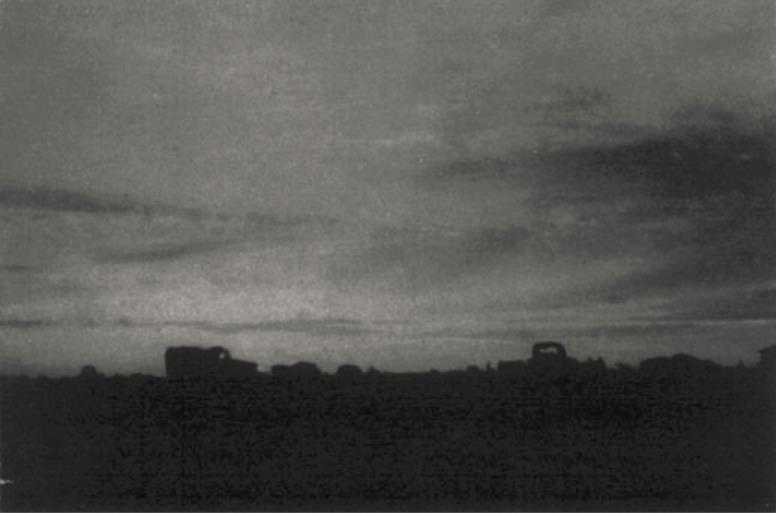
Bardia

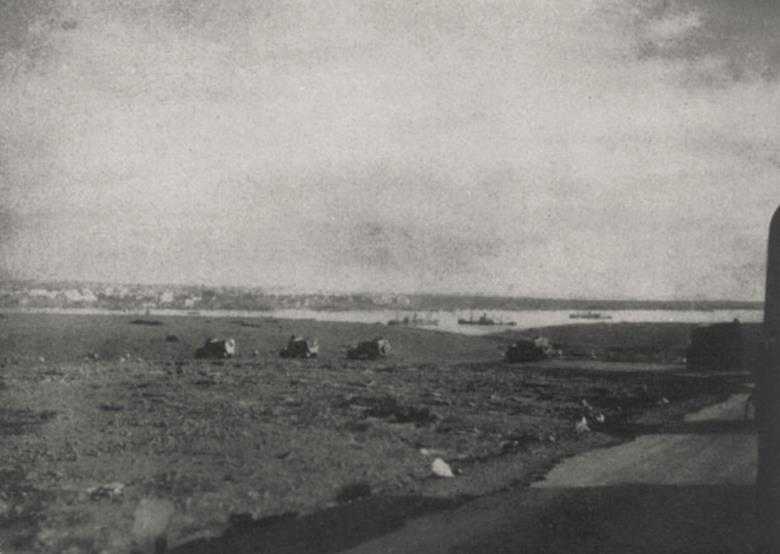
Sollum from the Air, with the barracks (top centre) overlooking the pass road

A Vickers gun of 4 MG Company in action at Menastir with 22 Battalion
Scene of fierce fighting outside Bardia. Probably taken near Fort Capuzzo on 27 or 28 November, with German dead to the left of the lorry
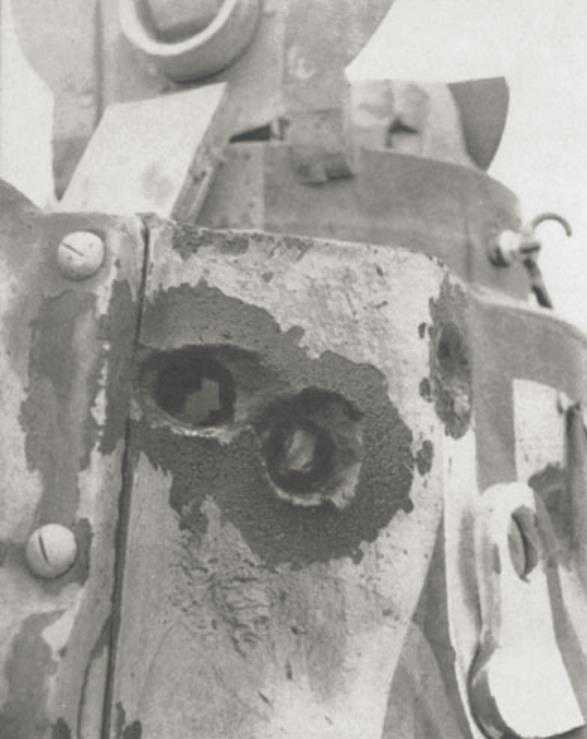
The thick turret of a Matilda holed in three places by a German anti-tank gun
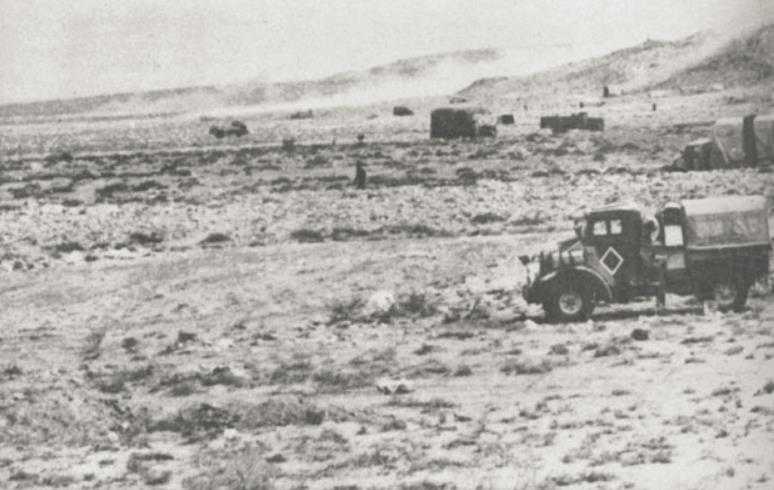
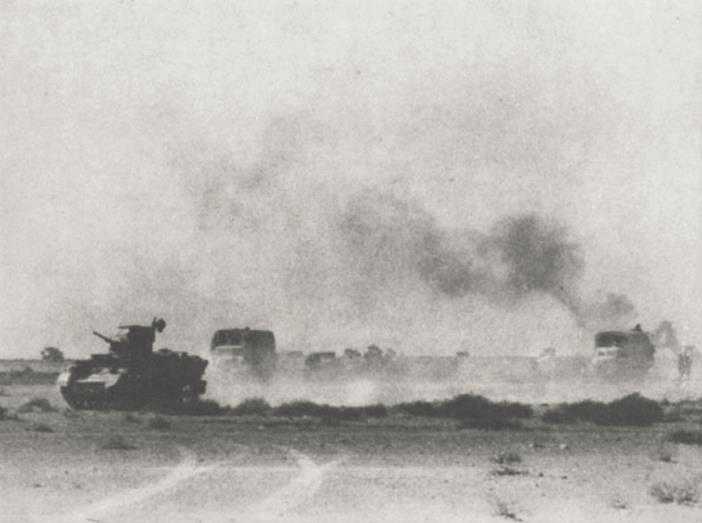
Transport under fire in the lee of an escarpment – a typical CRUSADER scene
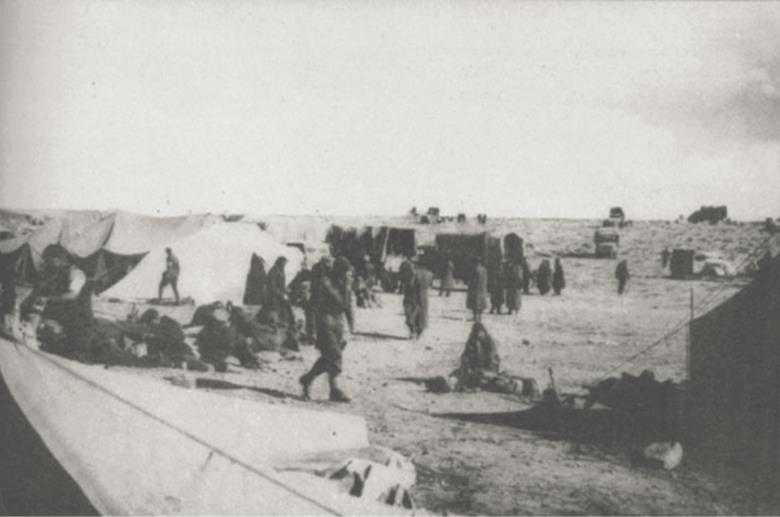
A corner of the captured MDS near Point 175: in the photograph are New Zealanders, South Africans, Italians and a German medical orderly
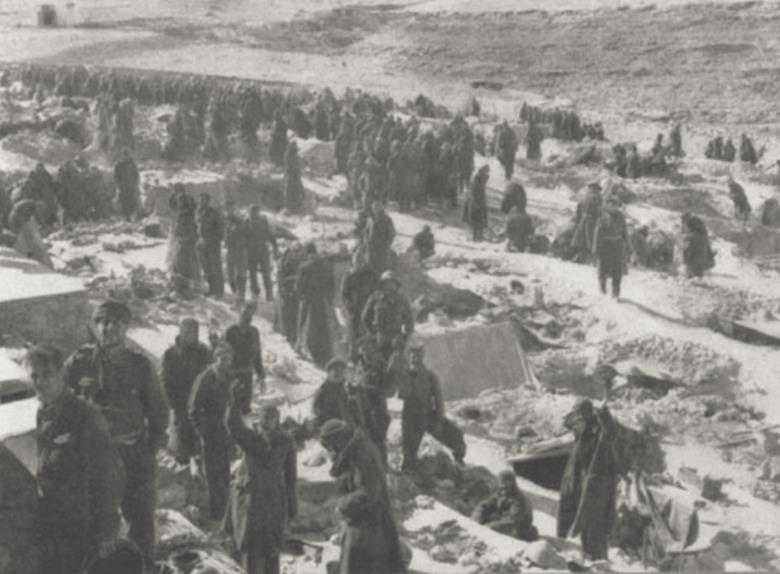
The prisoner-of-war compound after Bardia fell, with New Zealanders just released from five weeks of captivity
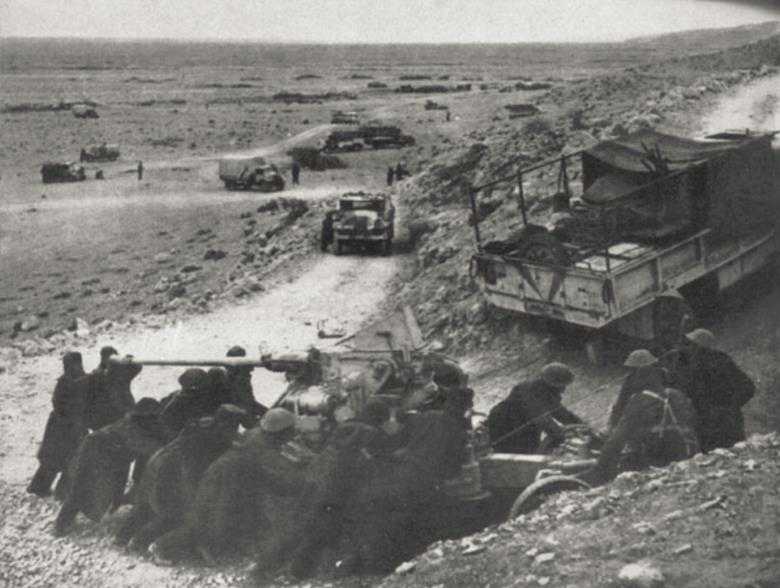
A Bofors being manhandled up an escarpment on the way to Gazala
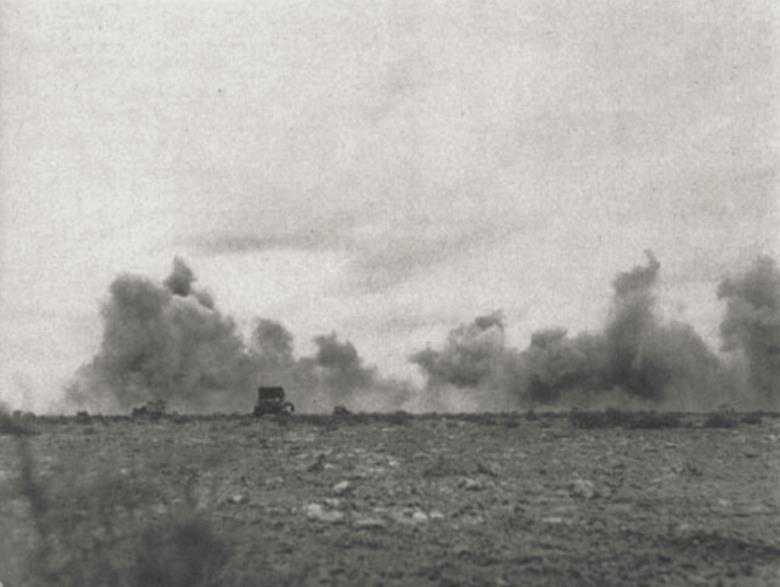
Stuka raid on transport near Gazala
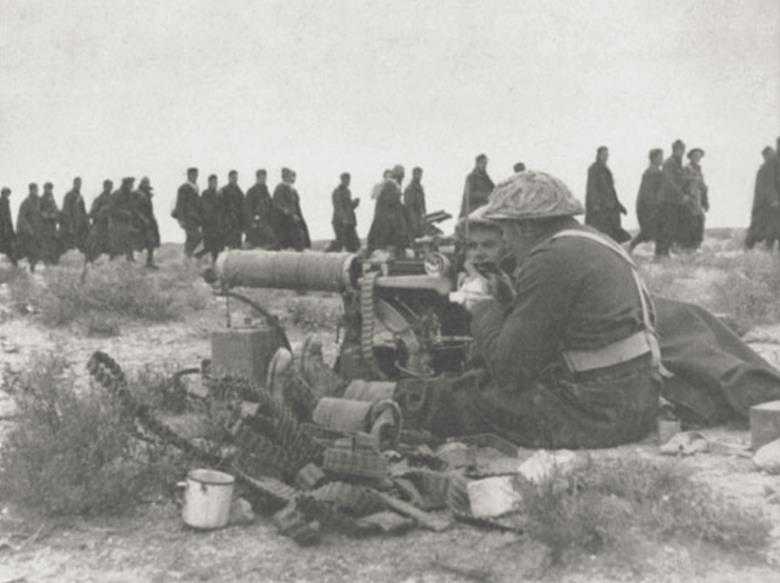
Italians captured in the Gazala line march past a much-used Vickers gun
A New Zealand 25-pounder firing in half-light in the Gazala battle
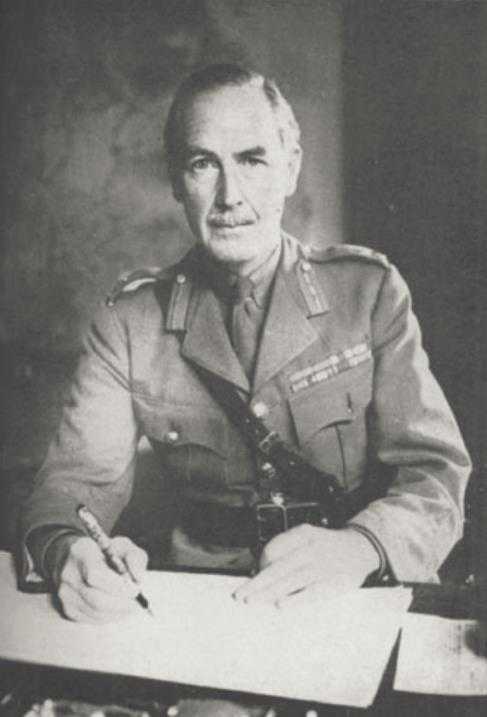
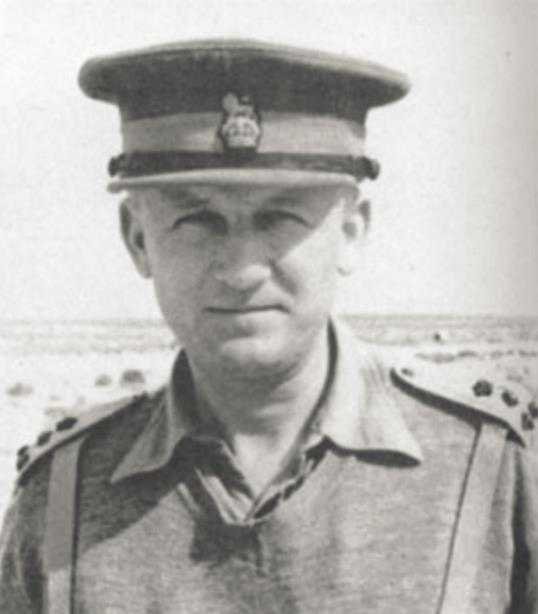
Lieutenant-General Ritchie, who assumed command of Eighth Army on 26 November
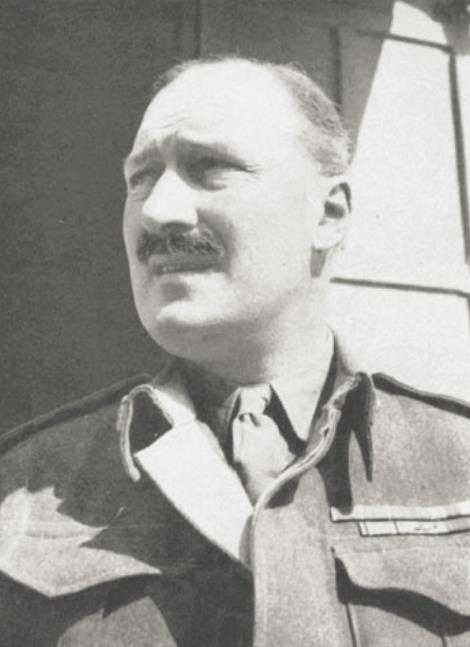
Lieutenant-General Godwin-Austen, GOC 13 Corps in CRUSADER (taken early in the war when he was a Major-General)
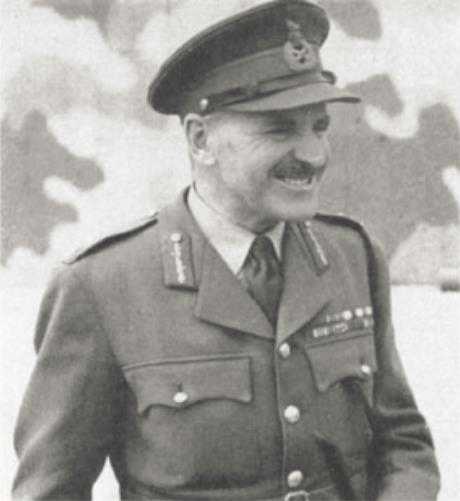
Major-General Gott, GOC 7 Armoured Division in CRUSADER (taken when he was brigadier commanding the Support Group)
General Auchinleck congratulates General Freyberg after the campaign

General Rommel seated above the Afrikakorps emblem on a German armoured truck, February 1942
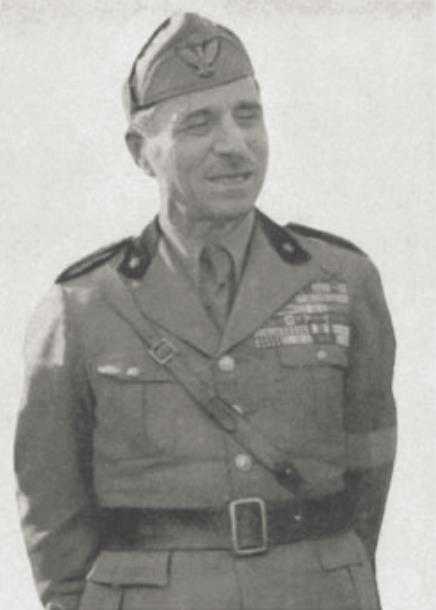
General Bastico, C-in-C of the Italian High Command in North Africa and nominally Rommel’s superior
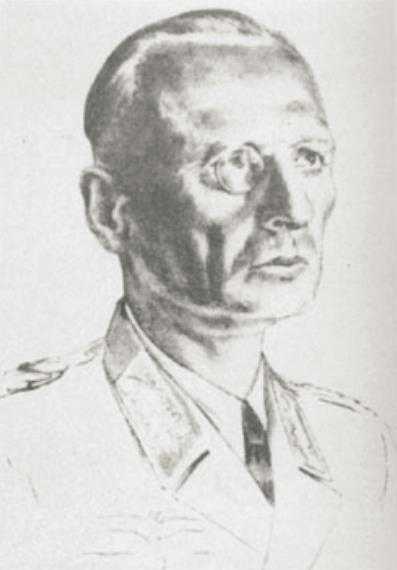
Major-General von Ravenstein, GOC 21 Panzer Division, in Tobruk after his capture
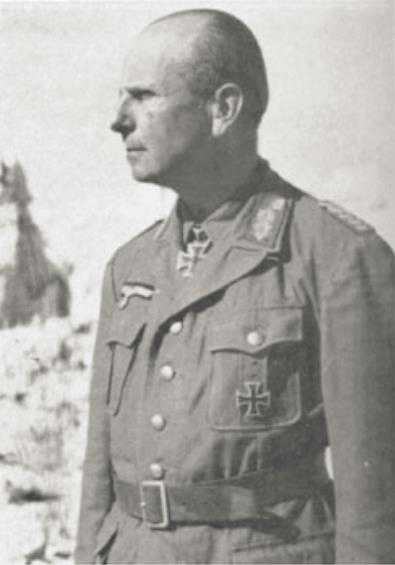
Major-General Neumann-Silkow, GOC 15 Panzer Division, mortally wounded near El Gubi on 6 December 1941
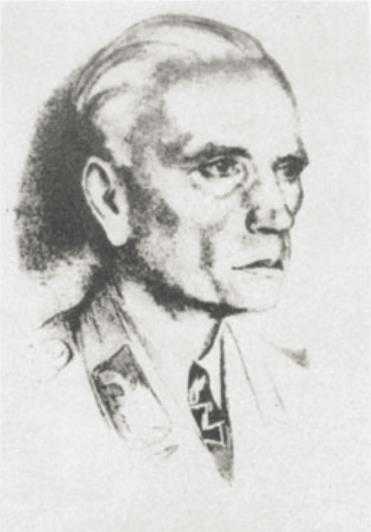
Major-General Sümmermann, GOC 90 Light Division, killed in an air raid on 10 December 1941