Illustrations
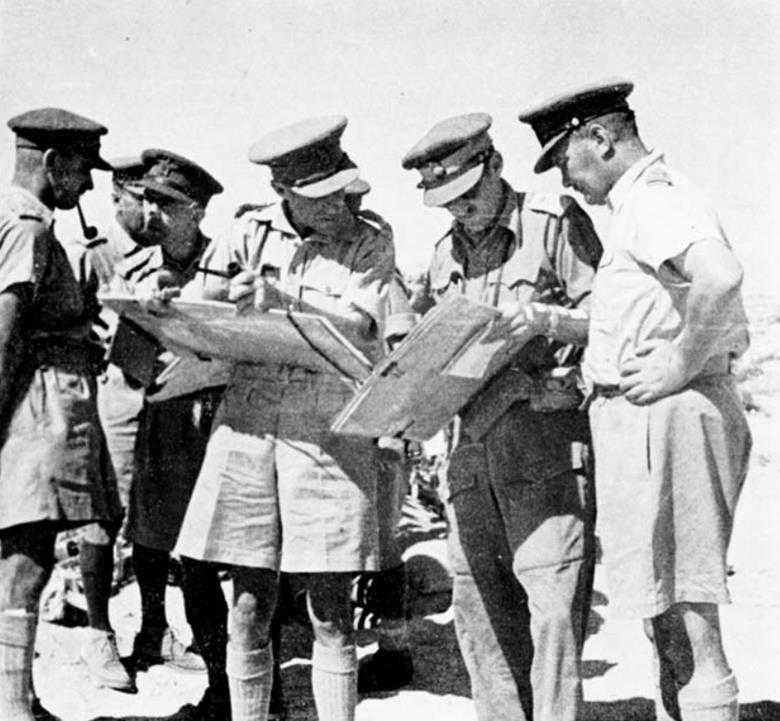
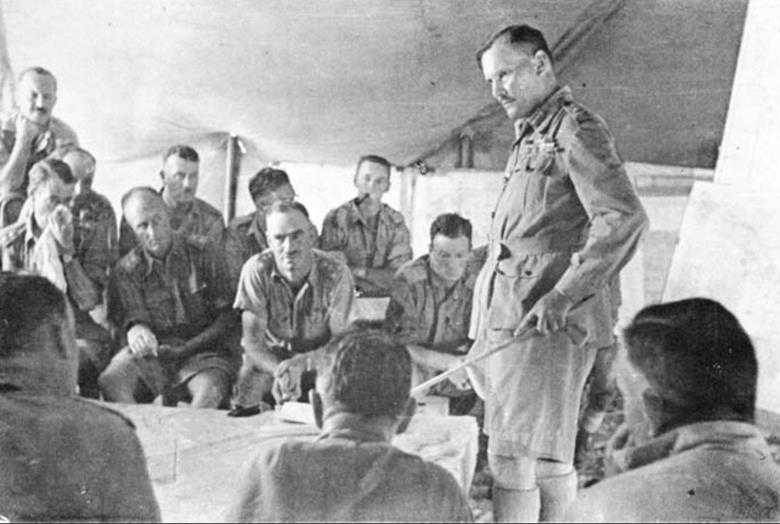
General Freyberg discusses plans for the Alamein battle with his brigadiers on 23 October 1942
From left: Brigadiers C. E. Weir (CRA), W. G. Gentry (6 Brigade) partly obscured, Lieutenant-Colonel F. M. H. Hanson (CRE), Brigadiers H. K. Kippenberger (5 Brigade), J. C. Currie (9 Armoured Brigade) and General Freyberg
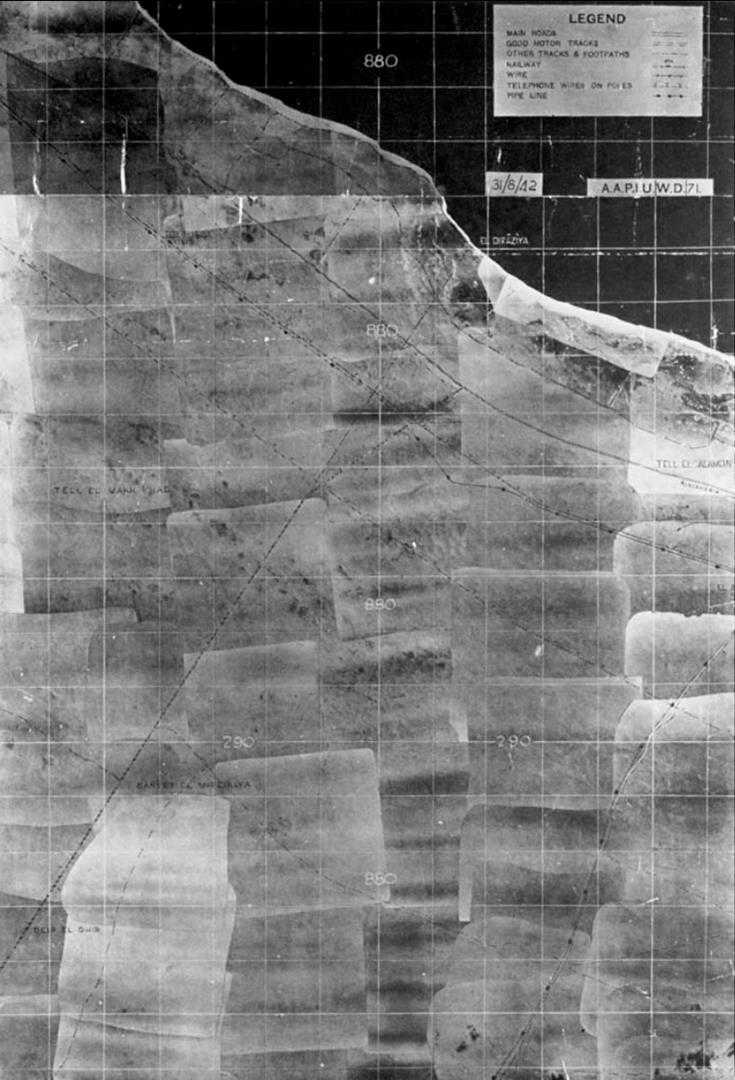
Aerial mosaic, Alamein
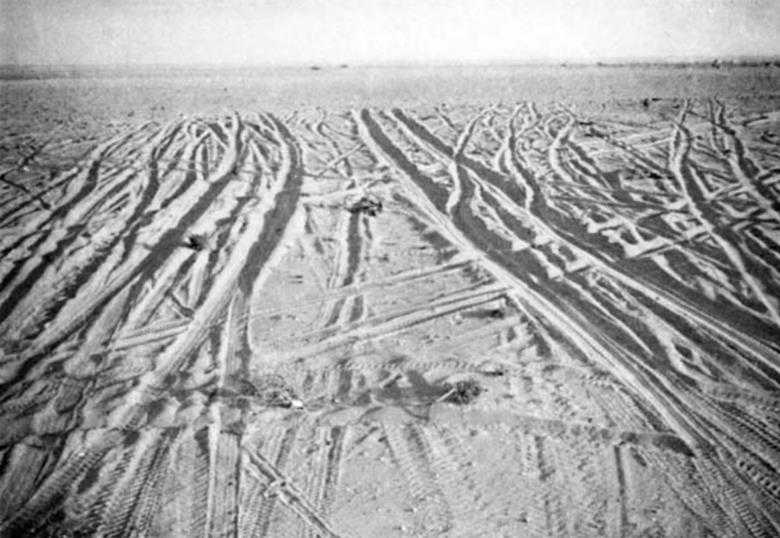
Wheel tracks, Alamein

Approaching dust-storm

Washday
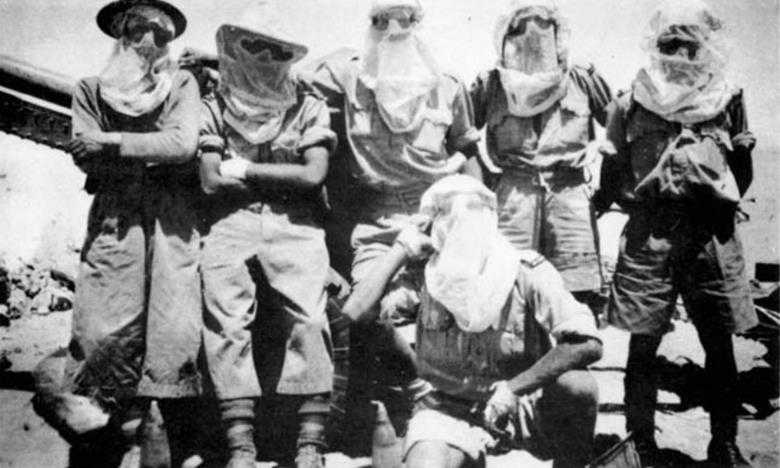
Fly-proofed

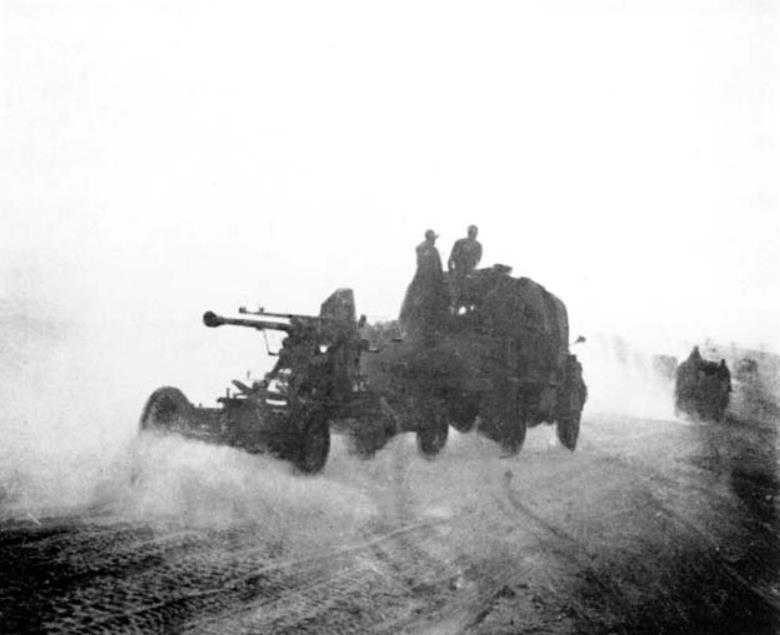
Bofors gun and crew
On the Defensive
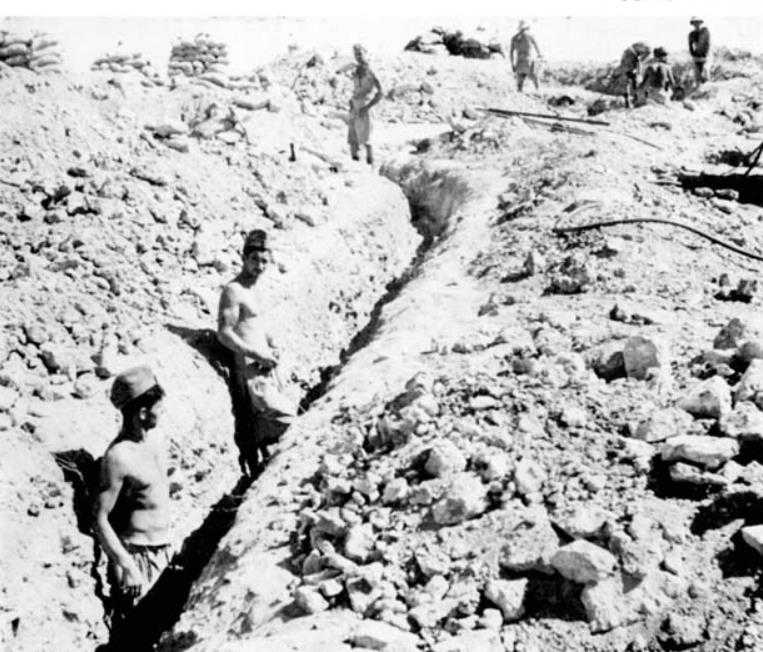
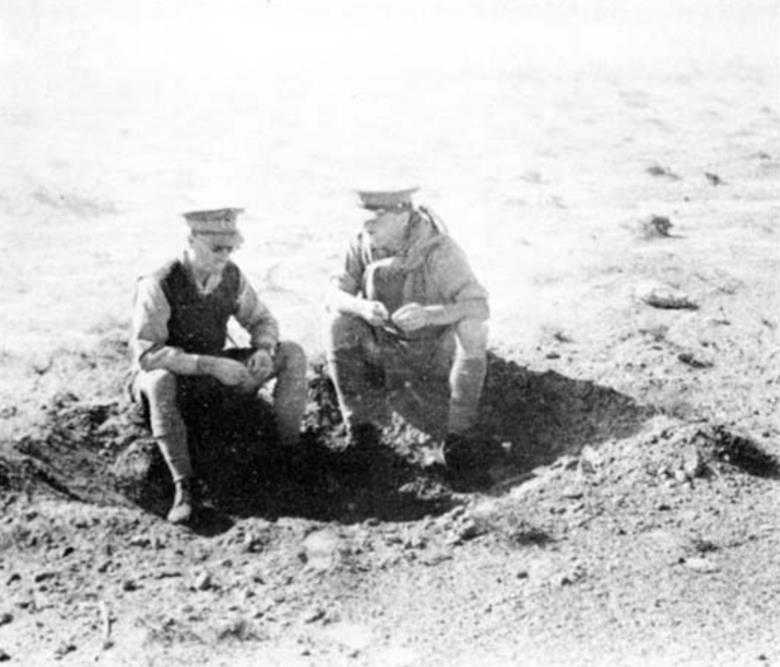
Digging a trench
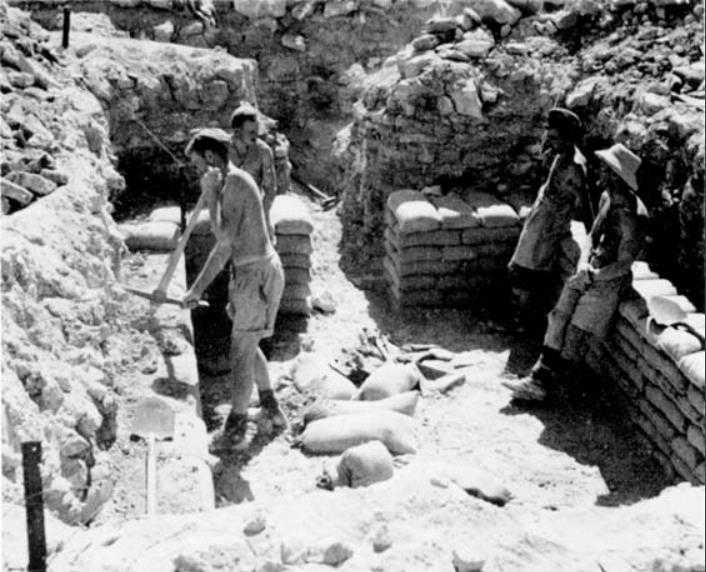
Sandbagged headquarters dugout
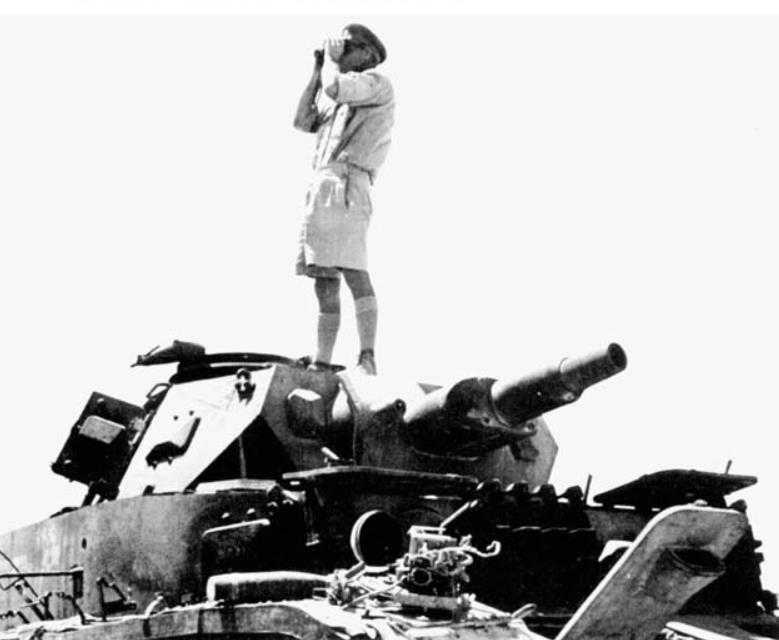
A disabled enemy tank serves as an OP
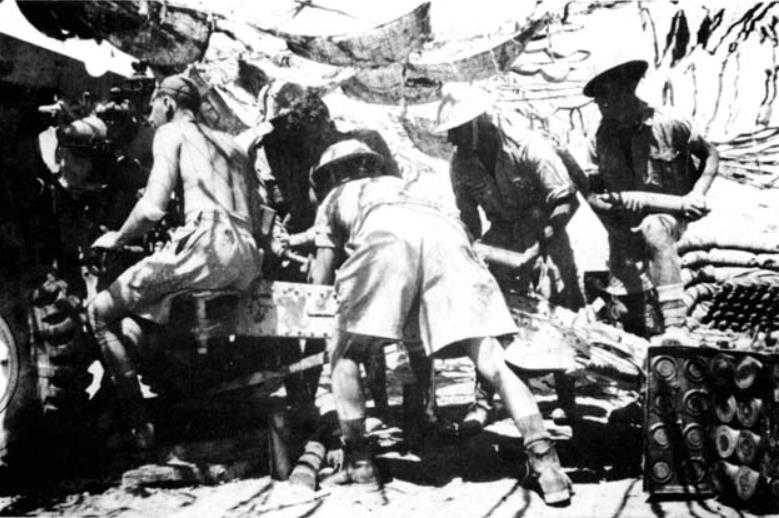
A 5 Field Regiment gun crew
The gunners go underground during a Stuka raid
Stuka pilot shot down at Alamein
Camouflaged gunpit
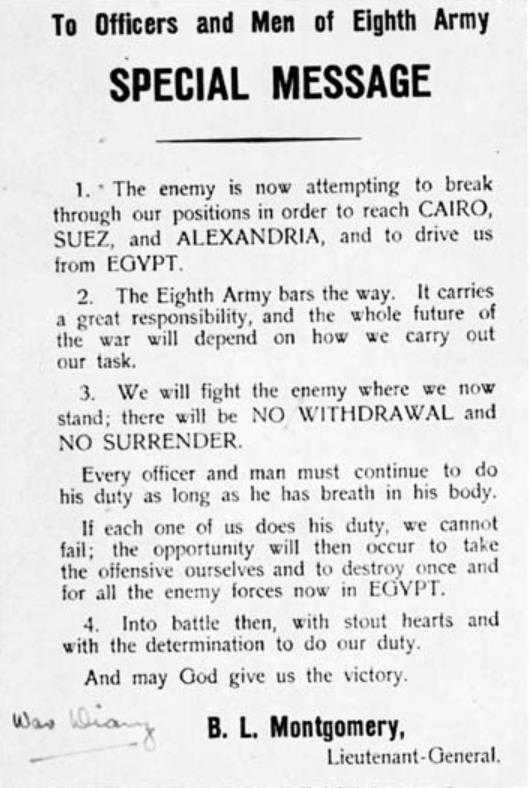
Special message by General Montgomery, 20 August 1942
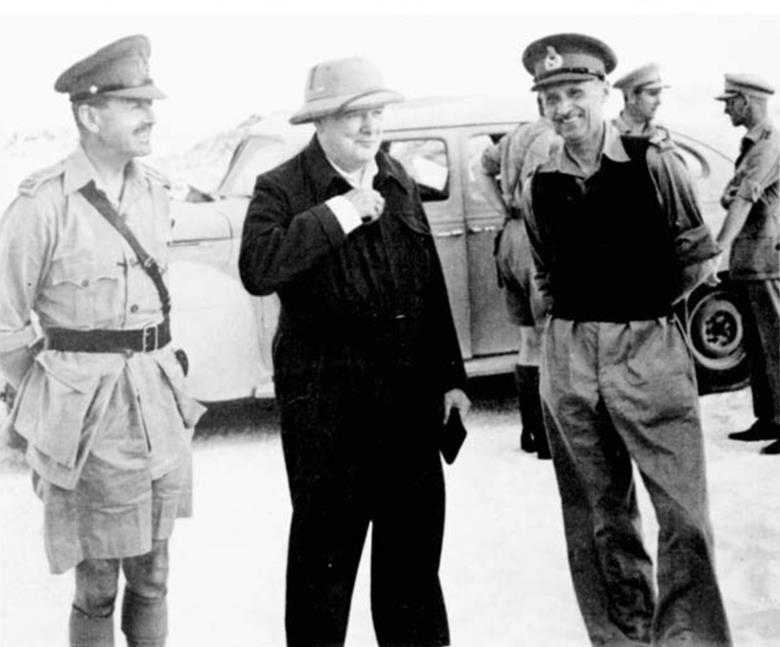
General Alexander, Mr Churchill and General Montgomery

Mr Churchill and General Freyberg

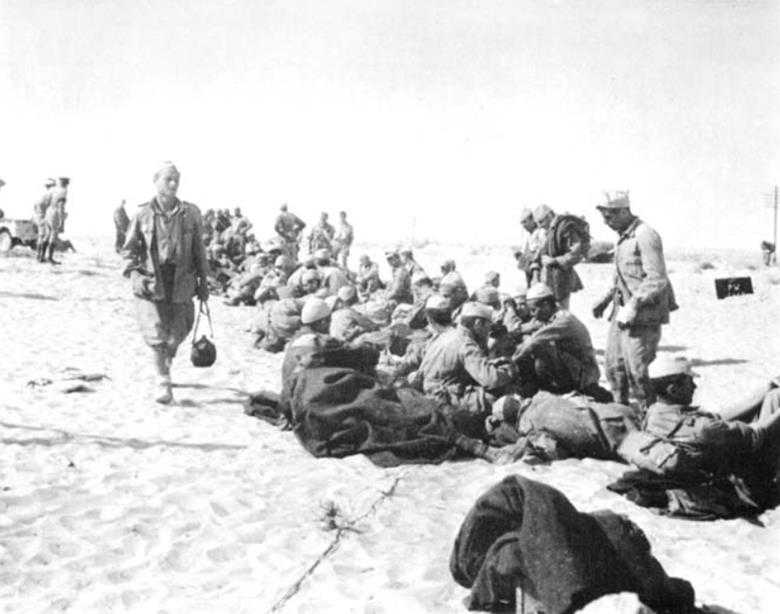
German prisoners captured by the Maori Battalion in the Munassib Depression, 4 September 1942

Aerial mosaic showing the depressions south of Bab el Qattara
Munassib Depression. Qaret el Himeimat is the raised feature on the far left

Wounded awaiting treatment in 6 ADS, near Alam Halfa
General Freyberg and Brigadier Kippenberger, August 1942
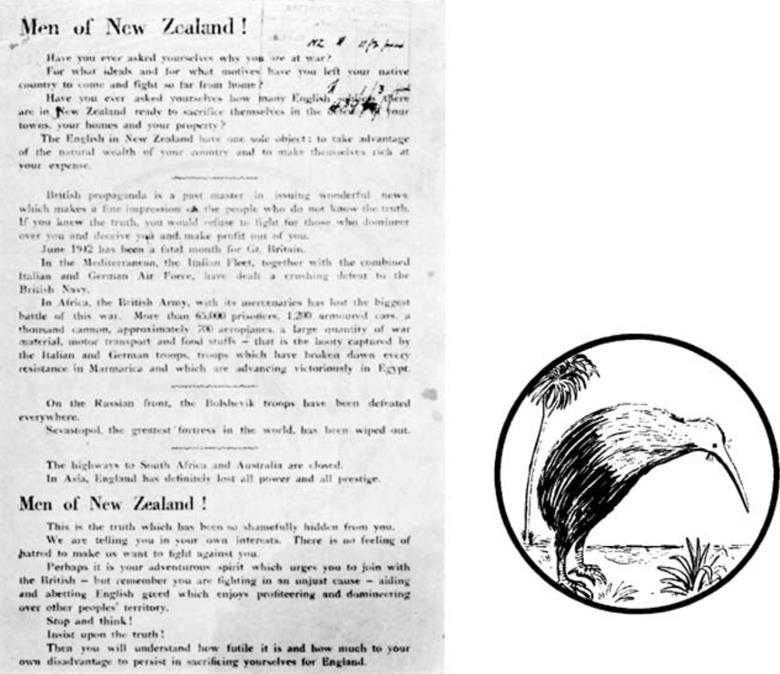
German propaganda leaflet

New Zealanders reading the propaganda leaflet
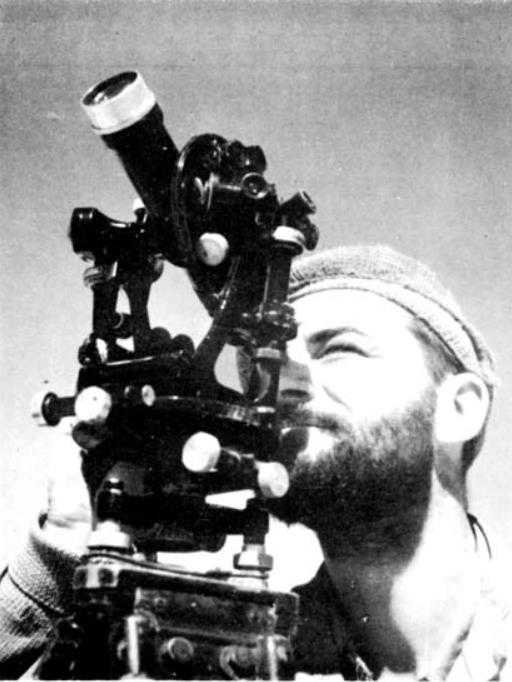
A New Zealand navigator in the Long Range Desert Group
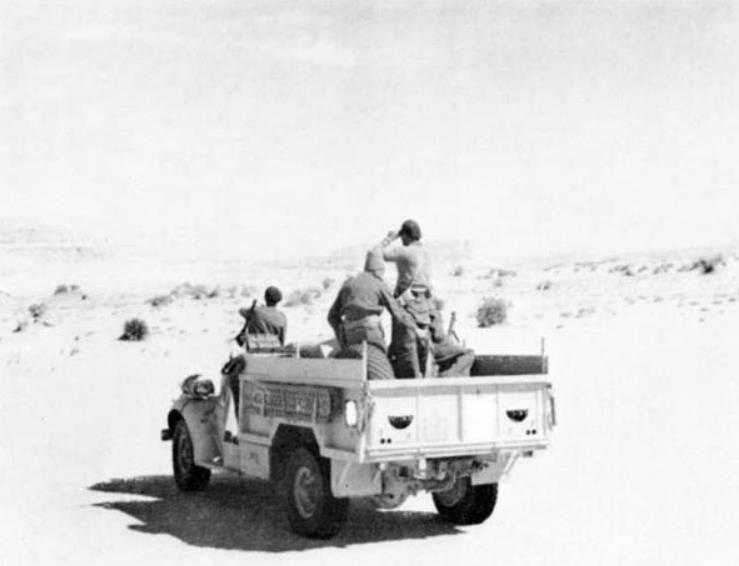
An LRDG patrol
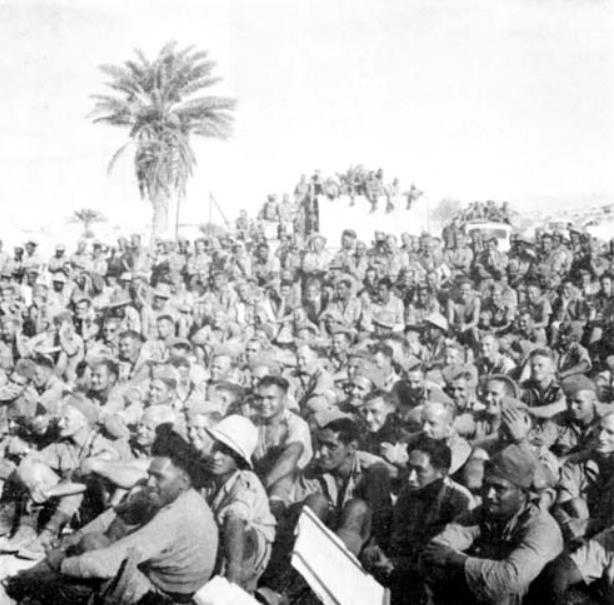
Kiwi Concert Party audience in the rest area near Burg el Arab
‘Swordfish’ Area
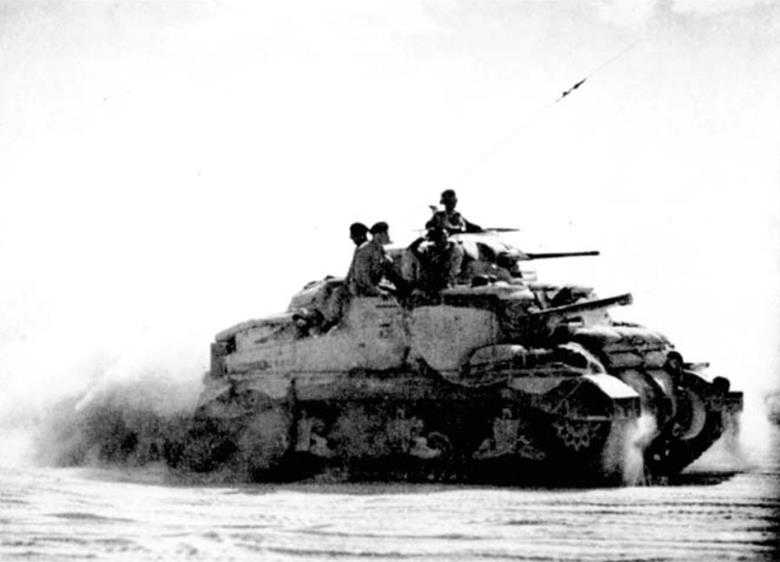
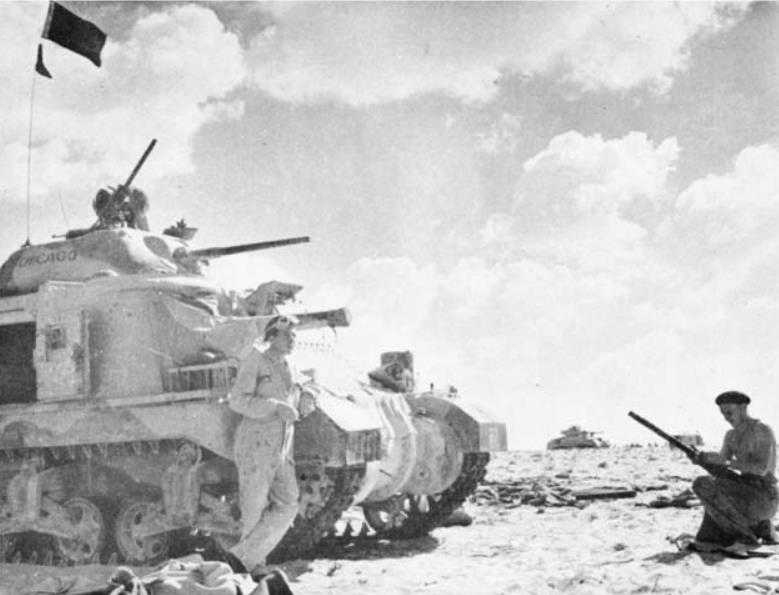
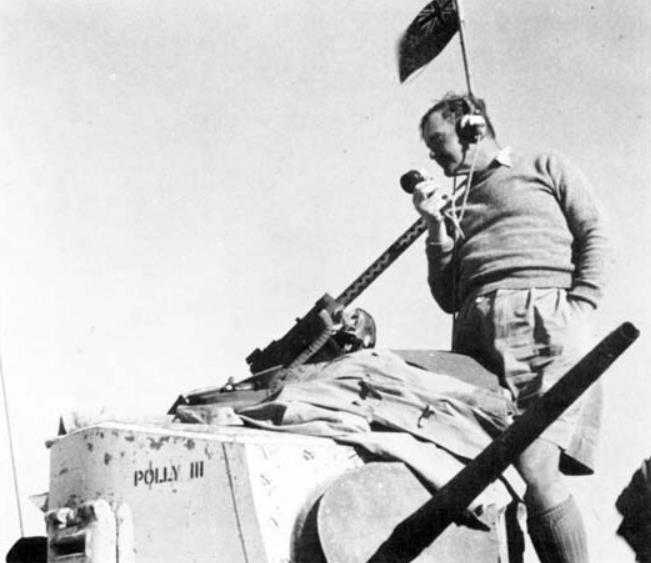
A Sherman tank of 9 Armoured Brigade, under New Zealand command
A Grant tank on manoeuvres

Air support: a flight of Liberators sets out on a raid

Air Vice-Marshal Coningham and General Montgomery
Two of the ‘Commonwealth commanders’ confer in a shell hole: General Morshead (AIF), on the left, and General Freyberg
Commander’s conference. General Freyberg (with pointer) discusses plans for the Division’s attack on Miteiriya Ridge. In the front row (facing camera) is Brigadier C. E. Weir (CRA)
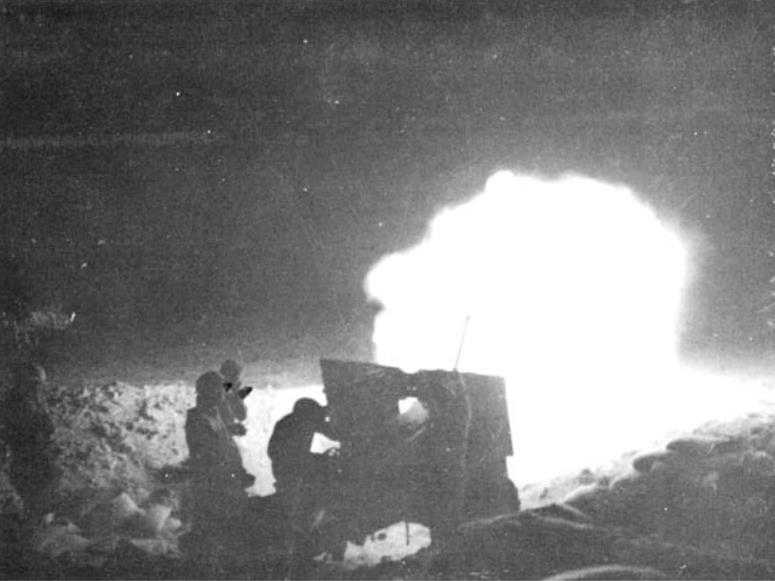
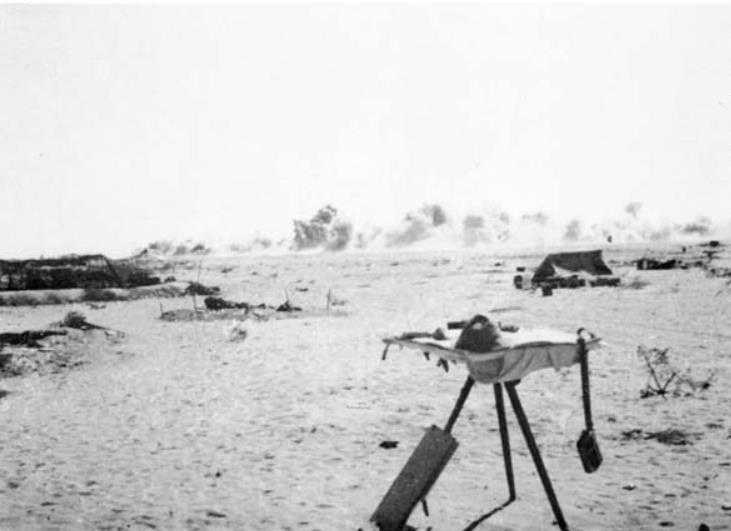
The barrage opens: a 5 Field Regiment 25-pounder
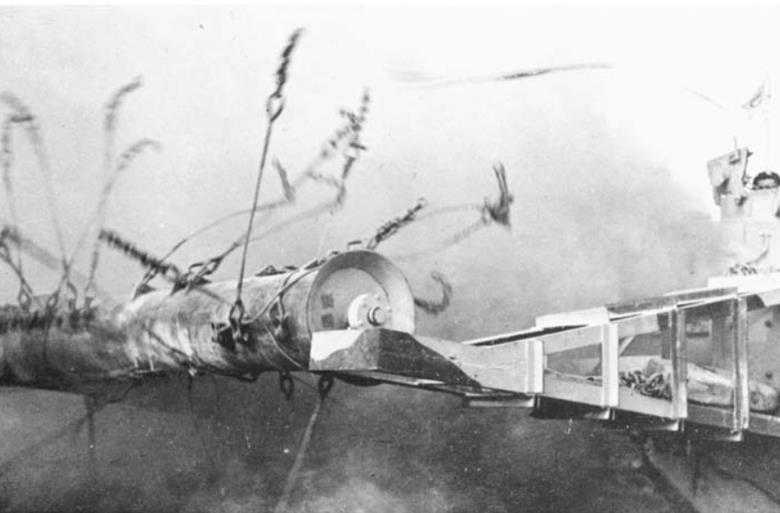
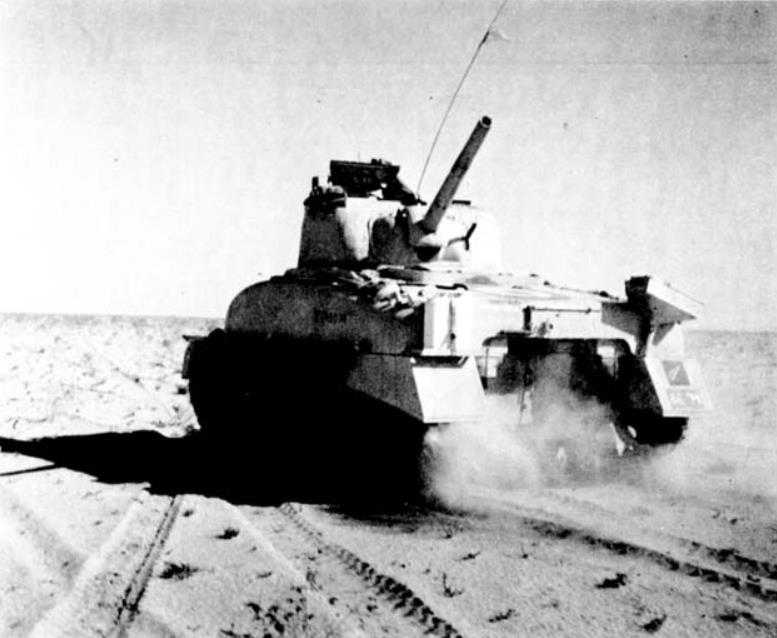
A ‘Scorpion’ flail tank in action
Miteiriya Ridge. Tanks and prisoners in 6 Brigade’s area
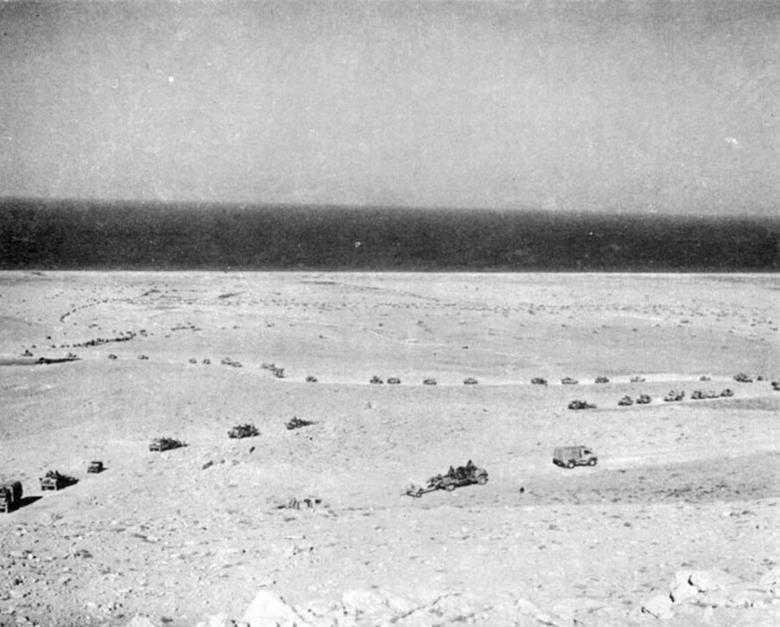
The congestion of tanks and trucks on 22 Battalion’s front, 24 October
5 Field Regiment gunners watch aircraft overhead as the New Zealand Division’s convoy moves through the gap in the enemy minefields
British tanks halt for maintenance
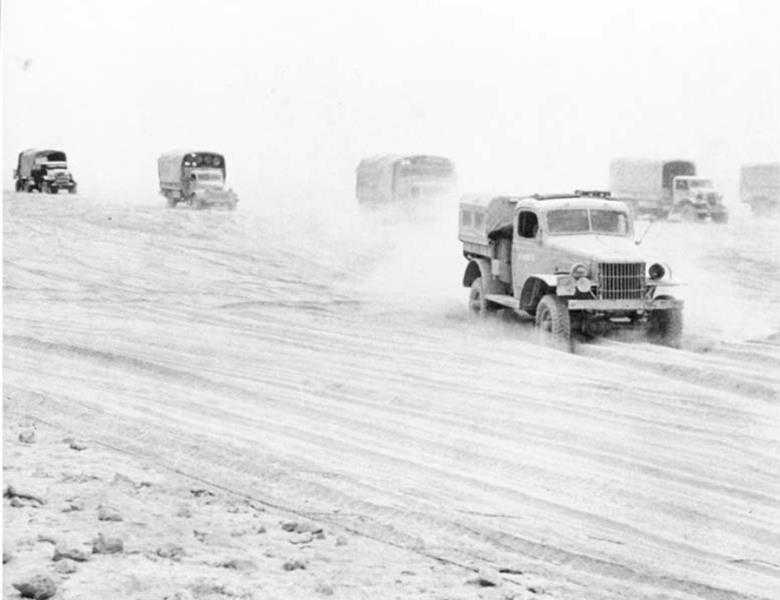
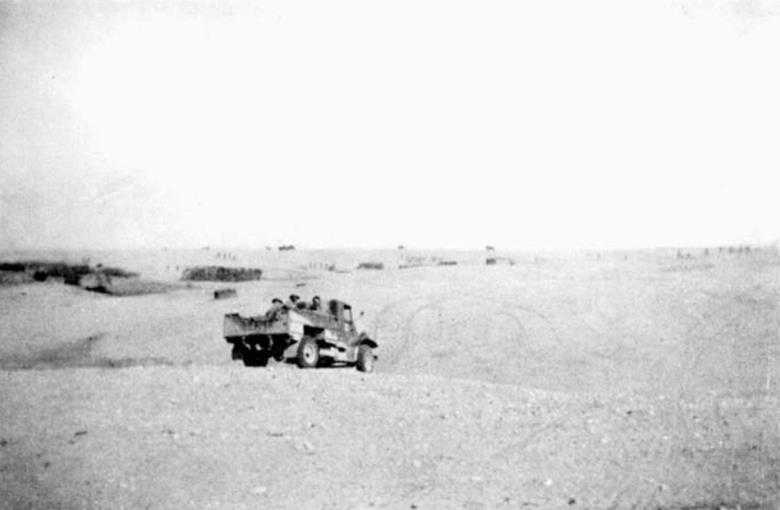
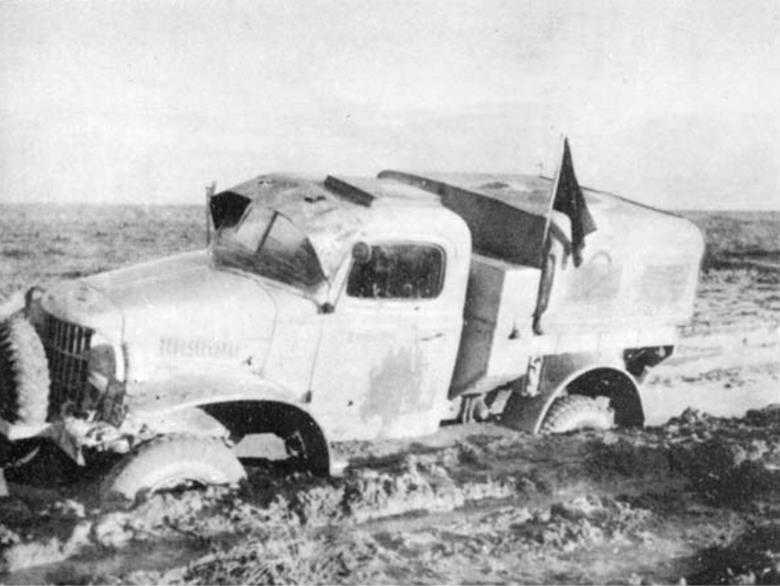
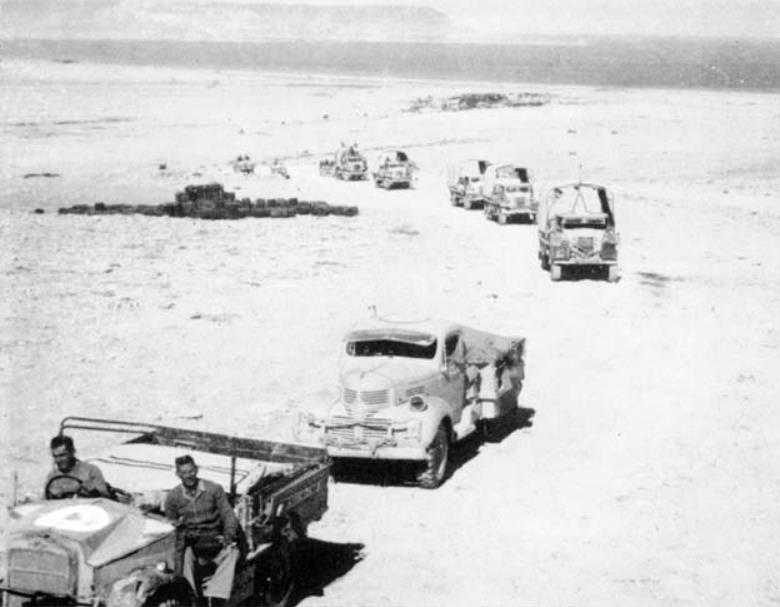
New Zealand convoy in soft sand
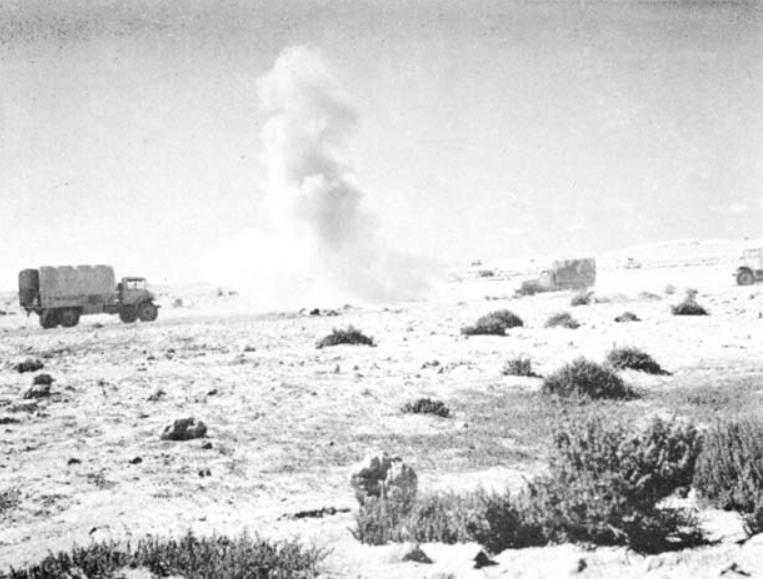
A shell bursts near the convoy

New Zealand main dressing station

Italian prisoners
Italian prisoners
General Freyberg directs operations from the turret of his Honey tank
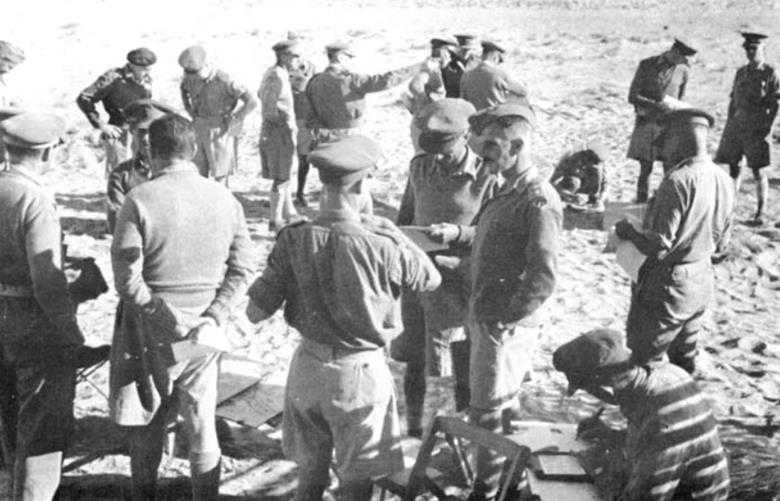
GOC’s orders group conference, morning 1 November
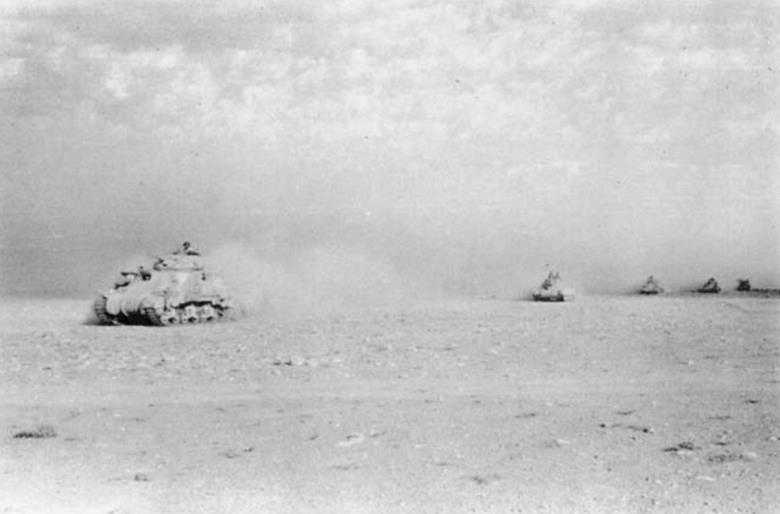
British tanks begin the pursuit
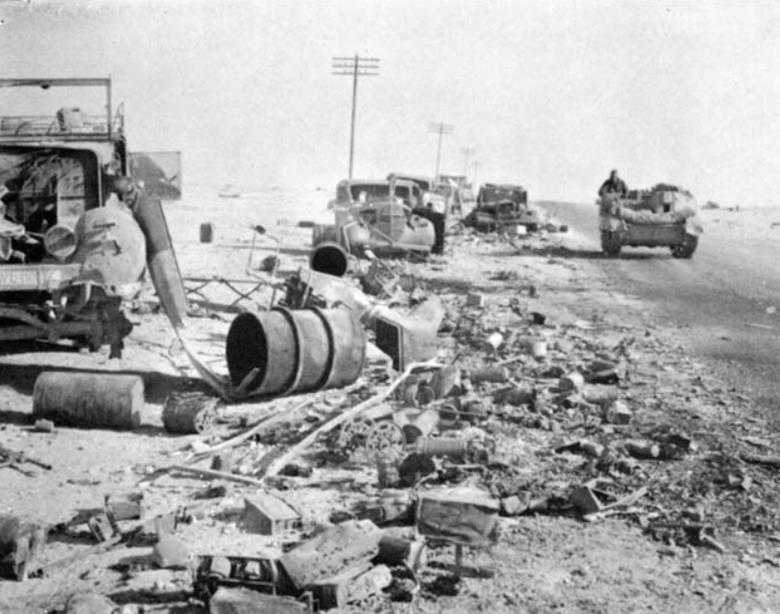
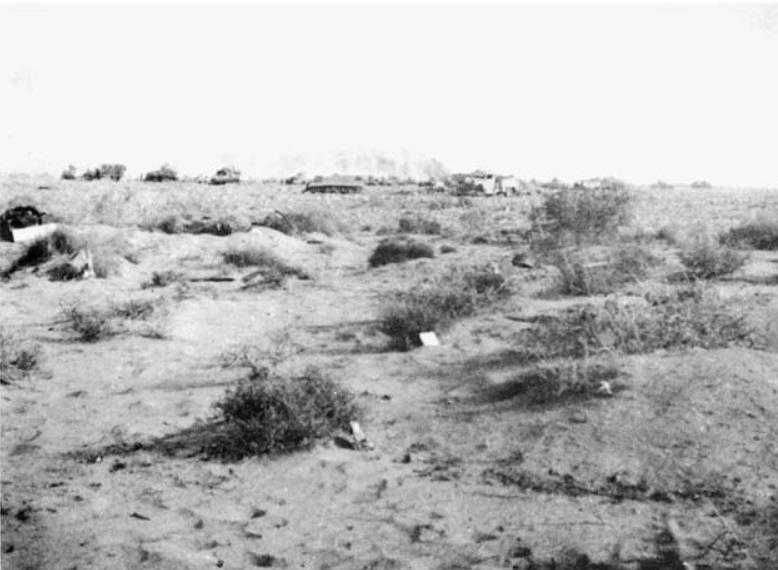
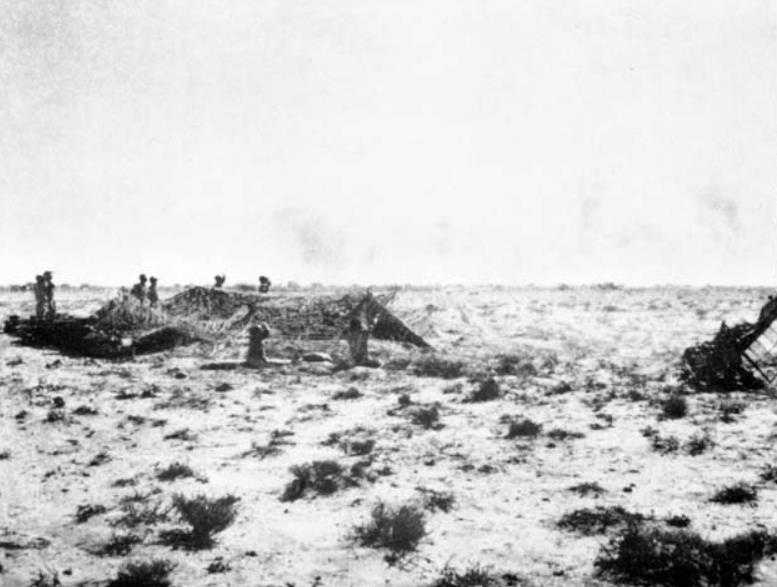
Wrecked enemy transport
New Zealand convoy on Boomerang track
El Alamein railway station: the first train to the forward area after the Alamein breakthrough arrives at the station
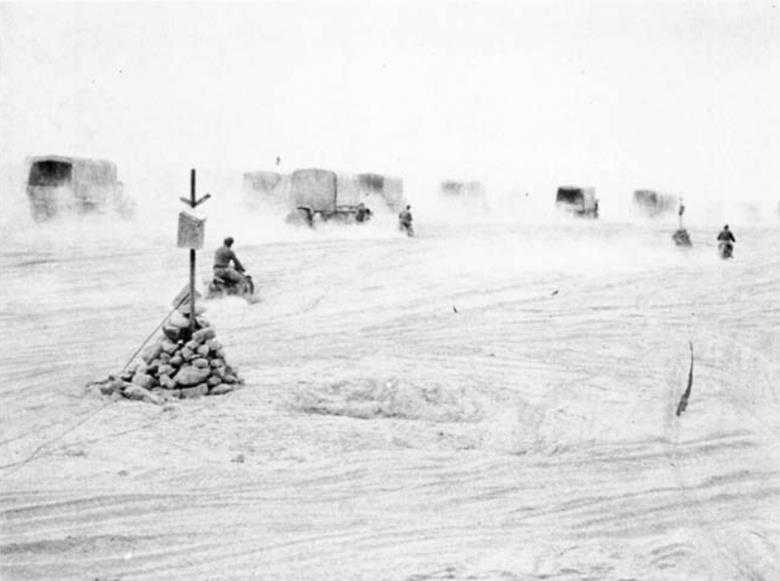
Heavy rain delays the convoy near Fuka
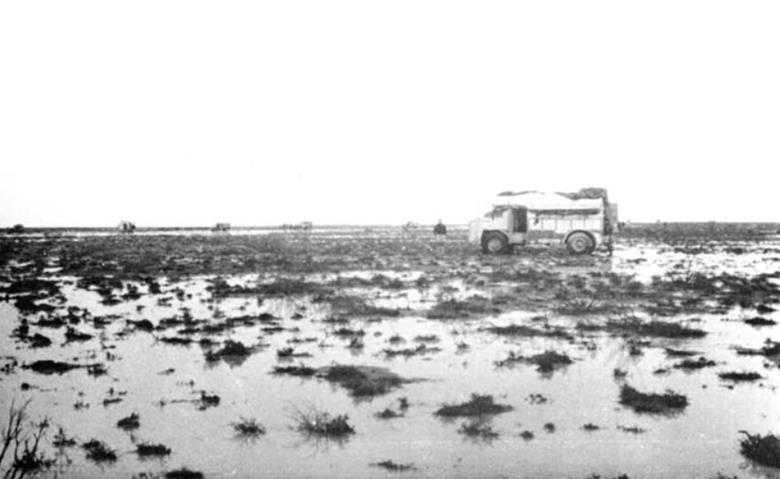
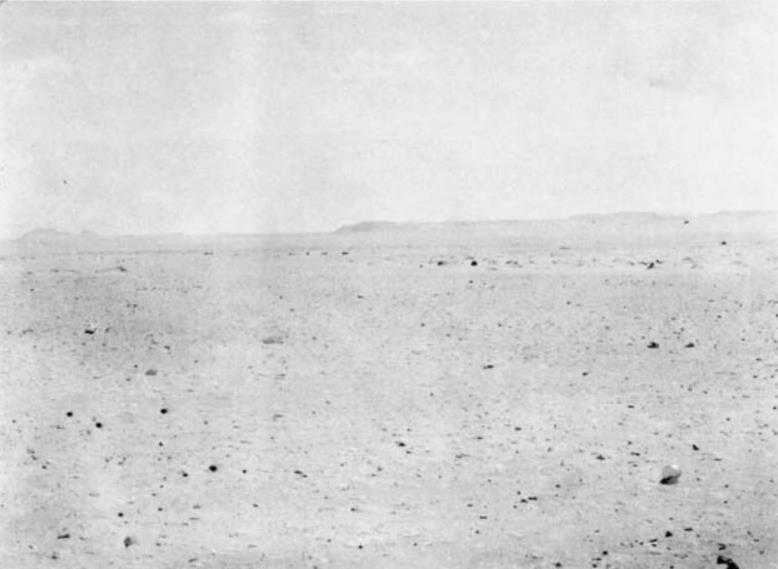
Flooded desert
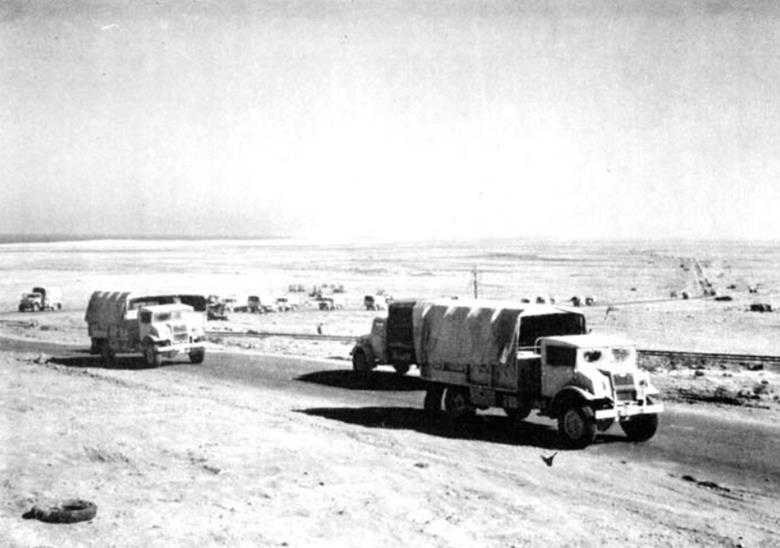
Past Fuka. Looking eastwards along the Western Desert road
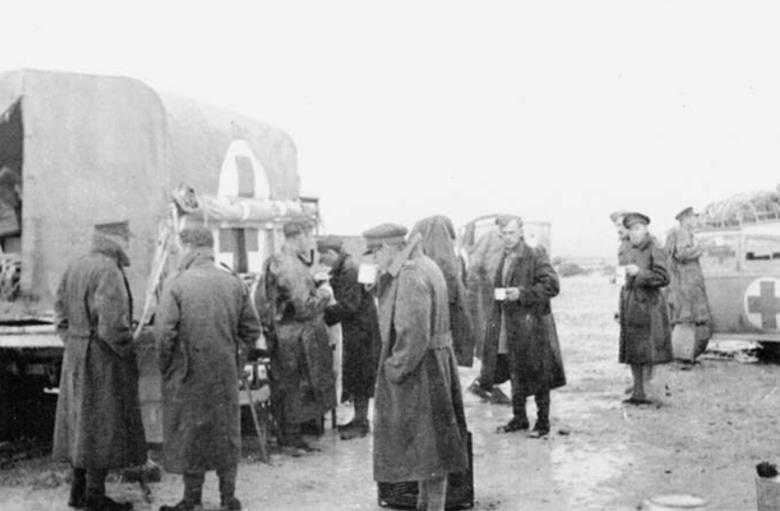
The New Zealand Mobile Casualty Clearing Station convoy stops for tea
Nearing Mersa Matruh

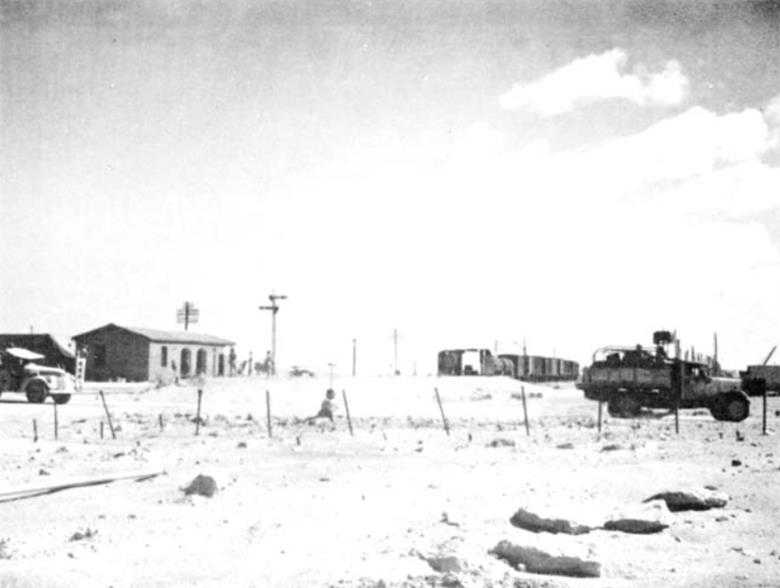
Mersa Matruh
Climbing Halfaya Pass; Sollum Point in the distance
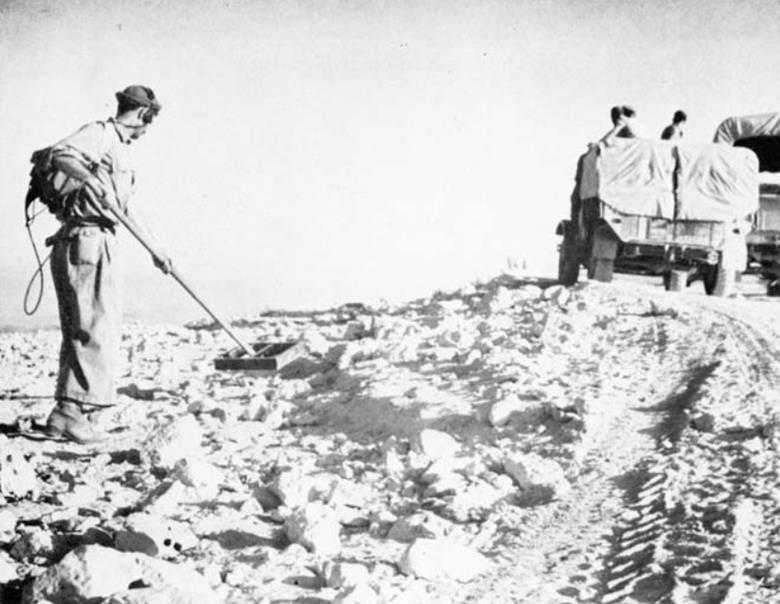
A New Zealand engineer sweeps for mines near the top of the pass
The winding road up Halfaya Pass