Illustrations
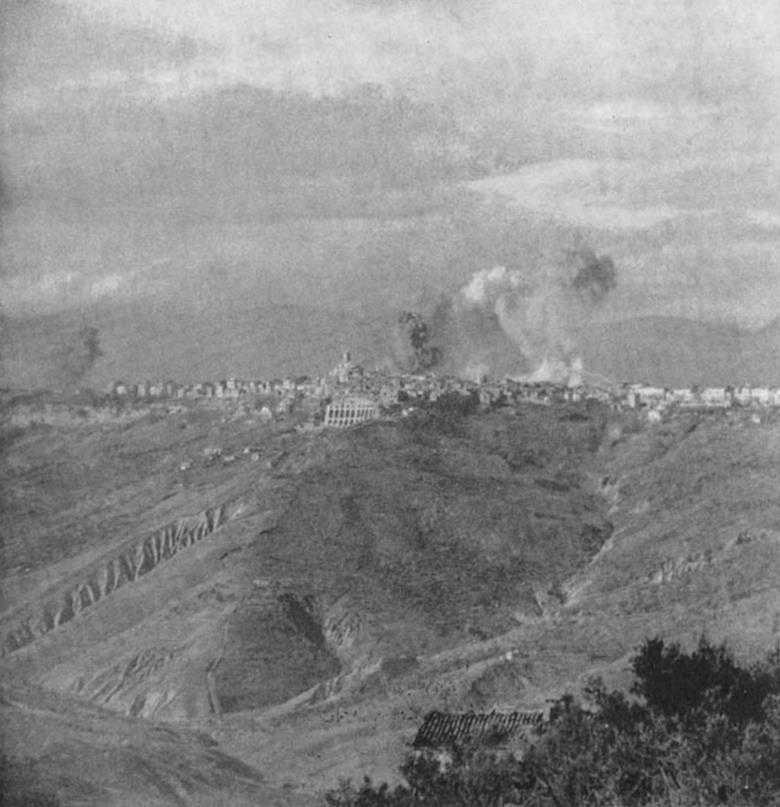
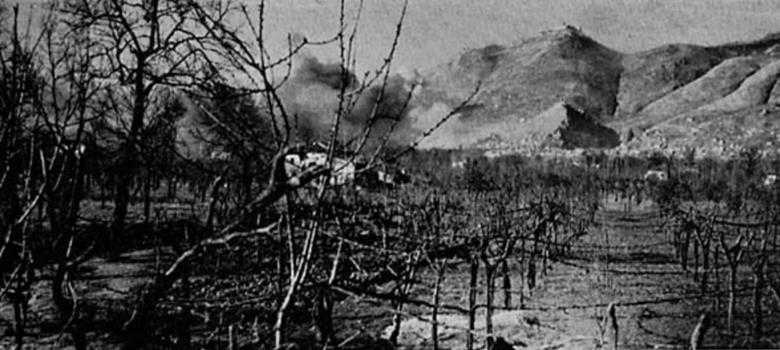
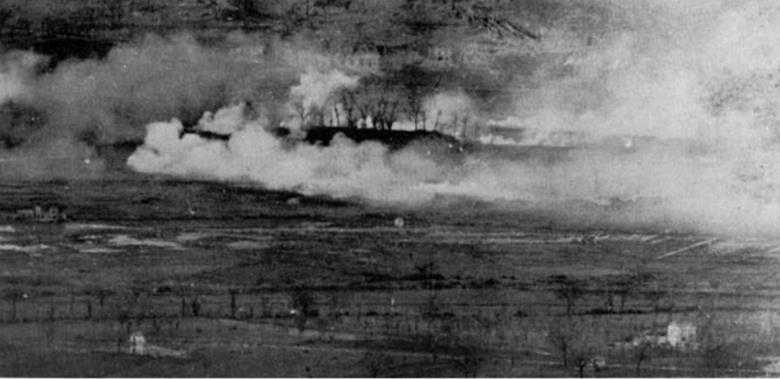
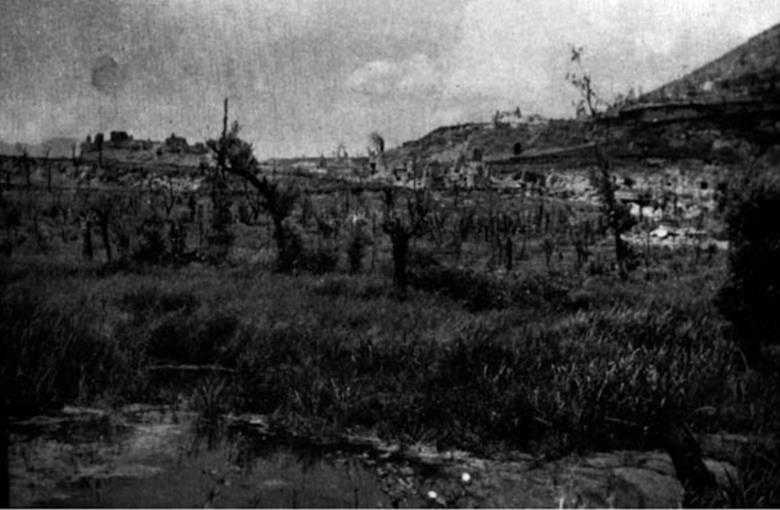
Orsogna being bombed
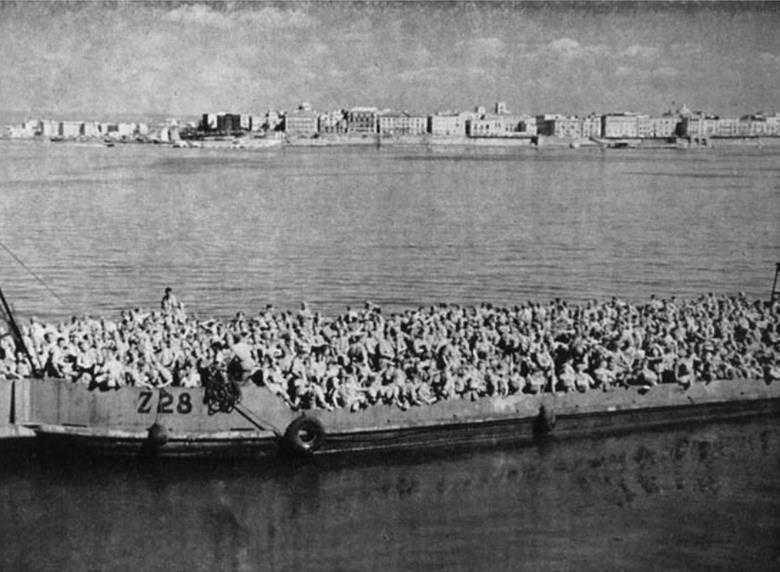
Embarking at Alexandria for Italy
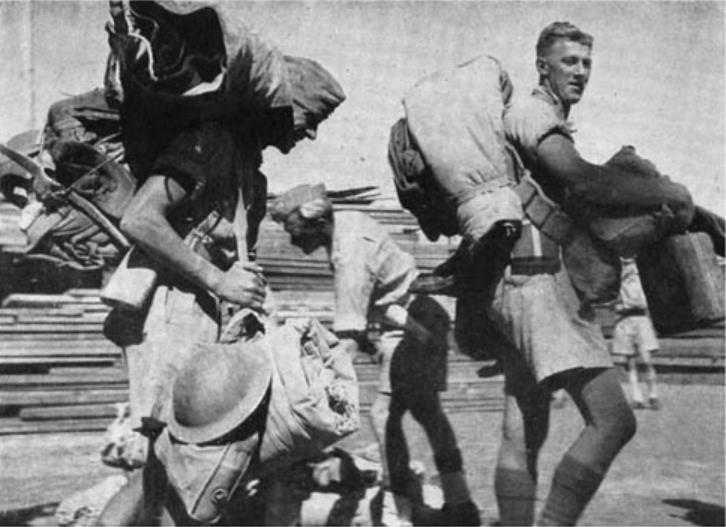
Going ashore at Taranto
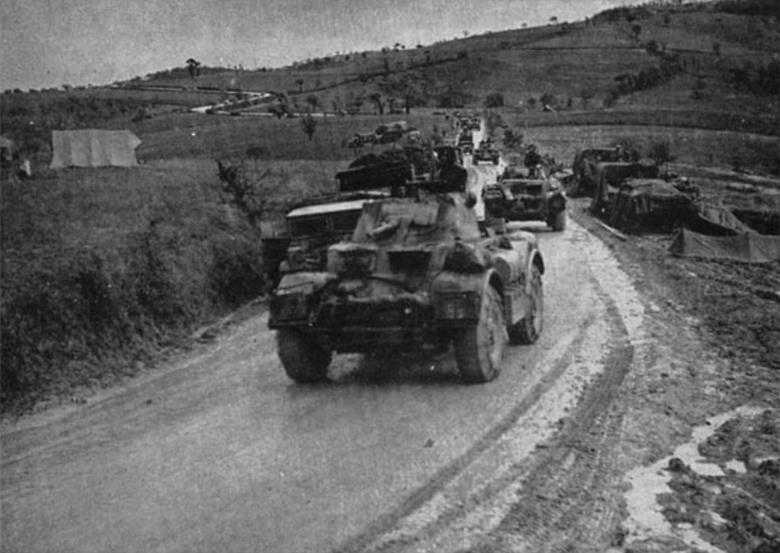
Vehicles of the Divisional Cavalry make their way over muddy roads to the Sangro
Headquarters of the Divisional Artillery in its first engagement in Italy
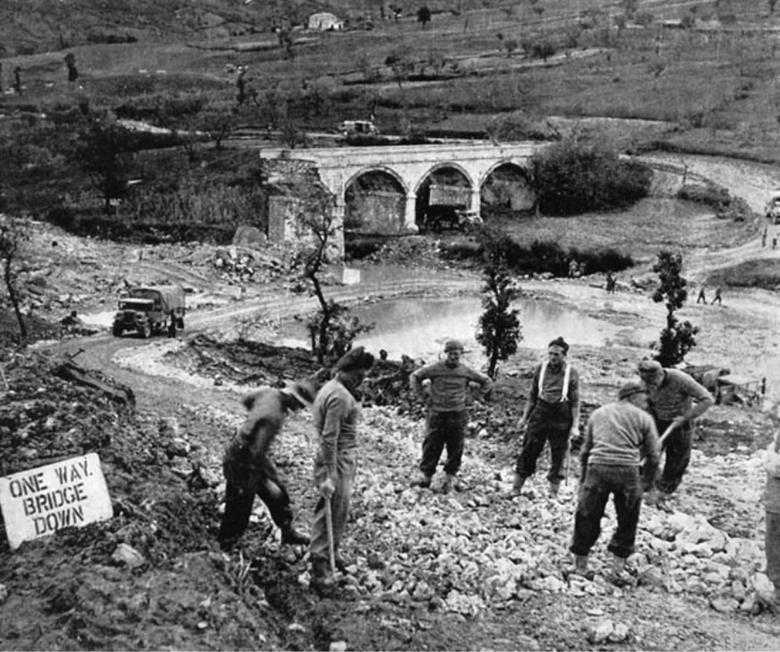
A party of New Zealand engineers repairs a deviation by a demolished bridge
Brigadier C. E. Weir, Brigadier G. B. Parkinson, and General Freyberg before the Sangro battle
Flat land north of the Sangro River cut up by vehicles of 2 NZ Division

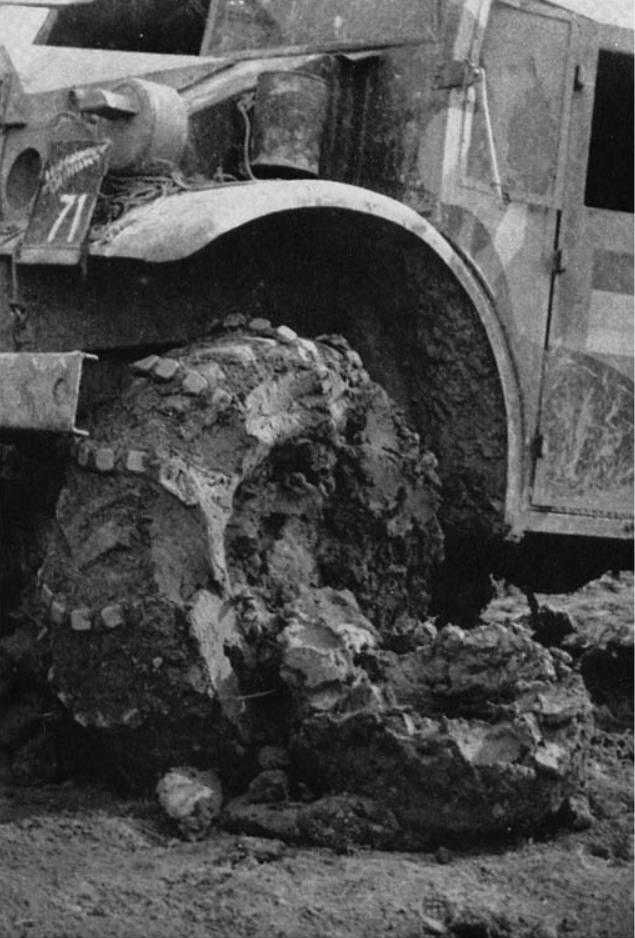
Manhandling a truck bogged at the Sangro
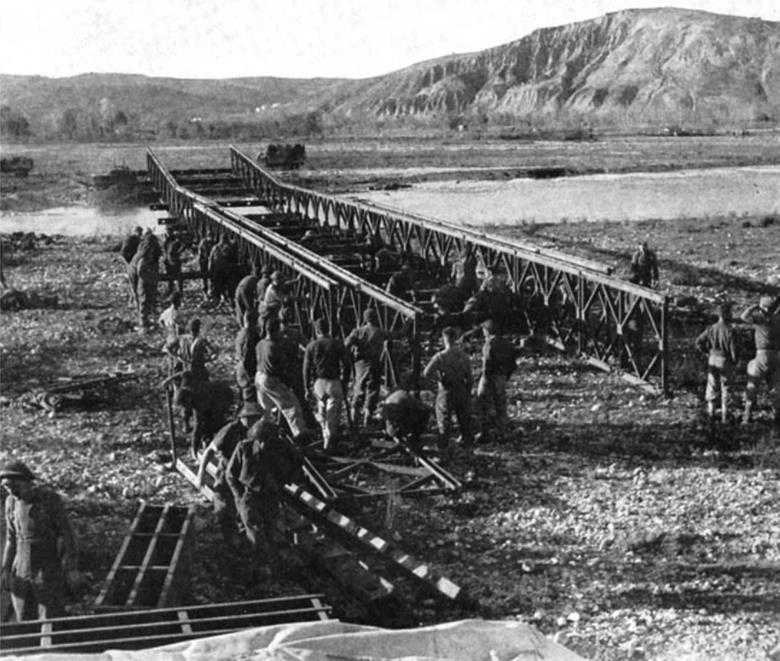
Bailey bridge over the Sangro River
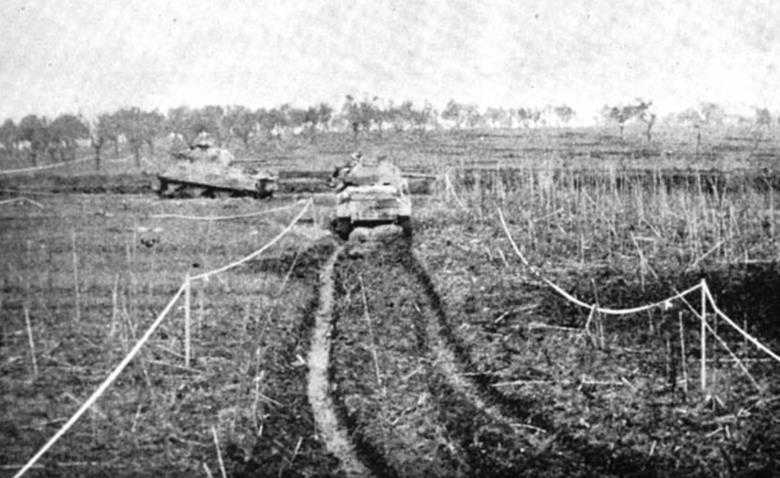
18 Regiment tanks pass through a minefield after the attack on 15–16 December 1943
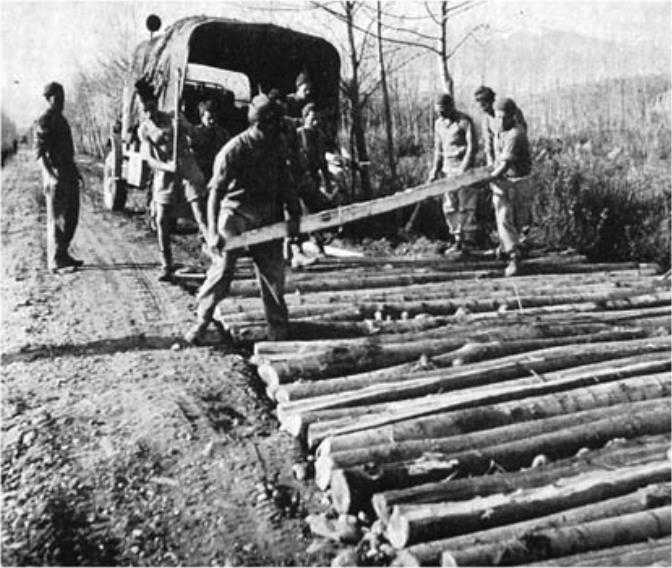
Engineers making a corduroy road up to the Sangro

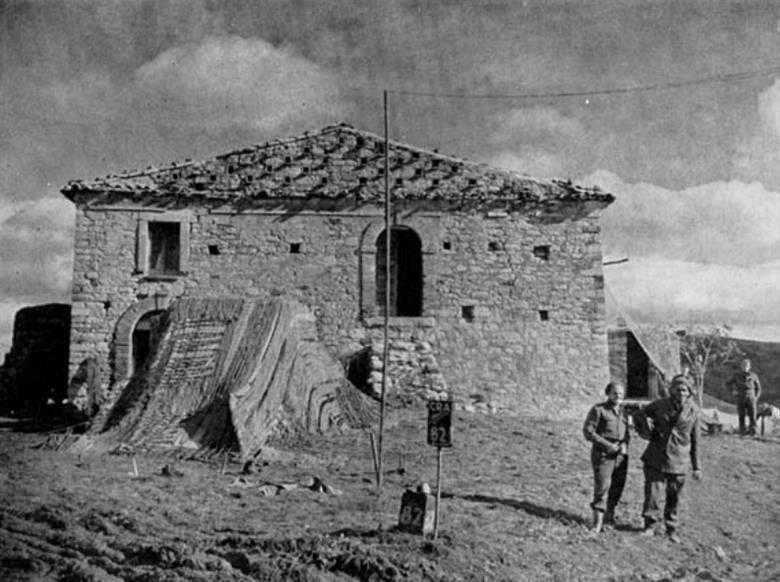
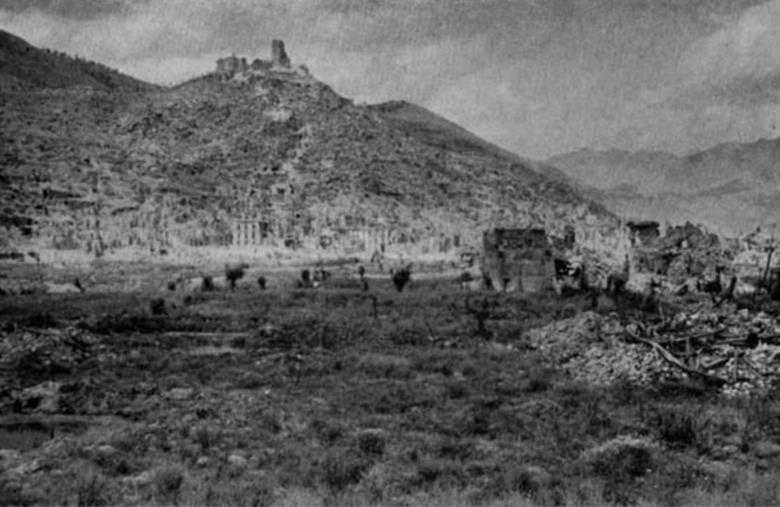
Castelfrentano

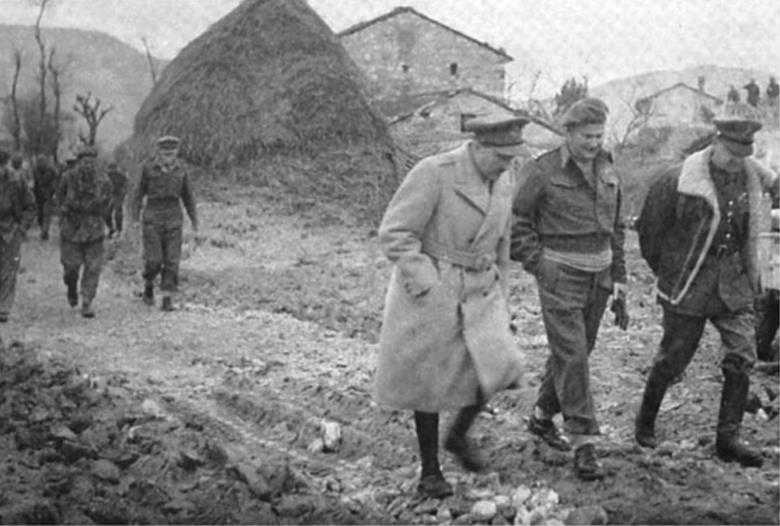
Brigadiers Parkinson and Kippenberger and Lieutenant-Colonel R. E. Romans discuss plans for an attack
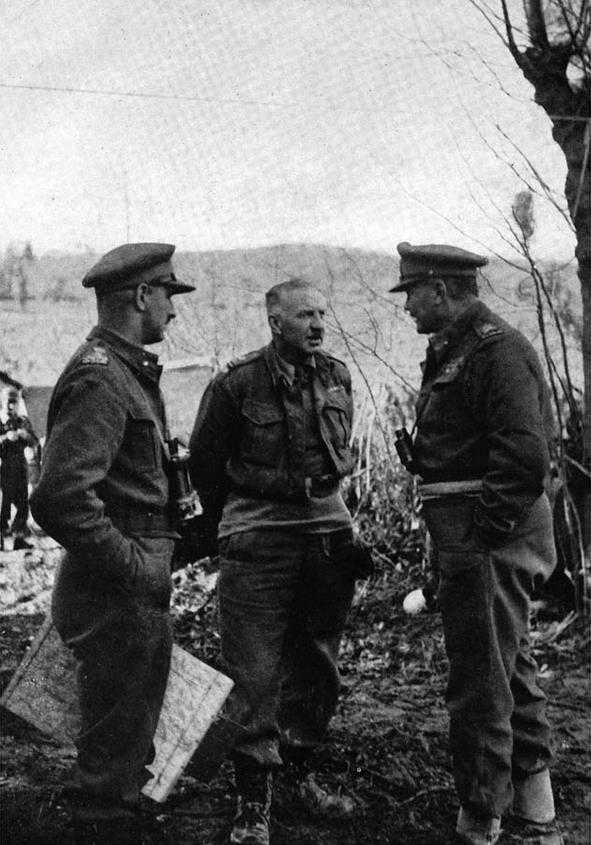
General Sir Alan Brooke (Chief of the Imperial General Staff), General Freyberg, and General Sir Harold Alexander, December 1943
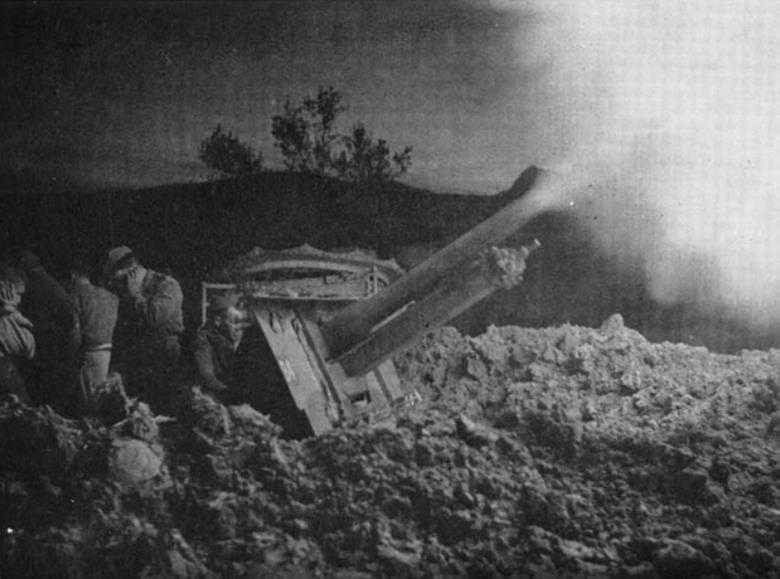
A New Zealand 25-pounder in action at the Sangro
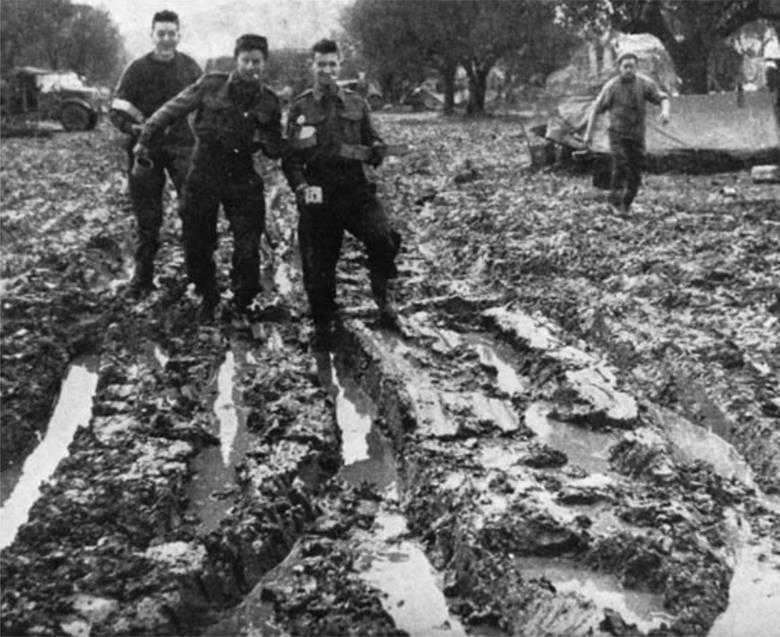
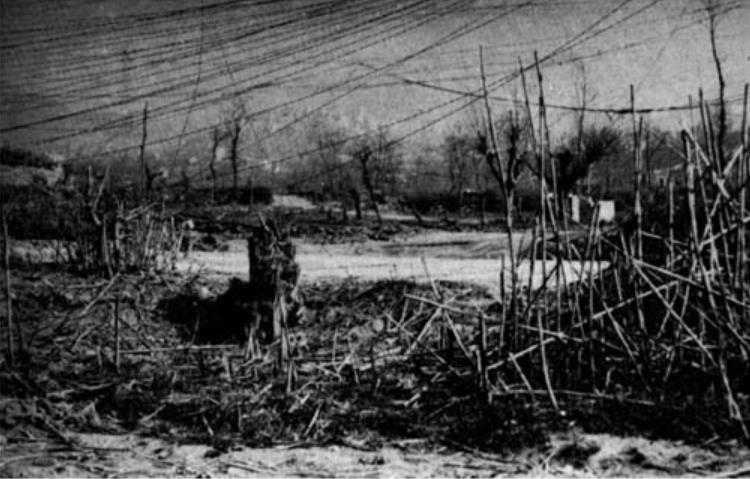
Mud near Castelfrentano

18 Regiment tank casualty on Cemetery Ridge
Road to the Divisional Signals cookhouse at the Sangro

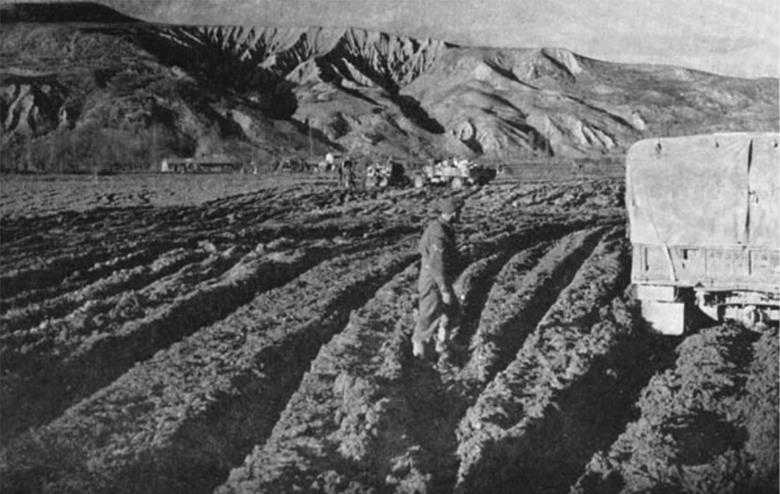
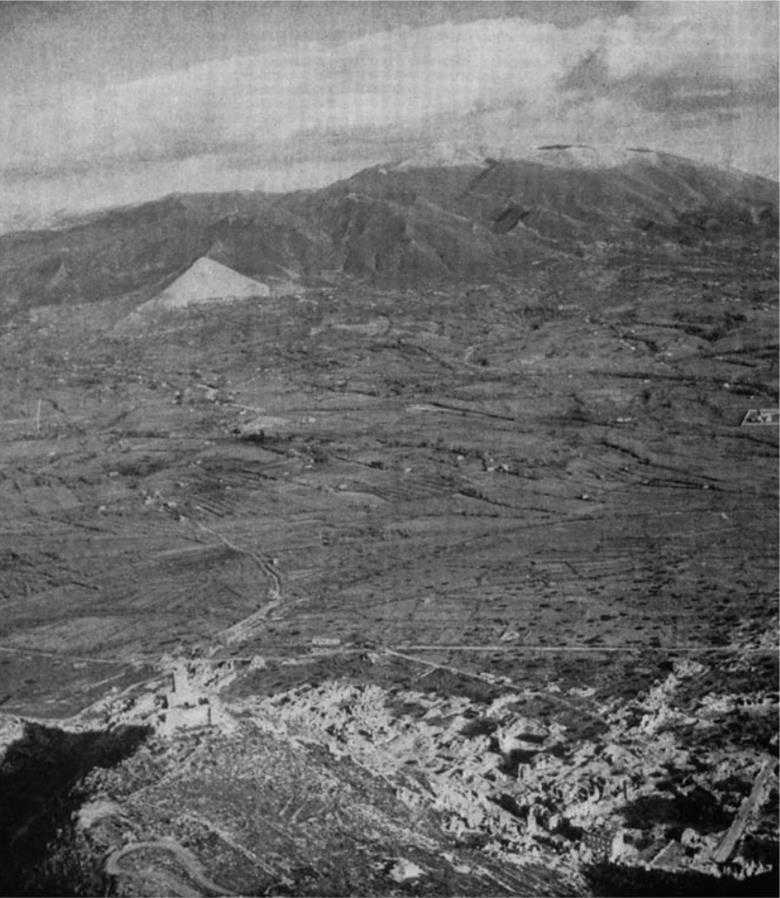
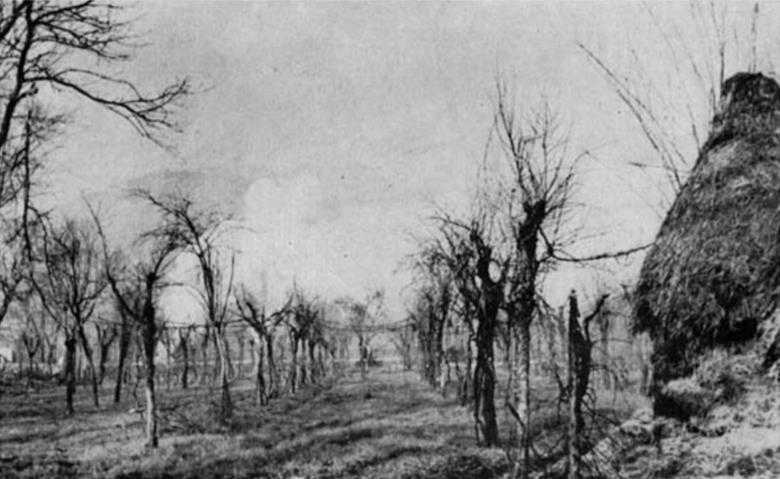
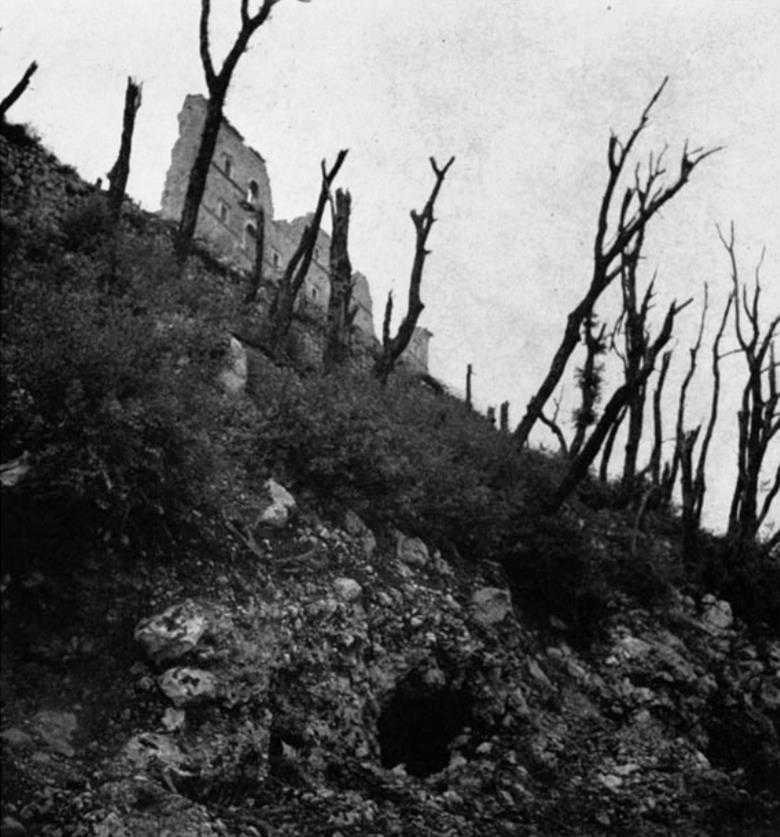
The Majella Mountains
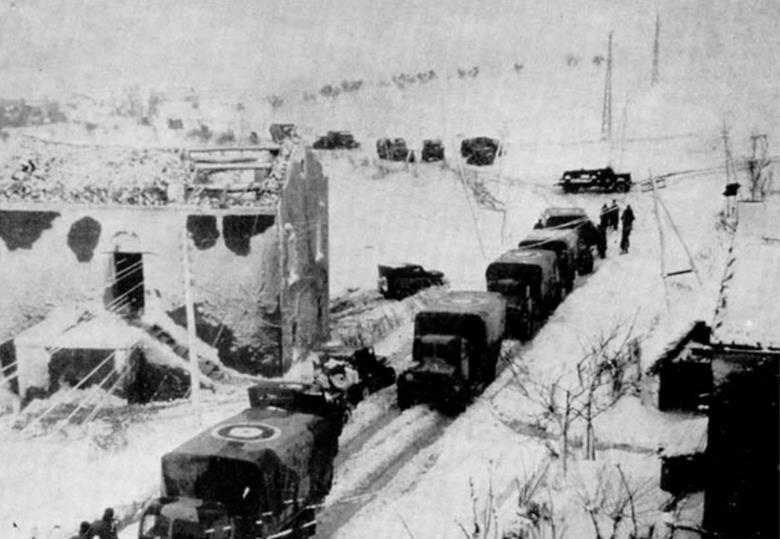
Transport in heavy snow
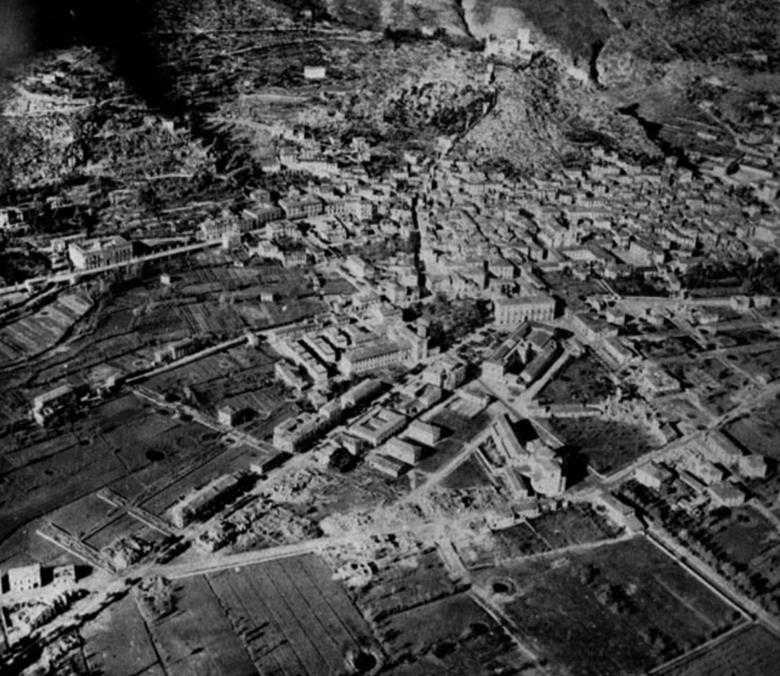
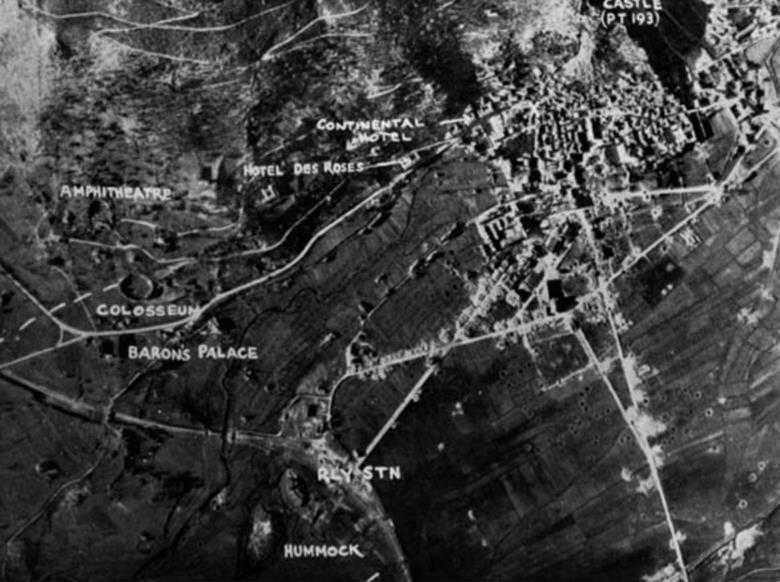
Air view of Cassino looking south-east. Castle Hill is on the left, Route 6 and the convent on the right.
This photograph makes a panorama when joined with the one on the opposite page. Route 6 is on the left, the railway and the hummock on the right, and Monte Trocchio in the middle distance
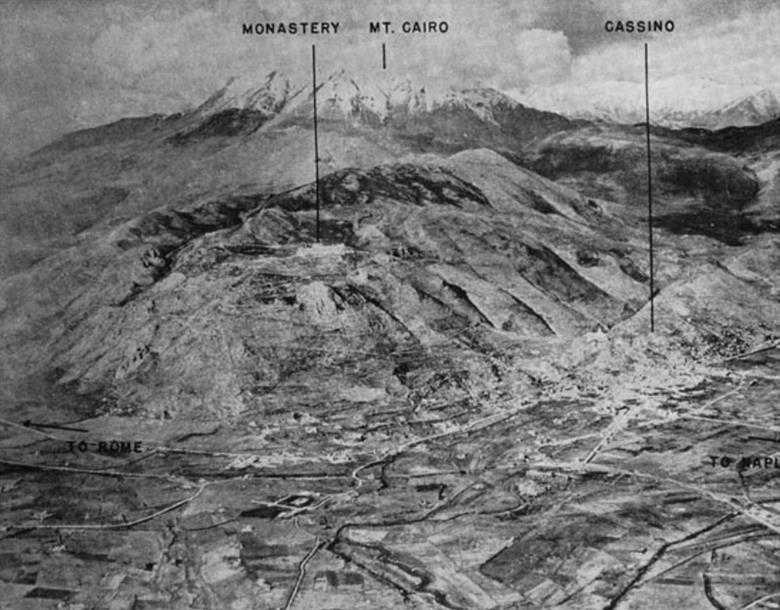
Aerial view of Cassino and Monastery Hill
Montecassino and the town

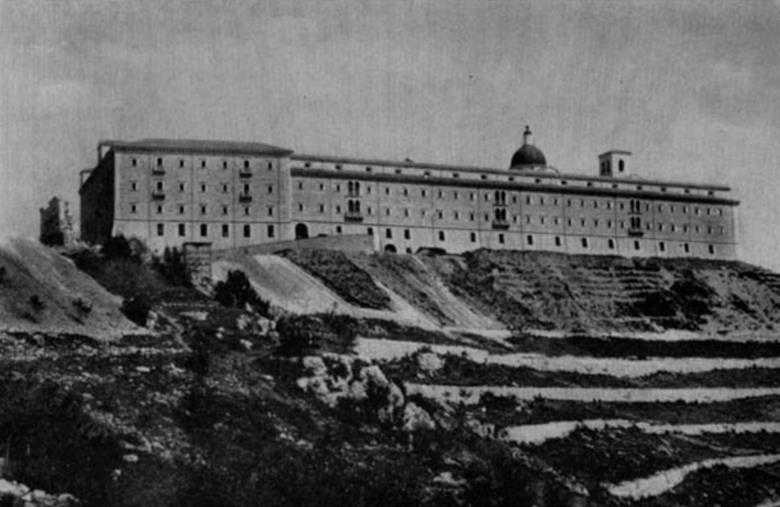
The monastery before the war

The monastery, May 1944
Cassino, November 1943
Cassino Abbey
Attack on Cassino railway station, February 1944; a view from the Maori Battalion’s RAP
The first stick of bombs falls on Cassino, 15 March 1944

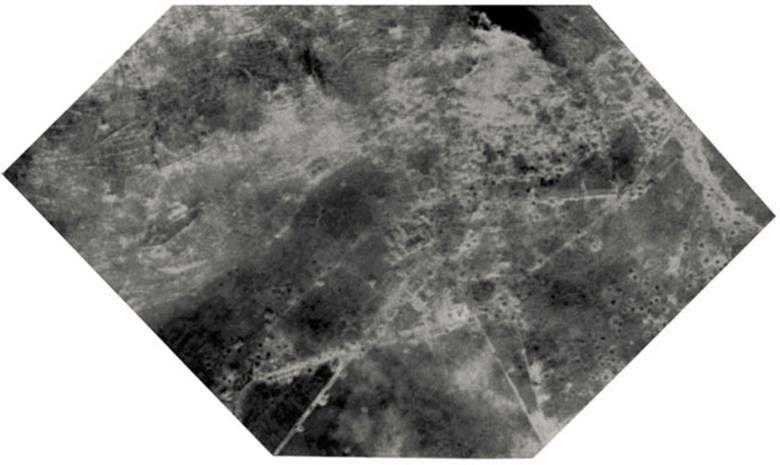
Aerial view of the bombing of Cassino
Air photograph issued for operation DICKENS. The road to the monastery winds up towards the top of the picture
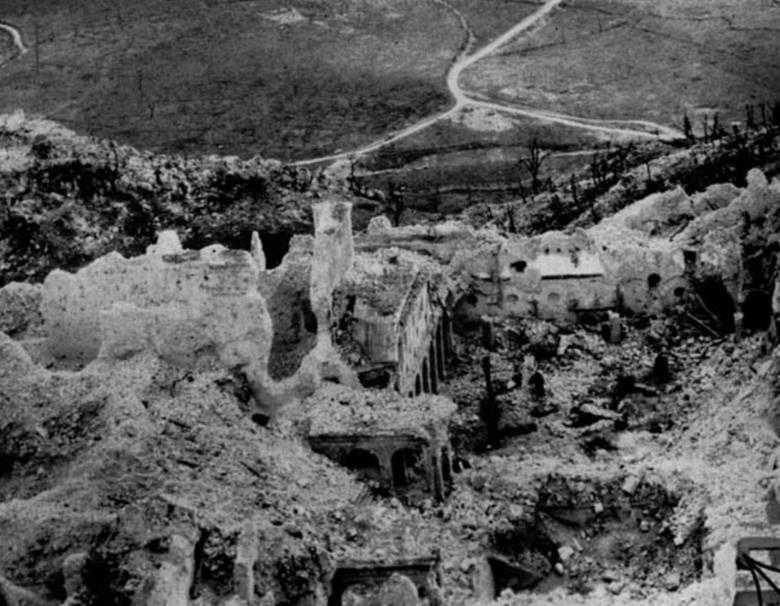
Cassino after bombardment. The photograph was taken from a height of 22,000 feet

The bombing of Cassino. Castle Hill is on the right
The convent from the east. This section of Route 6 crosses ‘Spandau Alley’

Cassino, twelve months later. Castle Hill in the right background

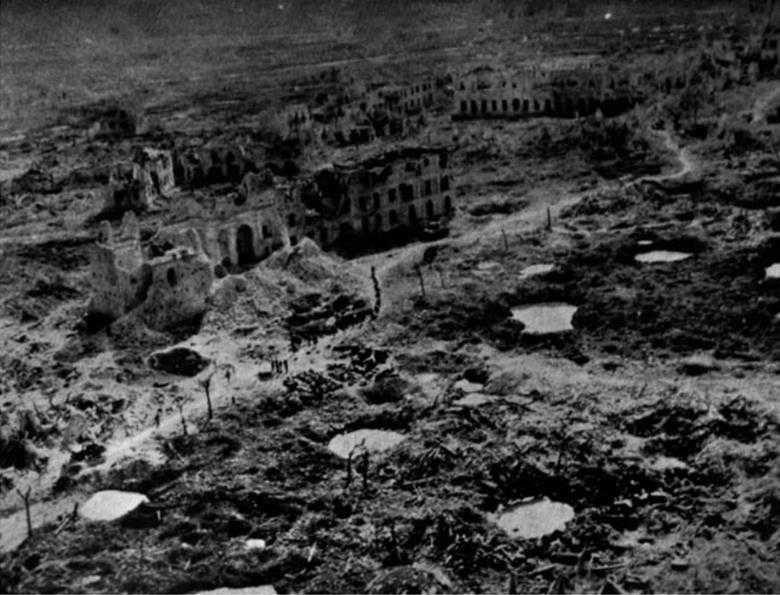
The ruins of the Continental Hotel and the castle
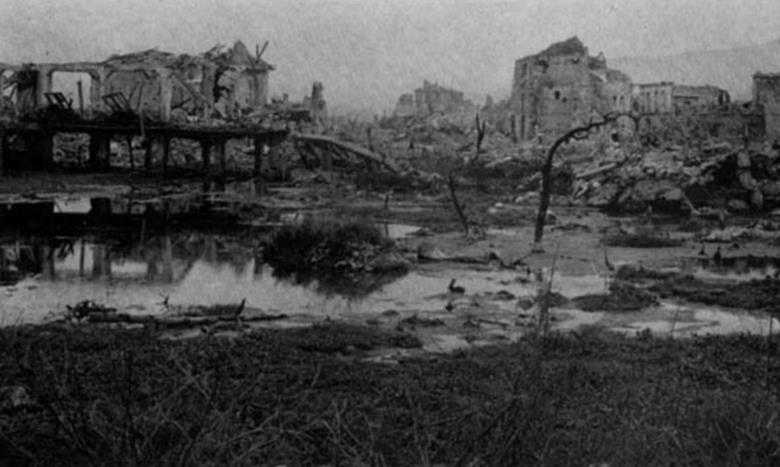
Looking across twelve-month-old bomb craters to the wreckage of Cassino

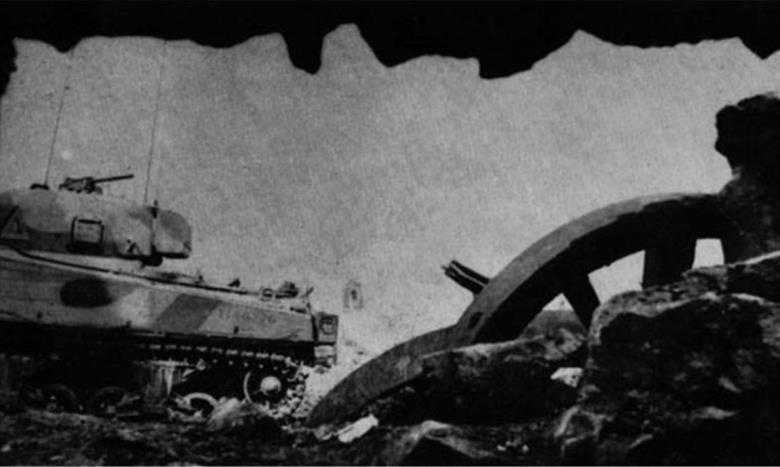
Wrecked tank in the ruins of Cassino
Cave used by 1 Parachute Division as ammunition dump and living quarters, Cassino
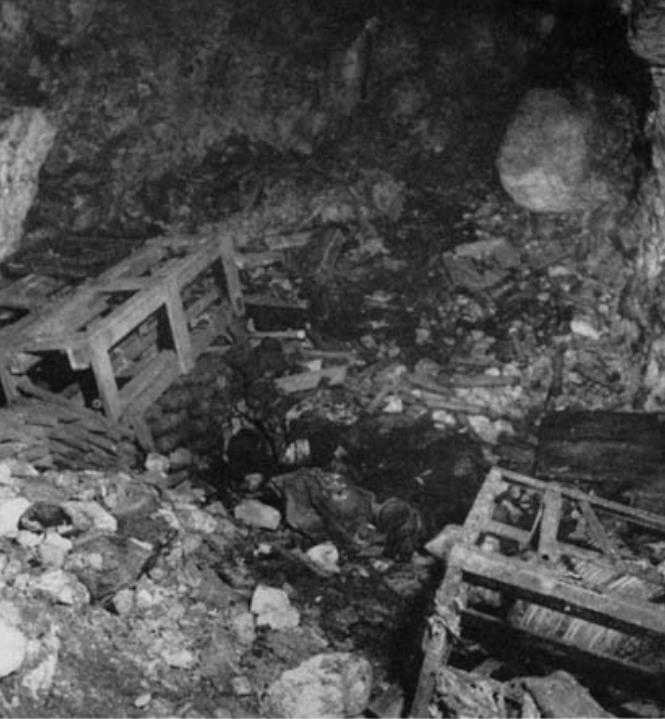
Interior of cave used by 1 Parachute Division
Looking out of the crypt, Cassino
26 Battalion attacks under smoke cover
Baron’s Palace and the Colosseum from the railway area, Cassino
Signal wires on Route 6
Castle Hill from the railway station, Cassino
Maori troops await orders to move
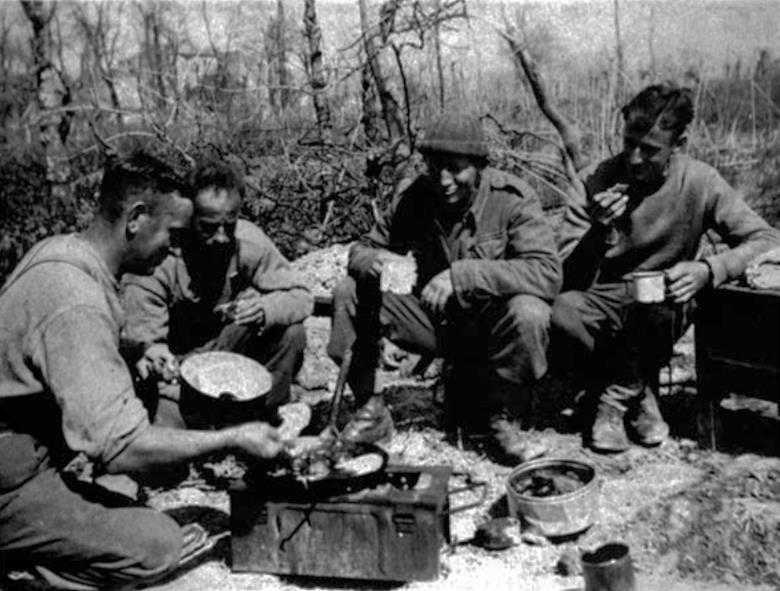
21 Battalion mortar team has whitebait fritters for lunch, Monte Trocchio
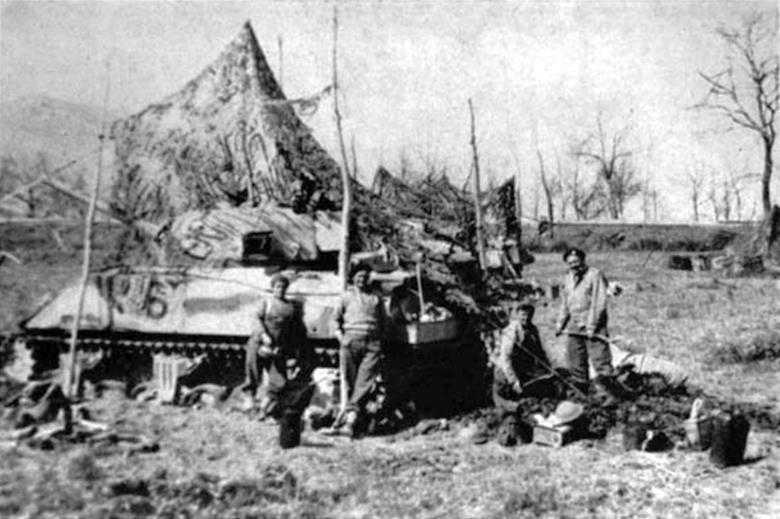
Tank gunline, Monte Trocchio
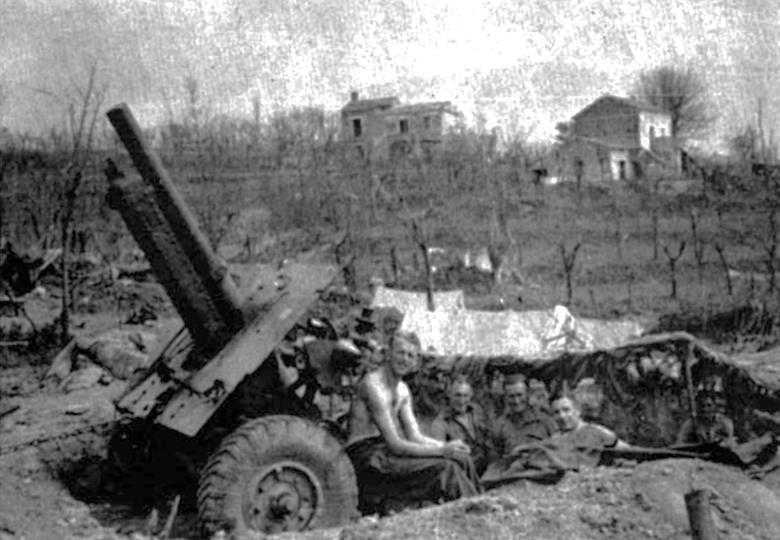
A 5 Field Regiment 25-pounder in position behind Monte Trocchio for ‘upper register’ shooting
Montecassino – the south side of the rebuilt abbey

Montecassino – the south-west side of the rebuilt abbey