Illustrations
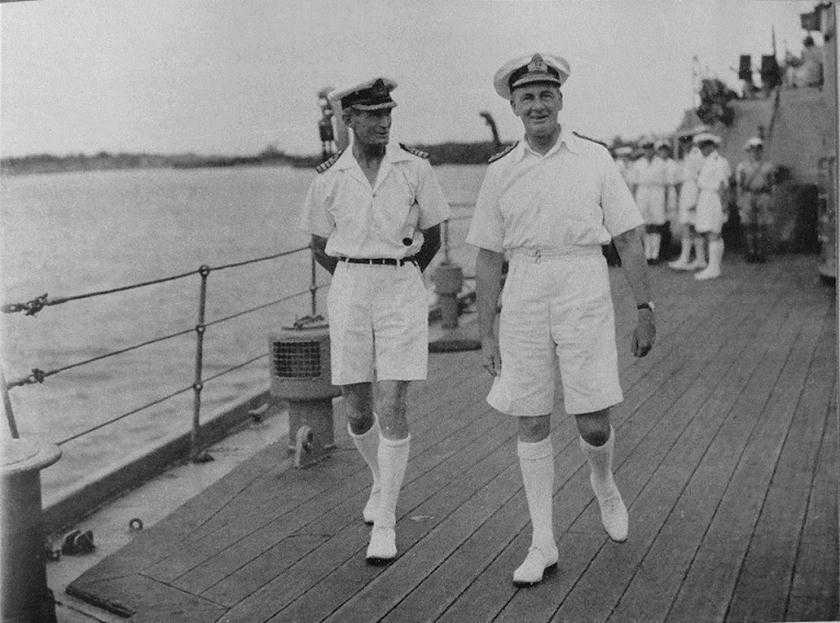
Photo 1. Vice-Admiral Sir James Somerville with Captain G. N. Oliver on board HMS Warspite. This photograph was taken after Admiral Somerville had left force H to take command of the Eastern Fleet.
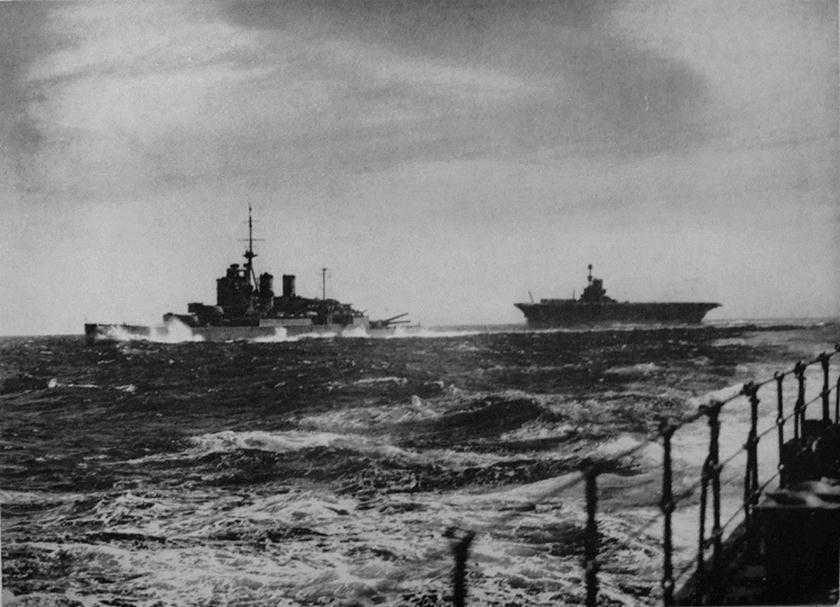
Photo 2. Force H at Sea: HMS Renown and Ark Royal, taken from HMS Sheffield.
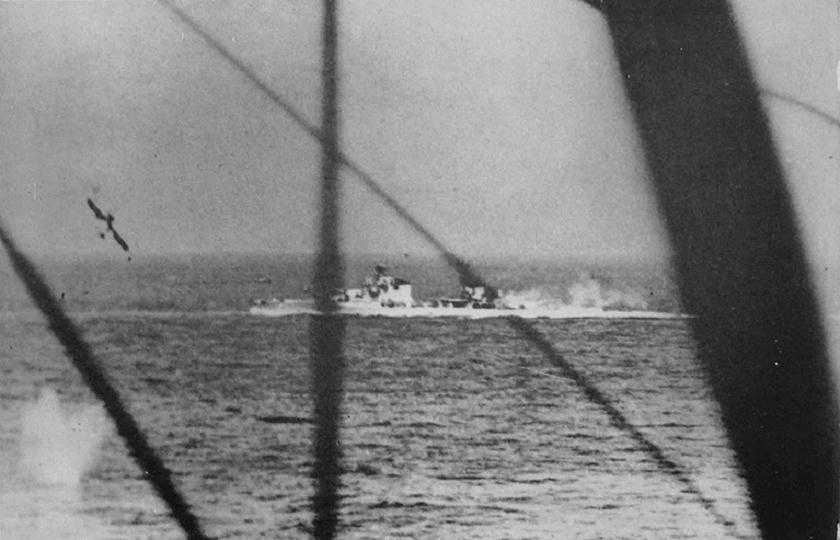
Photo 3. The 8-inch cruiser Bolzano under attack by Swordfish of the Fleet Air Arm on 28th March 1941. The photograph taken from the second aircraft shows the splash of a torpedo entering the water.
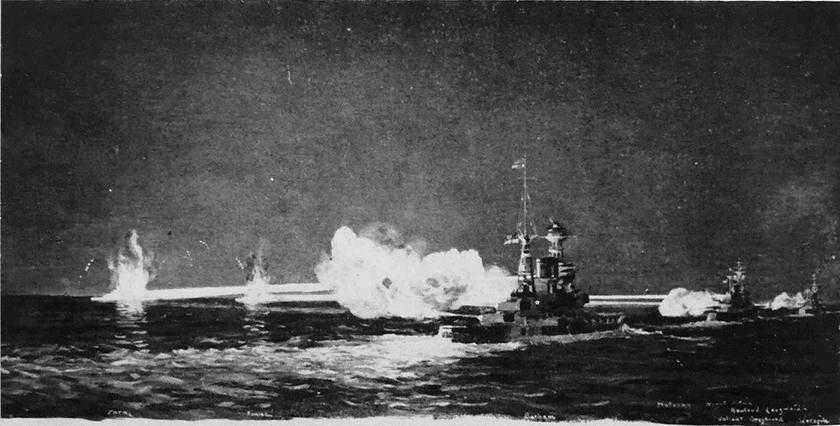
Photo 4. The battle of Cape Matapan, 28th March 1941, just after the battlefleet opened fire at 10.28 p.m. From left to right: the burning Zara, and Fiume, the Barham, the Valiant, the Greyhound, and the flagship Warspite. (From the painting by Rowland Langmaid)
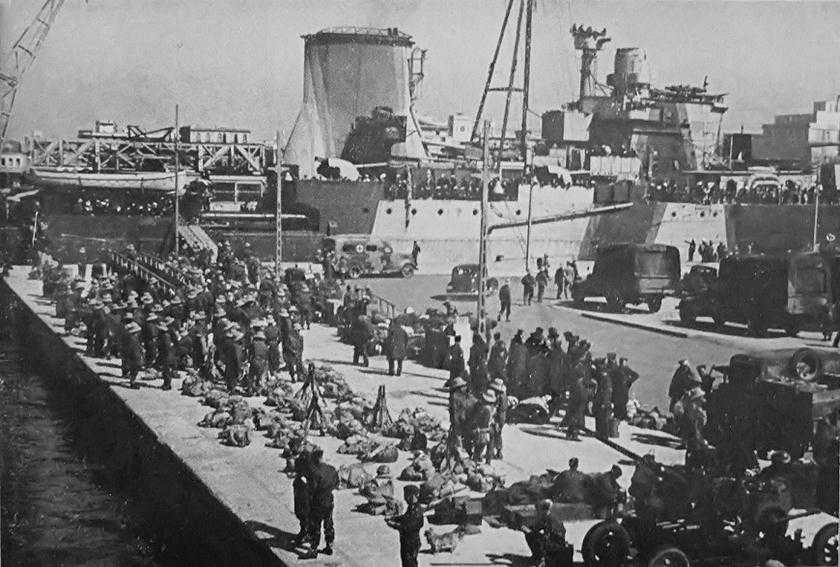
Photo 5. British troops disembarking at Piraeus.
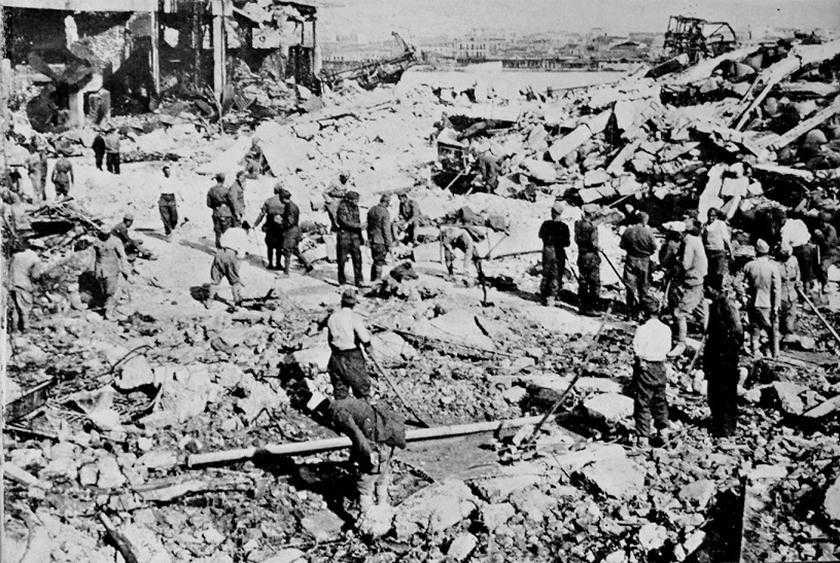
Photo 6. Piraeus on the morning of 7th April 1941, after the bombing and explosions. (Australian War Memorial )
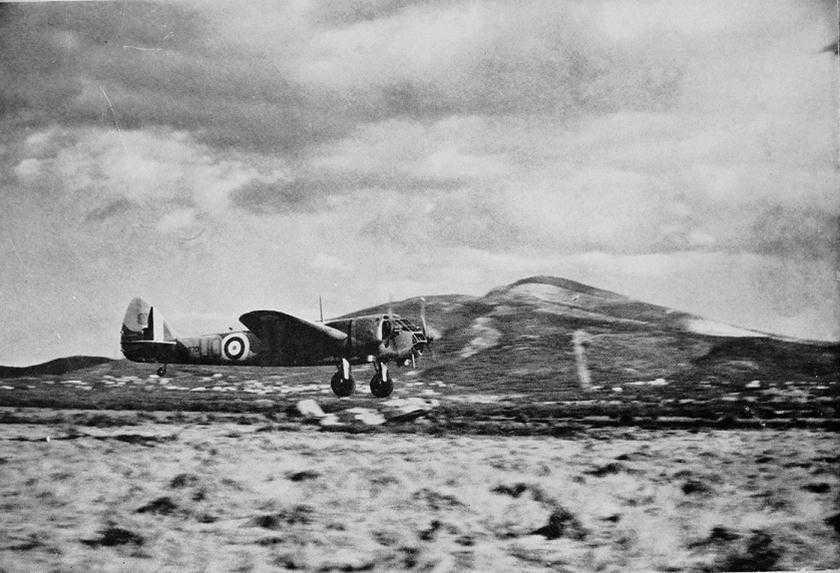
Photo 7. A Blenheim about to touch down on a rough landing ground in Greece.
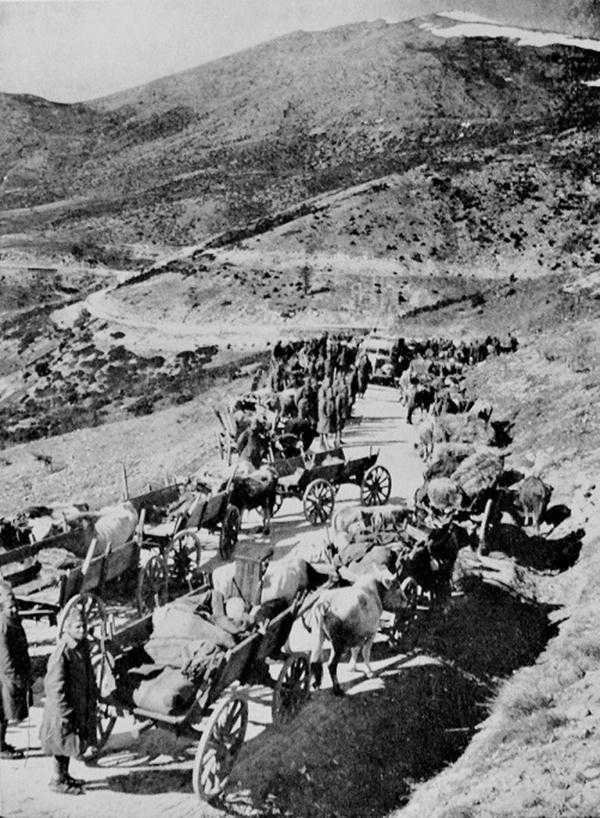
Photo 8. Greek transport on the move.
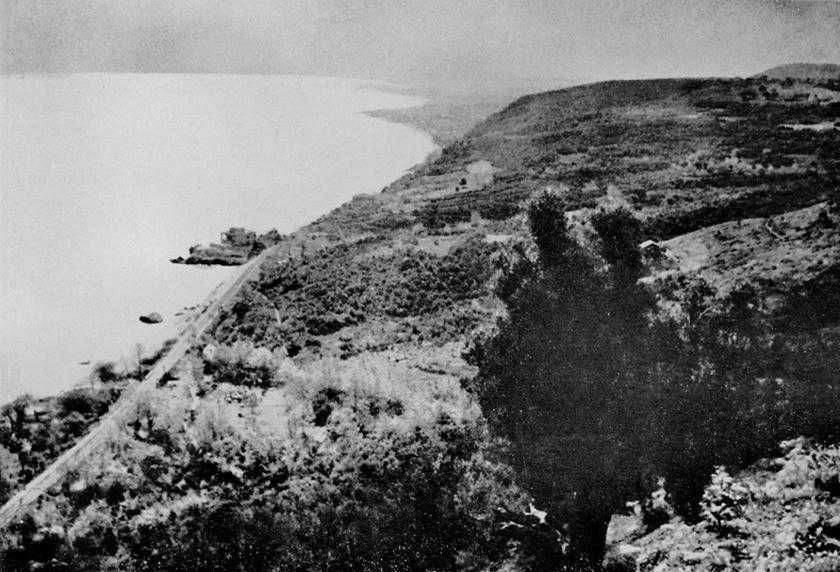
Photo 9. The coast of Platamon, looking south. (New Zealand War History Branch)
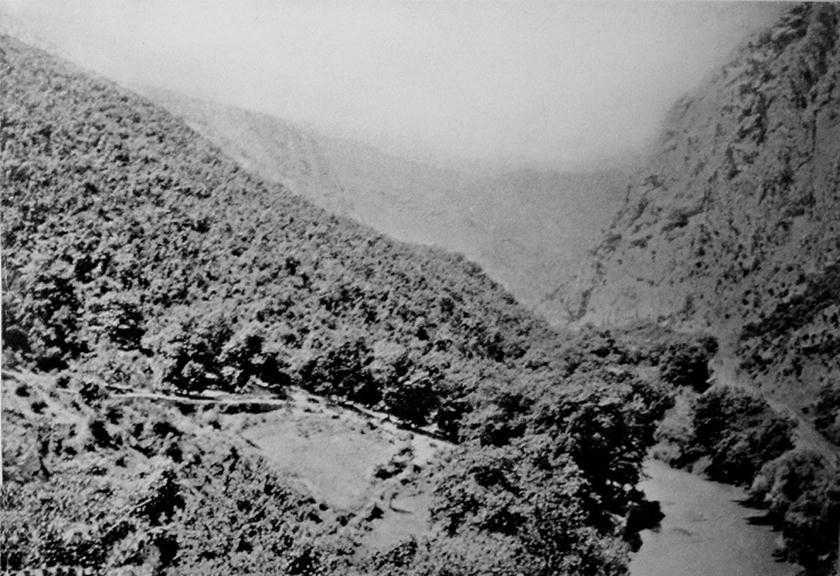
Photo 10. The Vale of Tempe, looking west: showing the river Pinios and the Athens-Salonika railway.
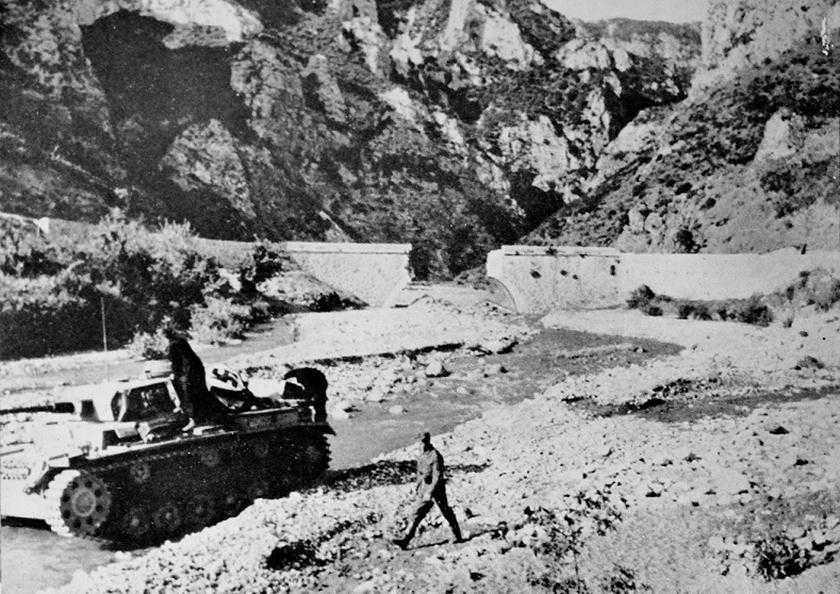
Photo 11. Thermopylae, from a captured German photograph.
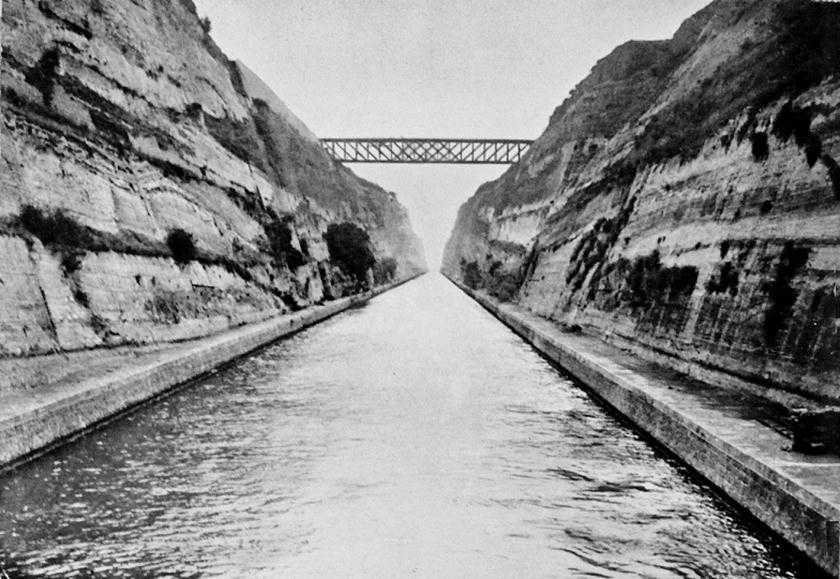
Photo 12. The Corinth Canal, showing the road and railway bridge. (‘Topical’ Press Agency, Ltd )
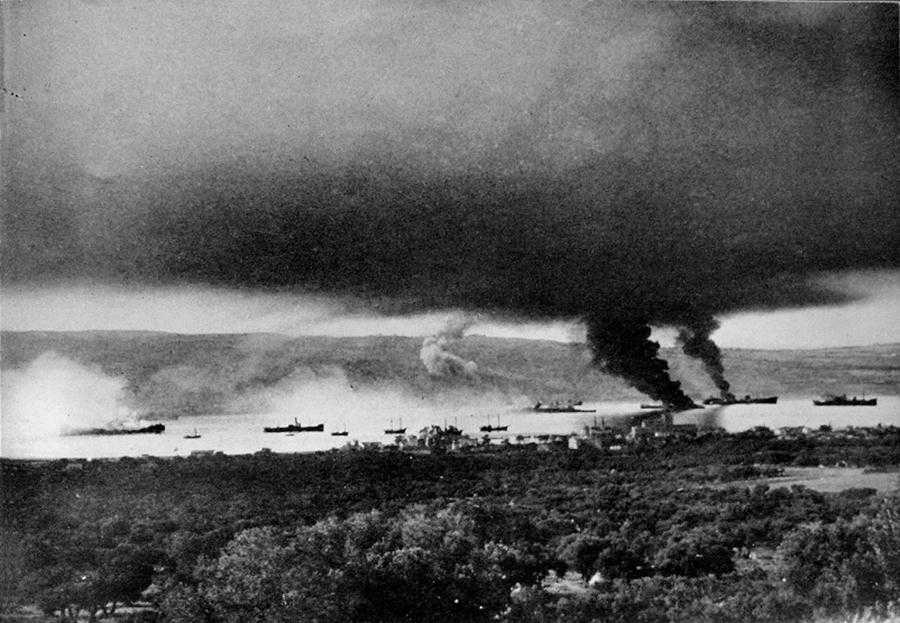
Photo 13. Ships on fire in Suda Bay.

Photo 14. German parachute troops landing near Suda Bay on 20th May 1941. (Australian War Memorial )
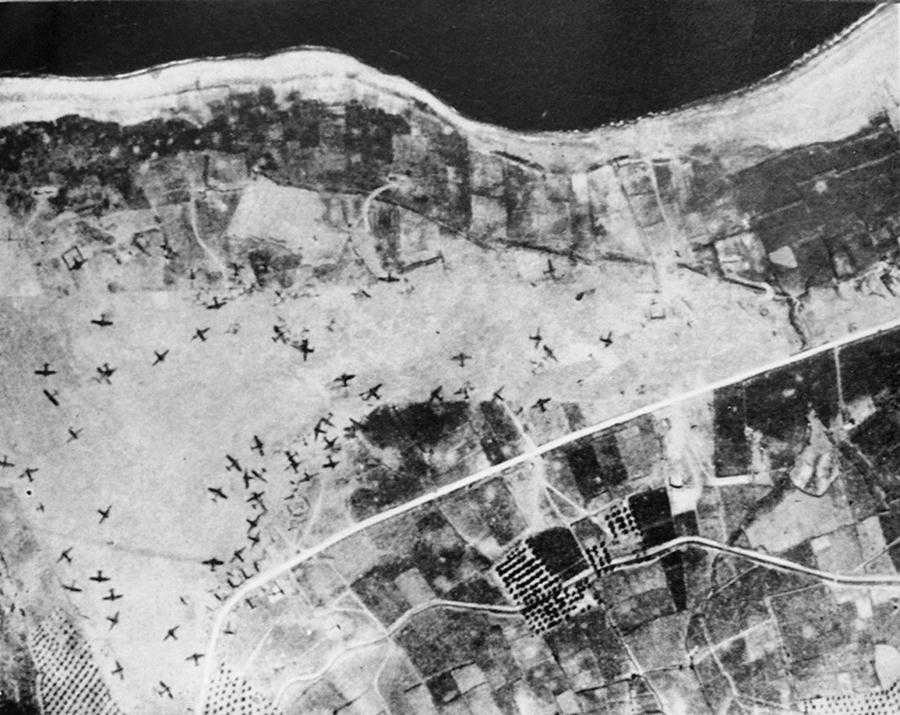
Photo 15. Maleme airfield, Crete, showing many Ju.52s crash-landed and others wrecked.

Photo 16. Admiral Cunningham, General Freyberg, and Vice-Admiral Pridham-Wippell on board HMS Phoebe in Alexandria harbour.

Photo 17. Crete: Askifou Plain from the north. (New Zealand War History Branch )

Photo 18. Crete: Sphakia, where most of the British troops were taken off.
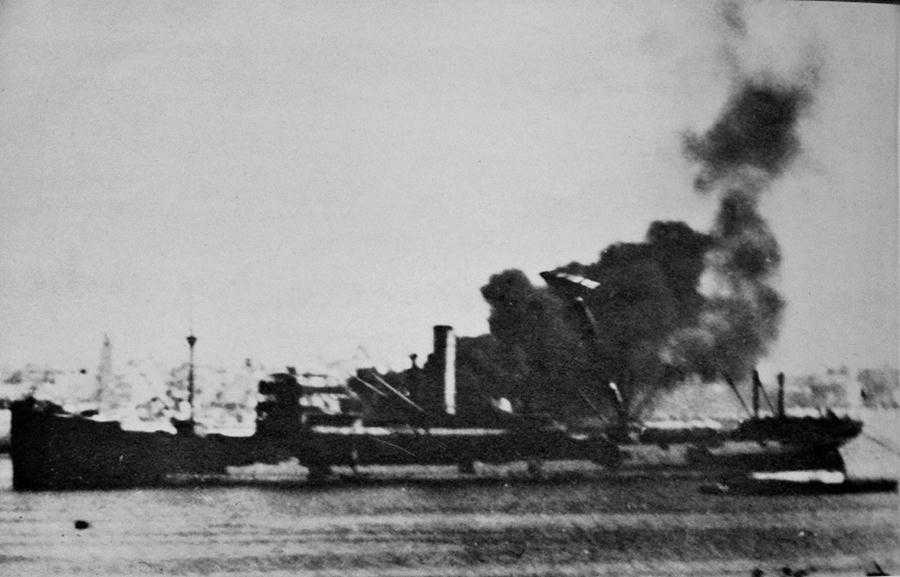
Photo 19. The attack at mast-head height by the Royal Air Force against shipping in Tripoli harbour on 9th July 1941. A direct hit: ship’s boats and debris are flying through the air.

Photo 20. General view of Malta, taken before the war, showing Hal Far airfield and the numerous stone walls which intersect the countryside.

Photo 21. The bombing of Rutba Fort by the Royal Air Force on 9th May 1941.

Photo 22. Habbaniya airfield, looking south across the plateau on which the Iraqi troops deployed; Lake Habbaniya is in the distance.

Photo 23. Men of the Arab Legion looking at the débris of a bombed and burnt out column of Iraqi transport.

Photo 24. Floods along the banks of the river Euphrates.

Photo 25. Falluja and the bridge over the Euphrates.

Photo 26. The grounds of the British Embassy, Baghdad, during the ‘siege’.

Photo 27. Warships cooperating with the Army off the Syrian coast.

Photo 28. Tomahawks of the Royal Air Force in formation over the rugged Lebanon.
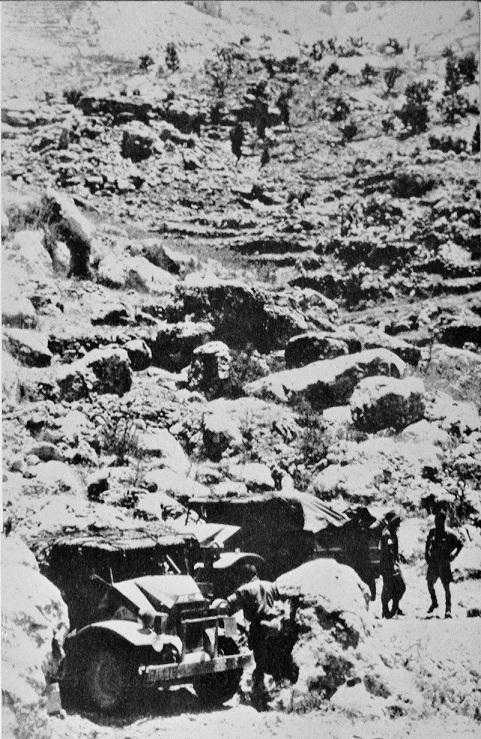
Photo 29. A rocky slope near Jezzine. (Australian War Memorial )
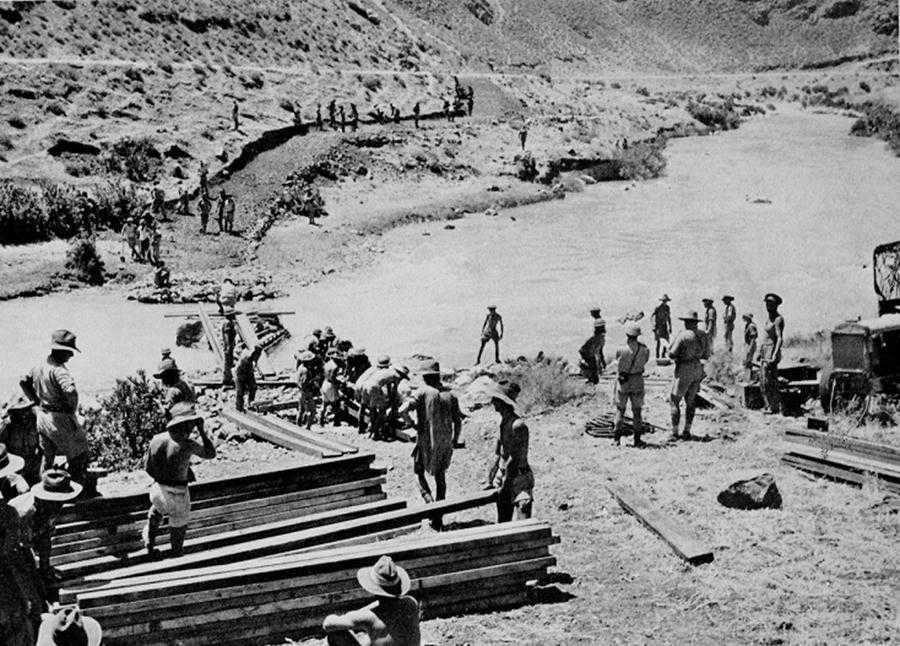
Photo 30. Australians bridging the Litani near Merjayun.
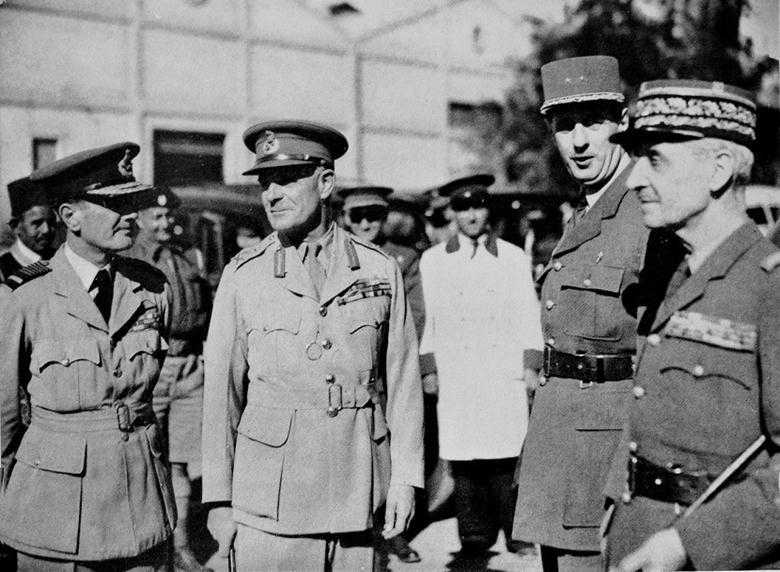
Photo 31. Left to right: Air Chief Marshal Longmore, General Wavell, General de Gaulle, General Catroux.
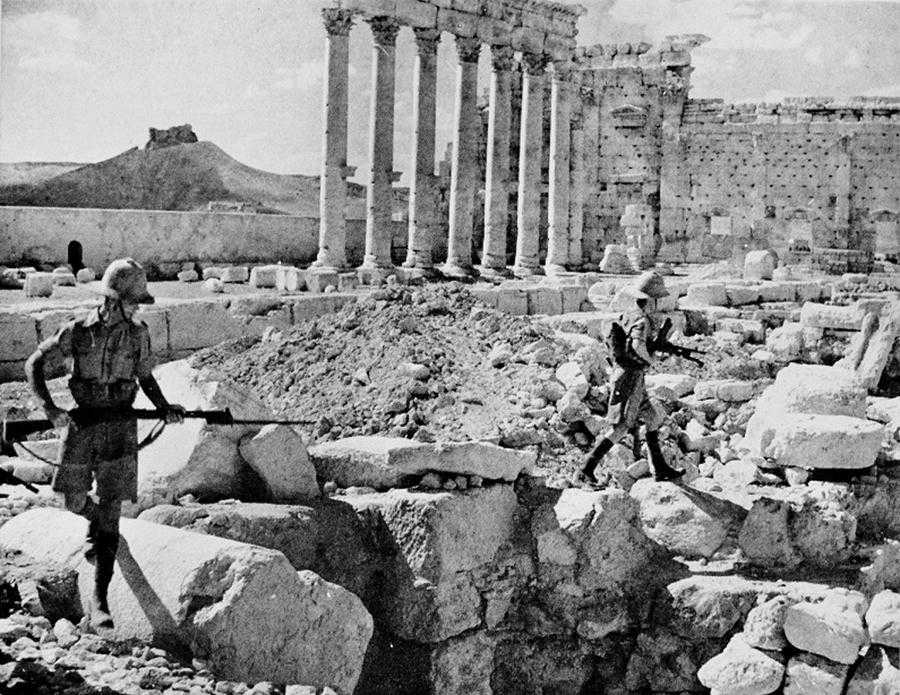
Photo 32. Palmyra, whose garrison surrendered to Habforce on 3rd July 1941.
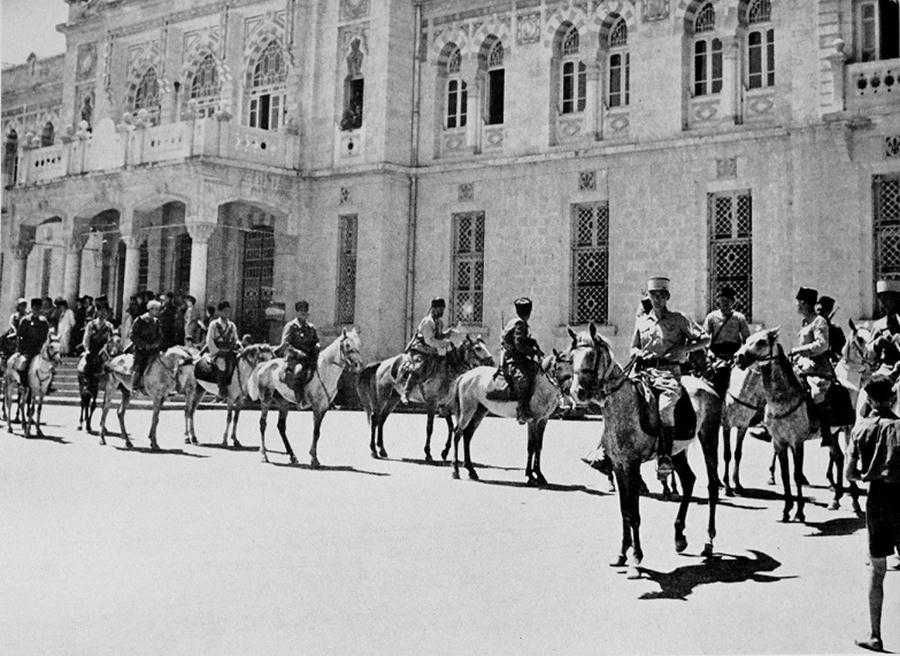
Photo 33. Colonel Collet’s Circassian Cavalry outside the railway station at Damascus, 26th June 1941.
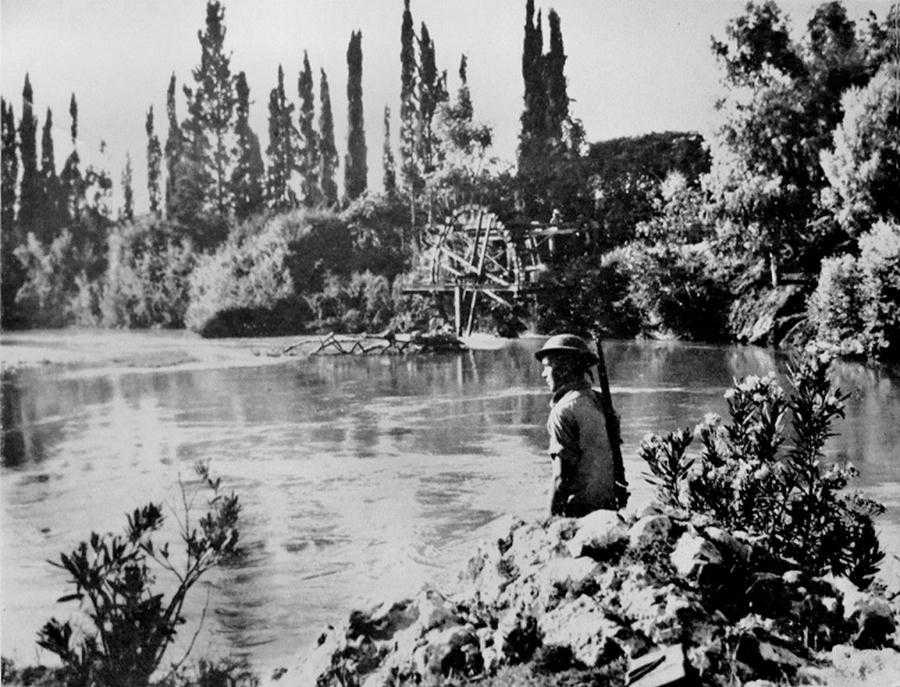
Photo 34. A scene on the river Litani (the old Leontes).
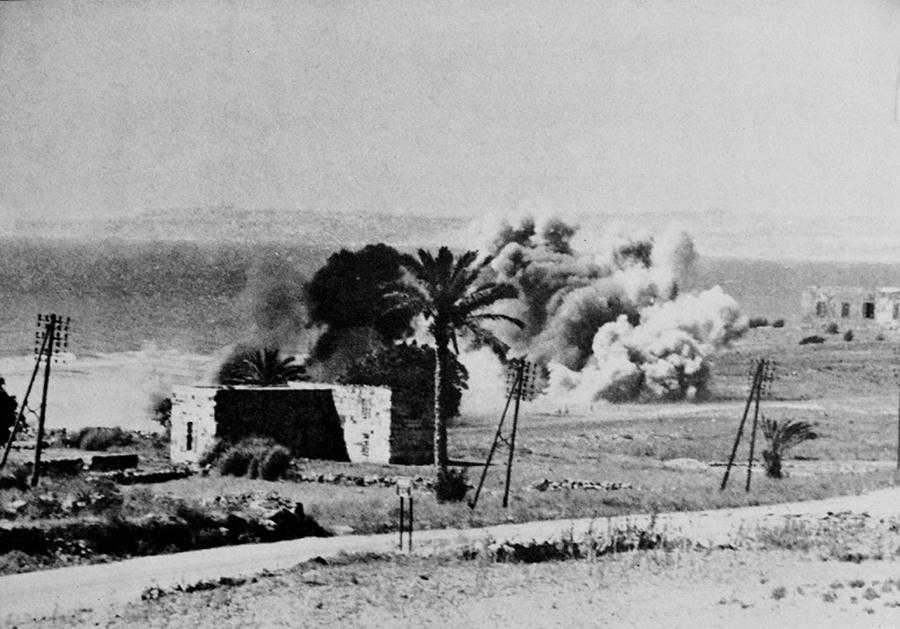
Photo 35. Shell-fire during the Australian advance along the coast road south of Beirut.
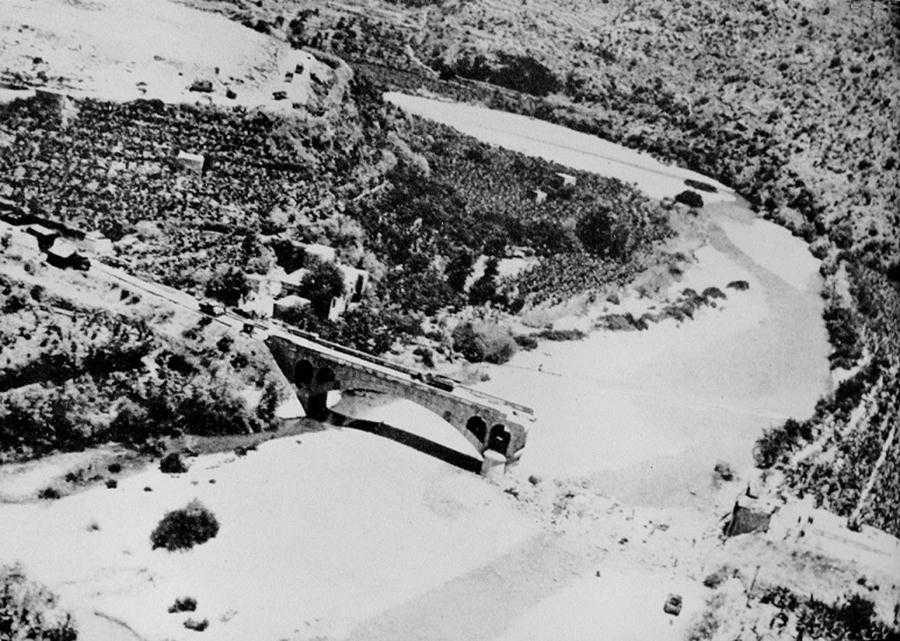
Photo 36. The broken bridge at the mouth of the river Damour.

Photo 37. On board HMS Manchester, just after she had been struck by a torpedo on 23rd July 1941.

Photo 38. Malta: the Grand Harbour from seaward, showing the bridge joining the outer mole to Fort St. Elmo, the scene of the Italian attack of 26th July 1941.
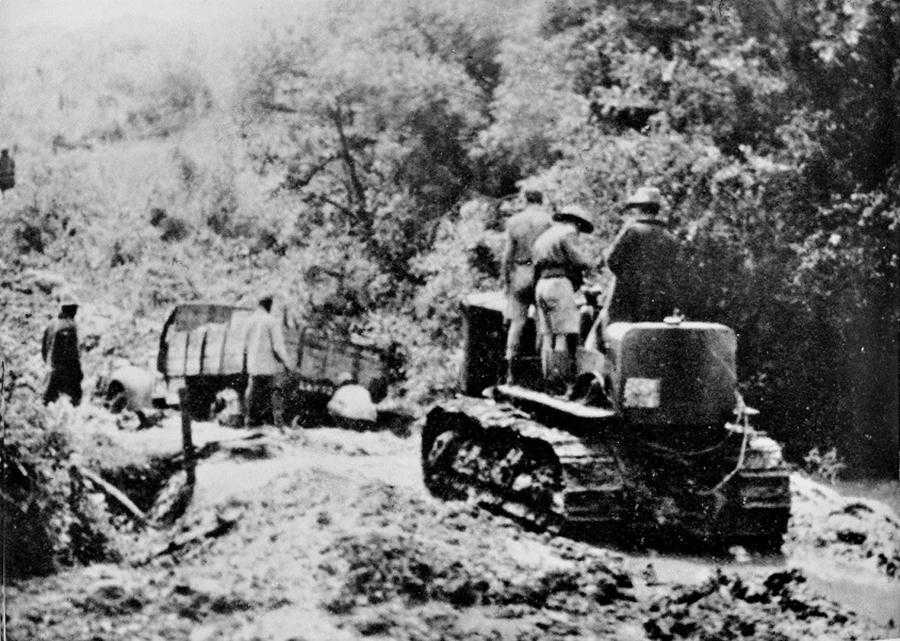
Photo 39. Ethiopia: bad going in the Lakes district.

Photo 40. View on the road near Debra Tabor.

Photo 41. View across the valley of the river Omo.
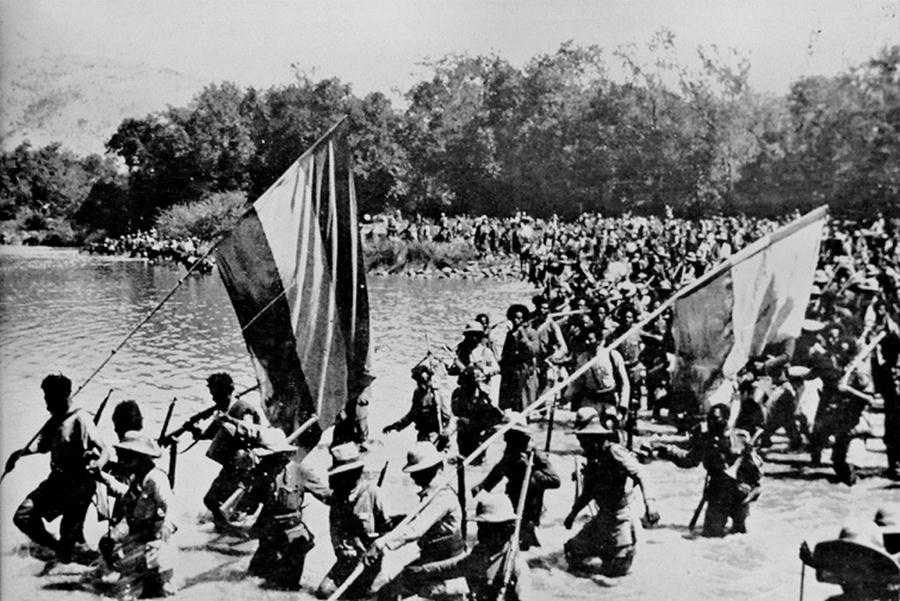
Photo 42. Patriots crossing the Omo.

Photo 43. Fantastic road up the Wolchefit barrier.

Photo 44. Typical country to the east of Gondar; view at the foot of the Lower Daflecha.