Illustrations
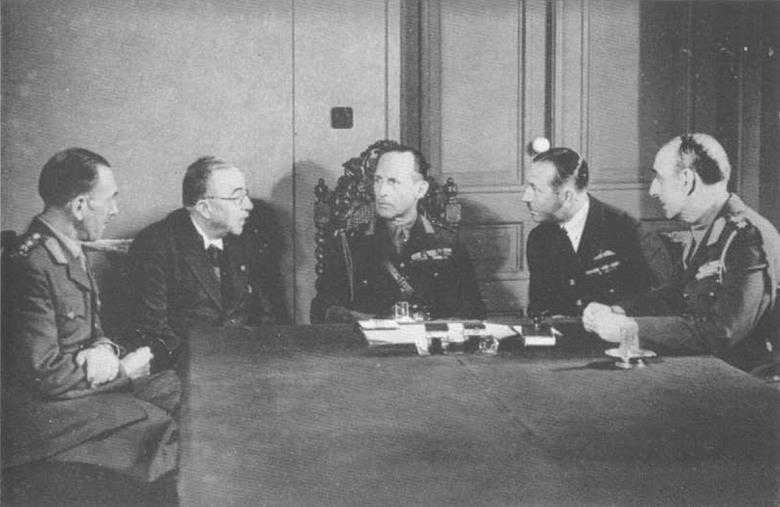
The Anglo-Greek War Council. Major-General Gambier-Parry, General Metaxas, King George, Air Vice-Marshal D’Albiac, General Papagos. (Air Ministry)
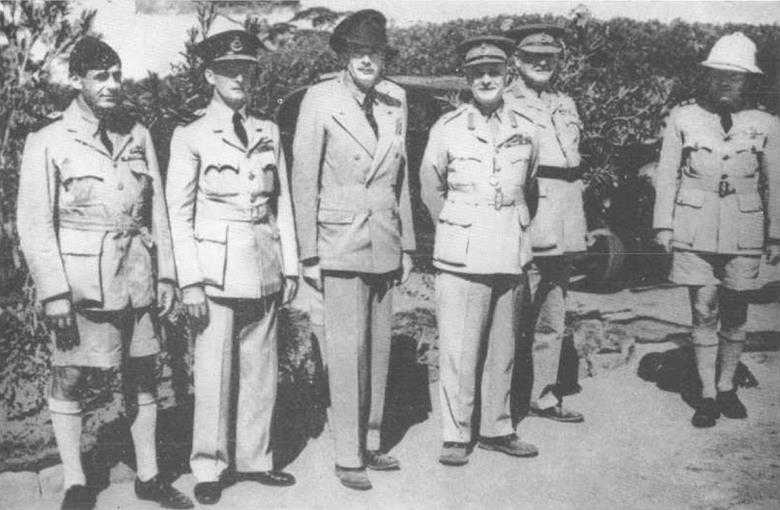
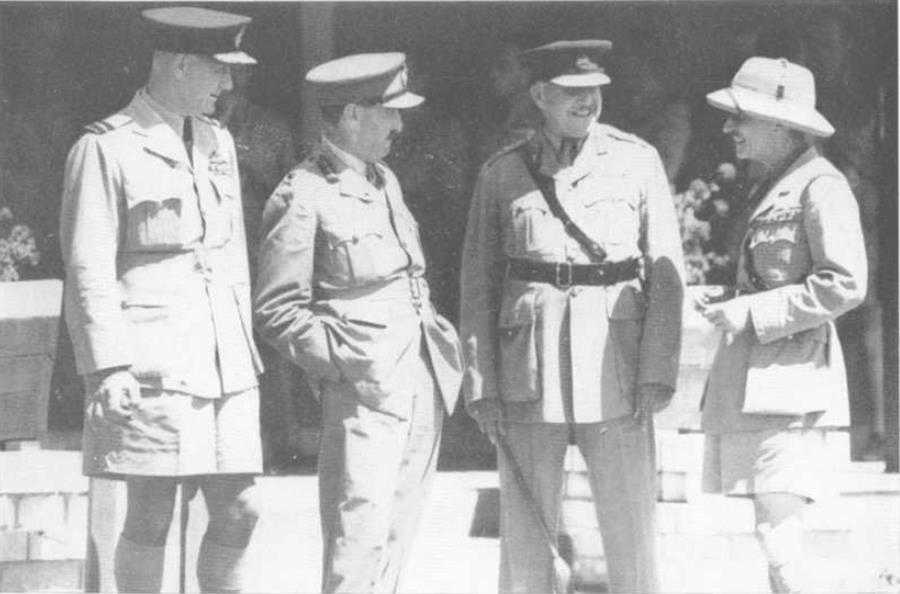
Group Captain ____, Air Vice-Marshal R. M. Drummond, Rt Hon Anthony Eden, General Sir Archibald Wavell, Lieut-General Sir H. Maitland Wilson, Squadron Leader I. D. McLachlan. (Imperial War Museum)
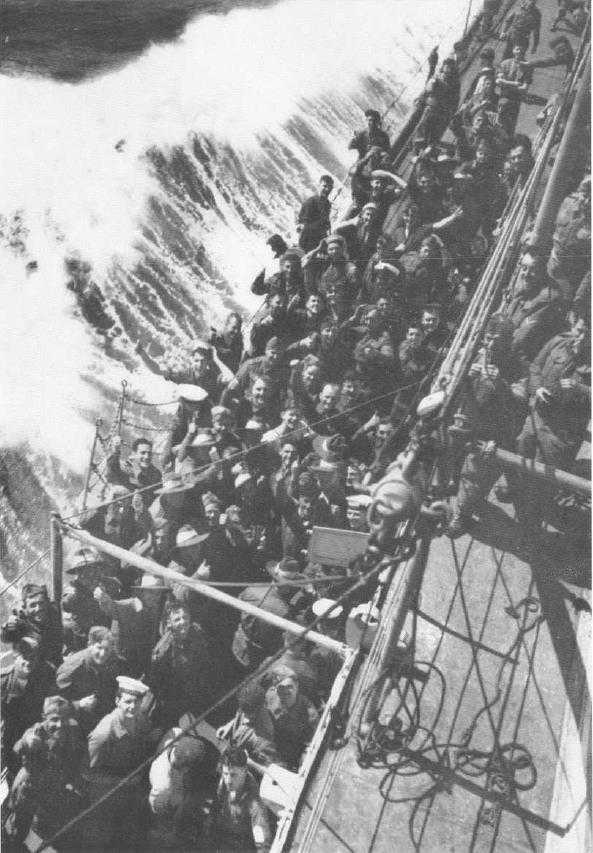
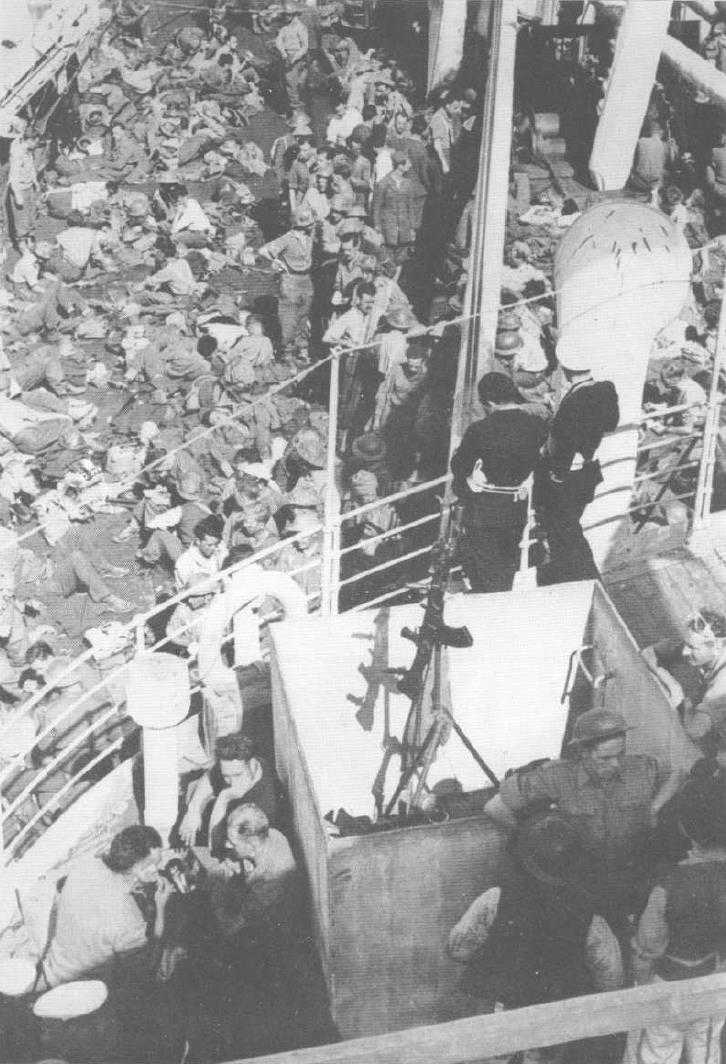
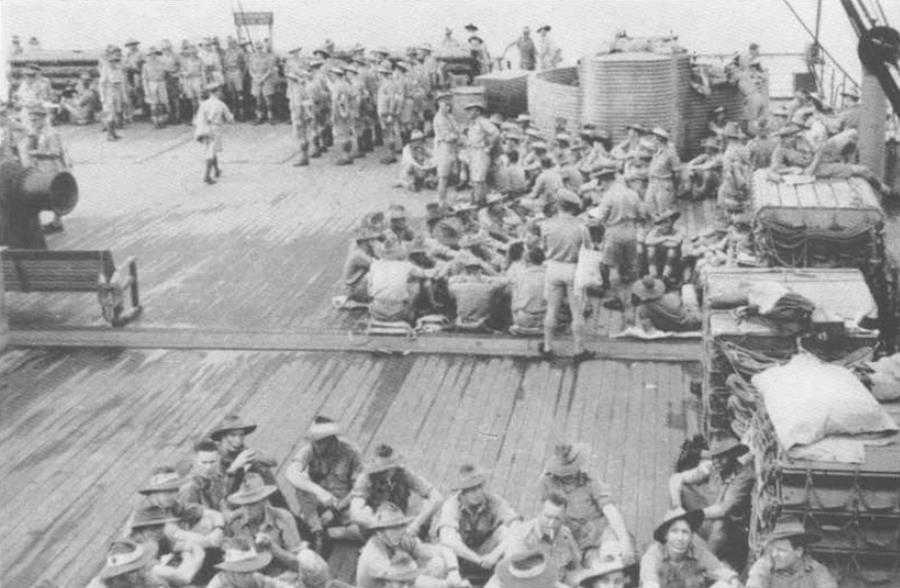
A naval vessel carrying troops to Greece. (Australian War Memorial)
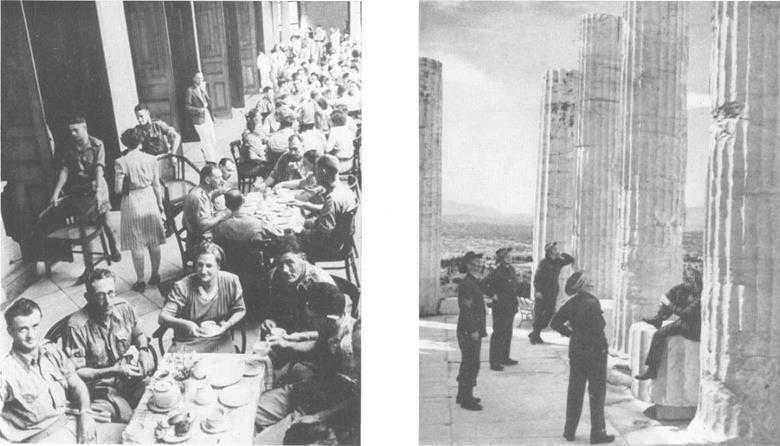
Australian troops on leave in Athens (Australian War Memorial)
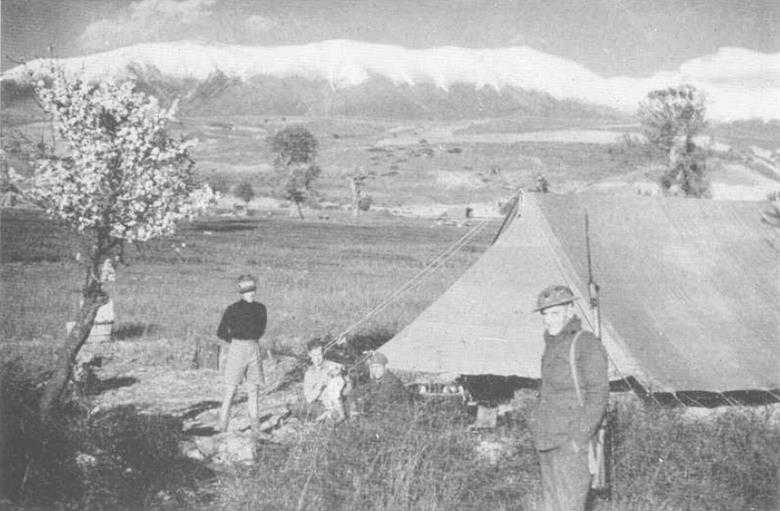
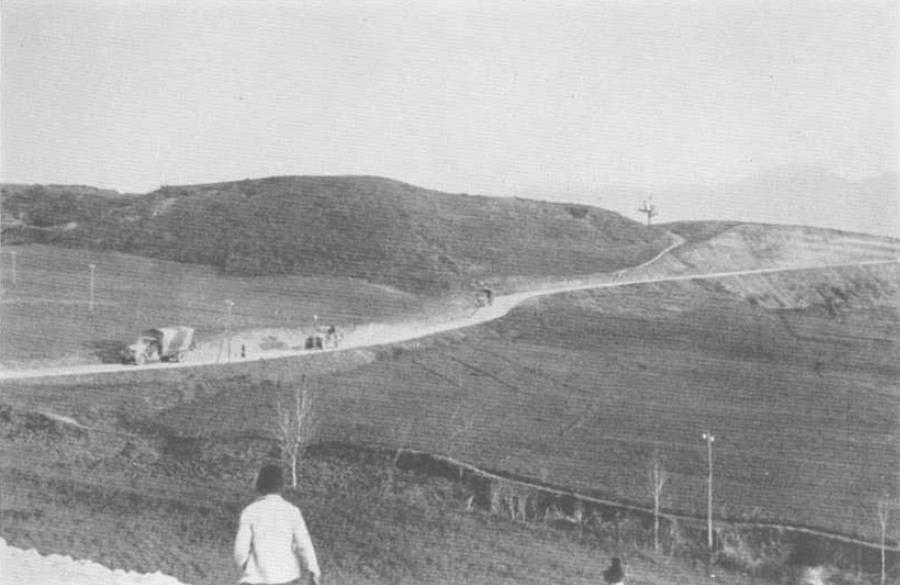
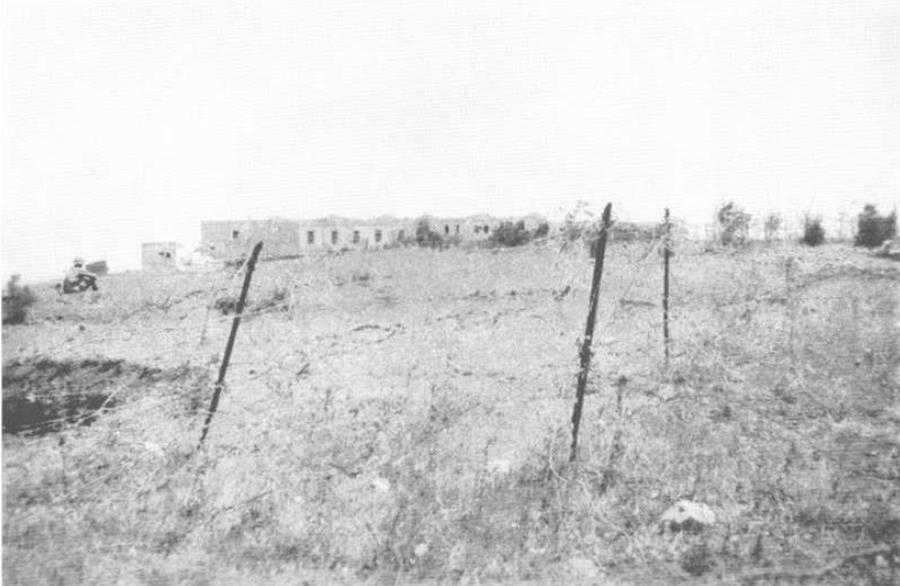
Site of headquarters of the 6th Division. south of Olympus (Australian War Memorial)
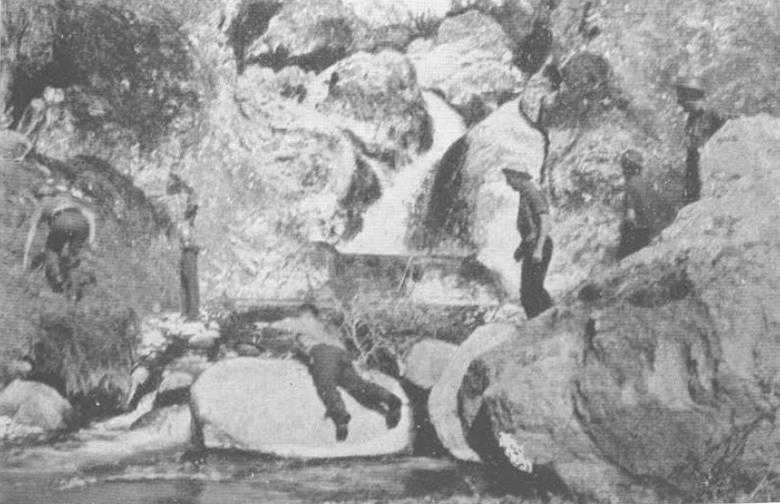
Drawing water from a mountain stream east of Servia (Australian War Memorial)
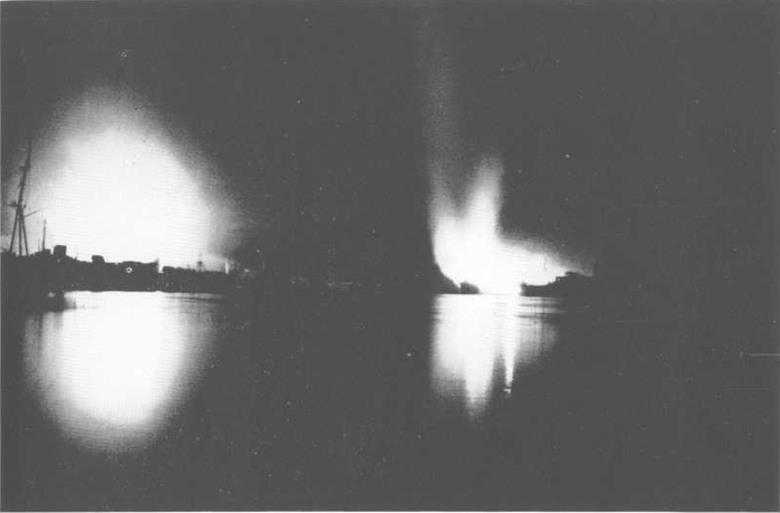
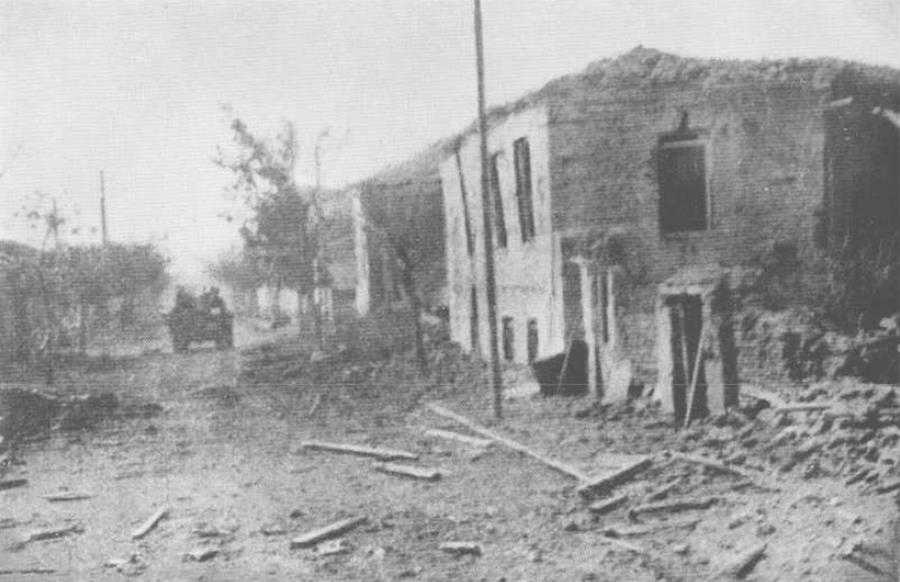
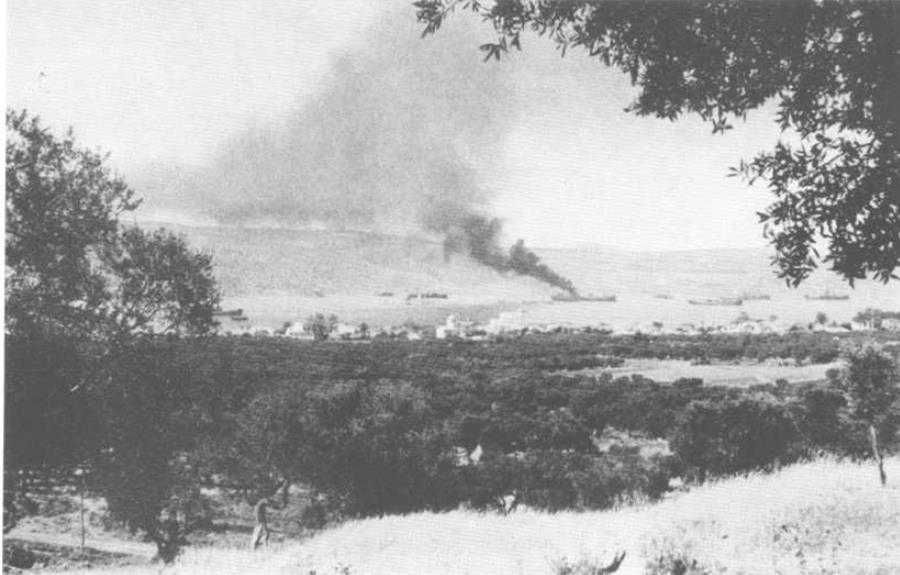
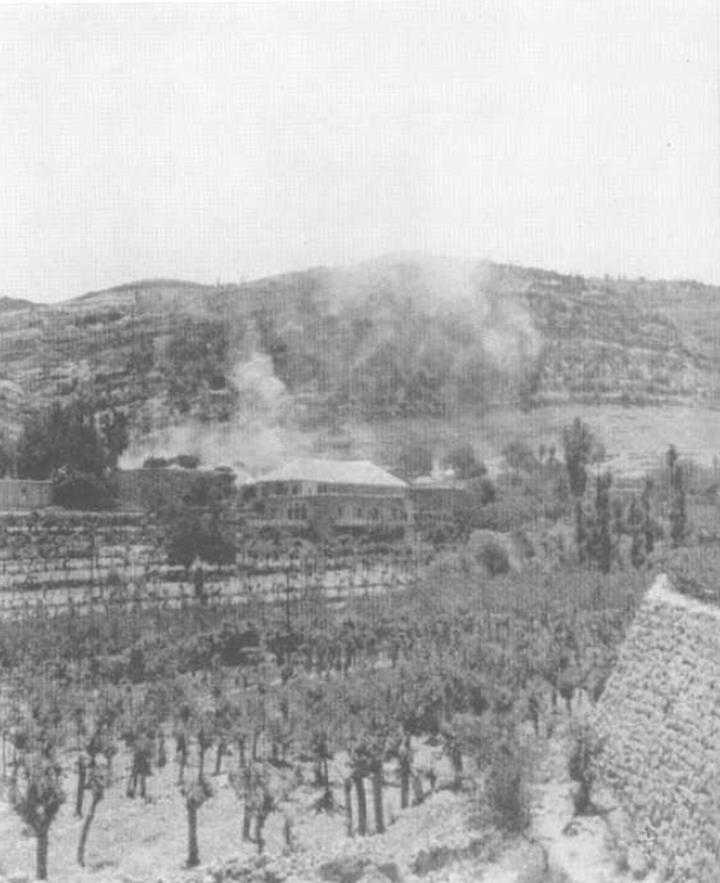
Piraeus after the raid by German aircraft on the night 6th–7th April. The steamer Clan Fraser, loaded with explosives, lies burning on the right

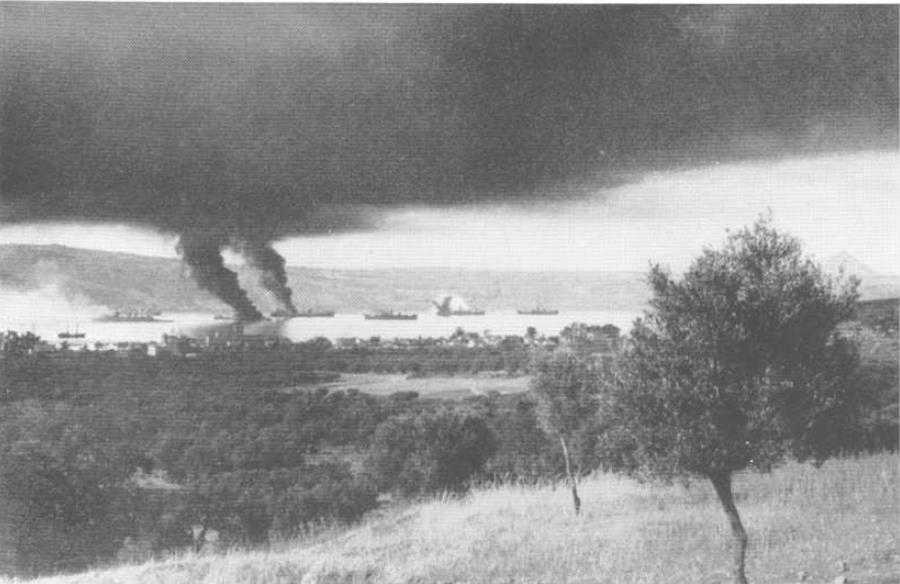
Piraeus after the bombing, morning 7th April
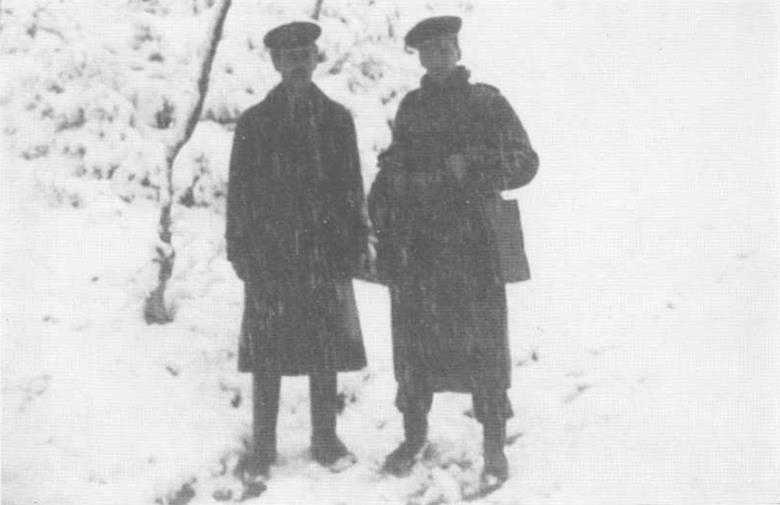
Lt-Col L. N. Dougherty (on the right I with the C.O. of the flanking Greek battalion at Vevi, Good Friday. April 1941 (Maj-Gen L. N. Dougherty)
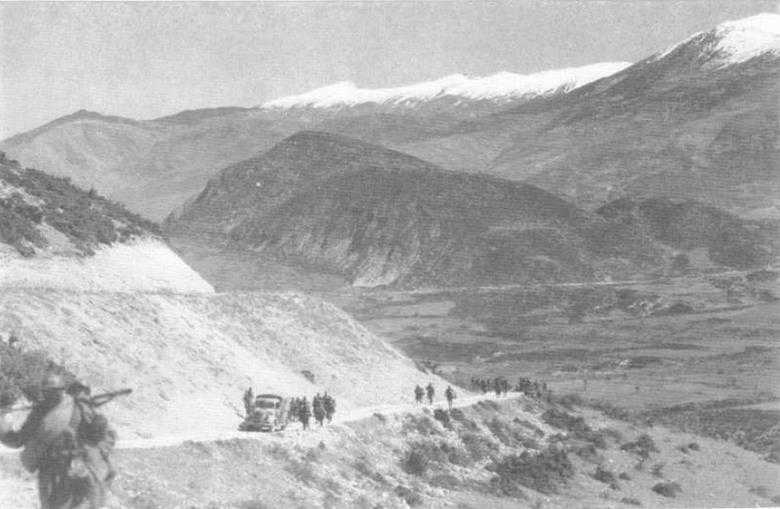
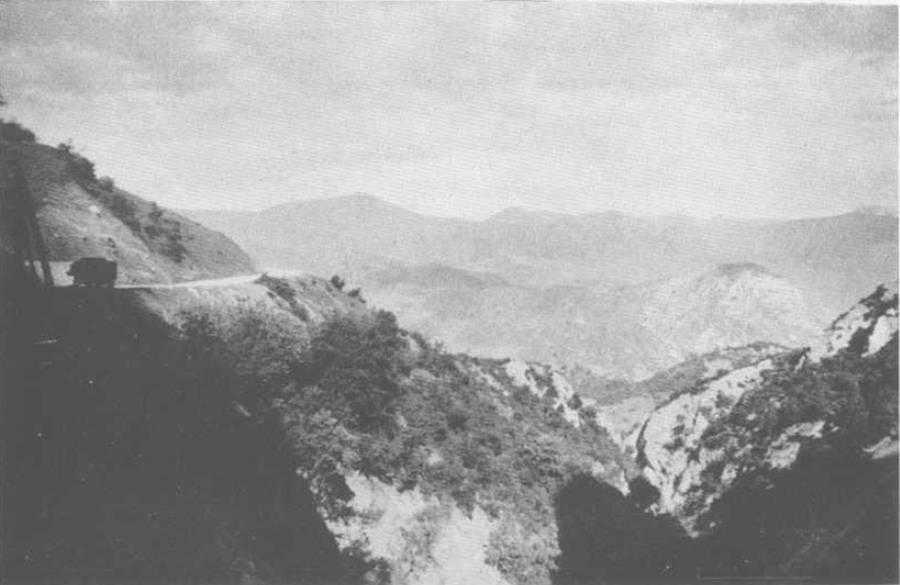
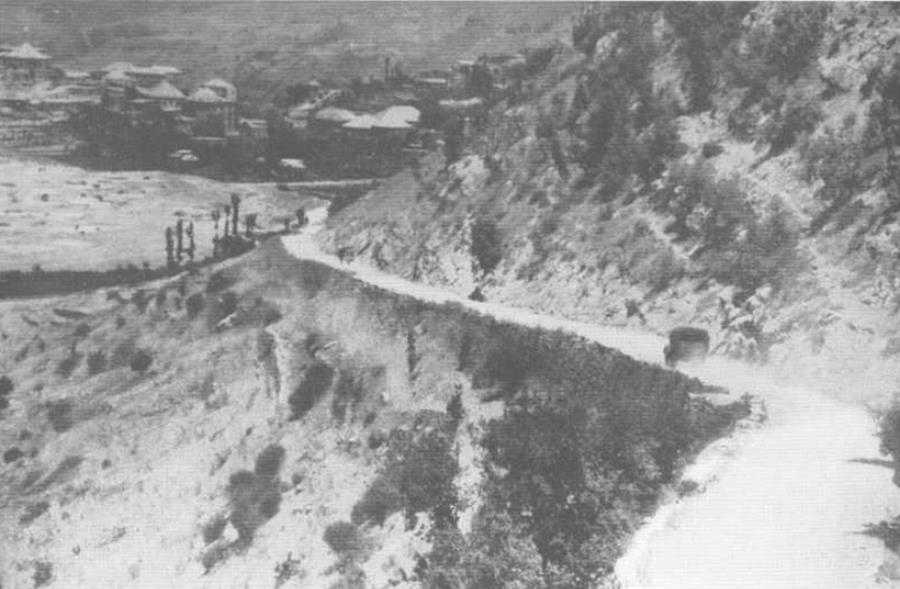
Greek troops moving along a mountain road, April 1941. (Australian War Memorial)
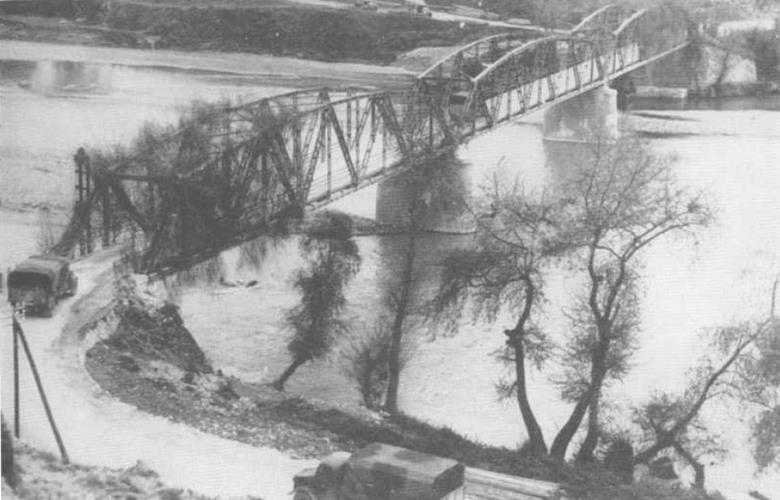
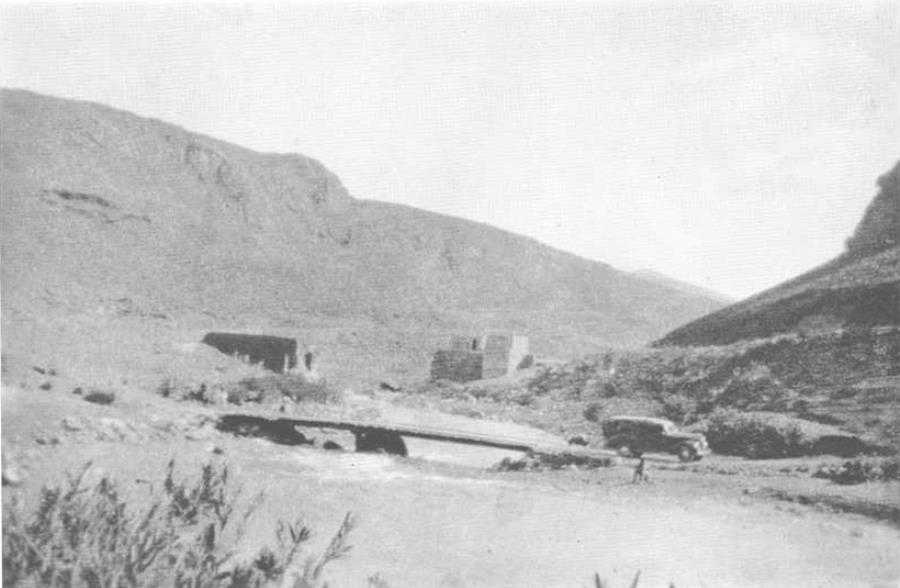
The Aliakmon bridge , 12th April 1941
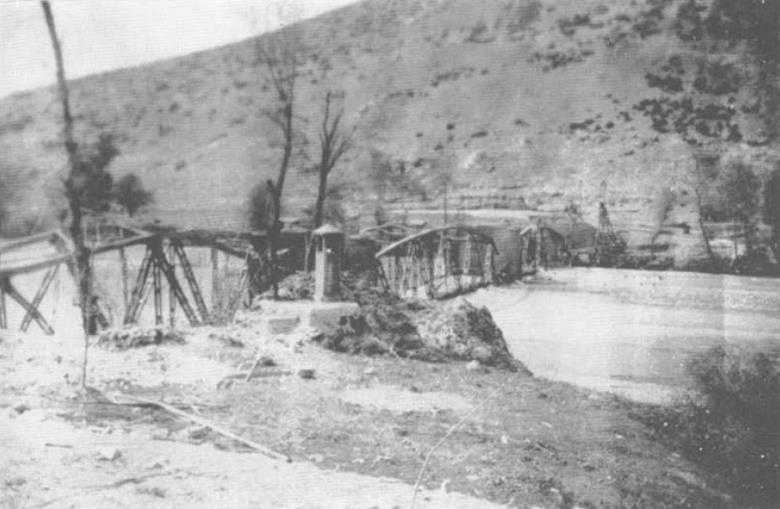
After the demolition, 13th April 1941

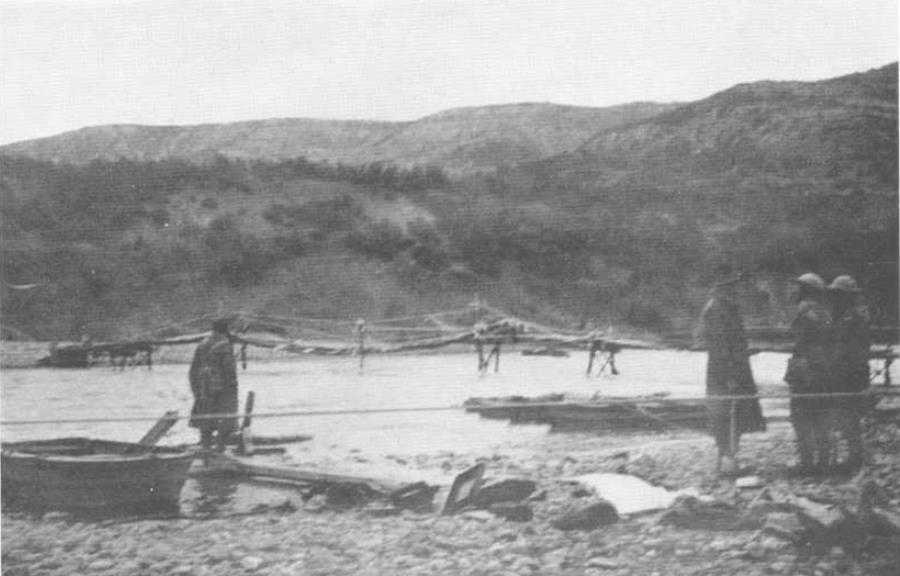
The ferry which carried the 16th Brigade across the Aliakmon River
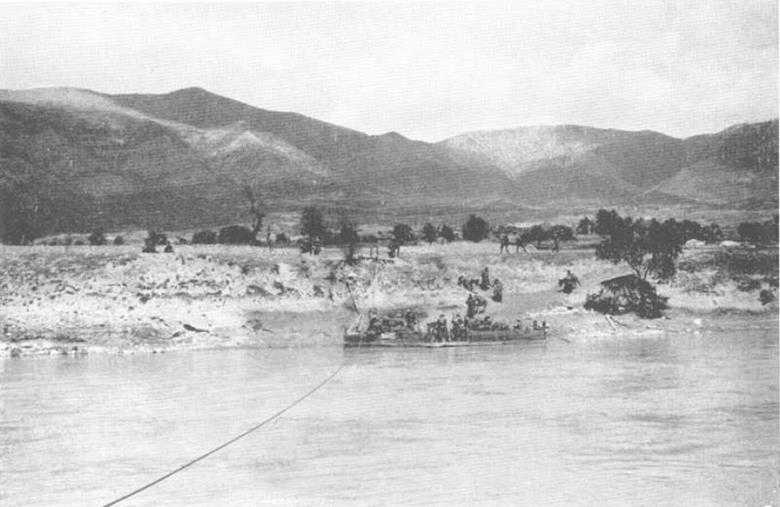
The ferry which carried the 16th Brigade across the Aliakmon River
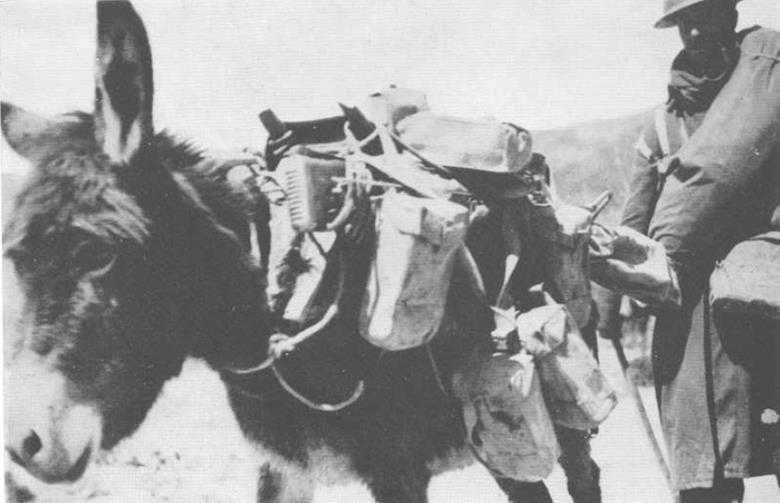
A soldier and his donkey arrive at the Aliakmon River crossing (Maj S. B. Cann, 2/1 Fd Coy)
The bridge built by the 2/1st Field Company to carry the 19th Brigade across the Aliakmon (Unknown New Zealand sapper)
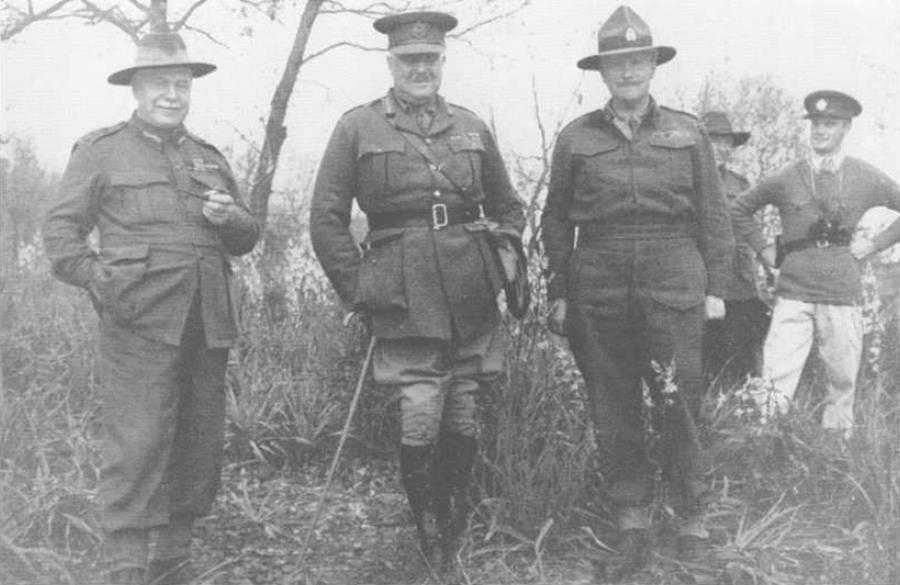
Lieut-General Sir Thomas Blamey, Lieut-General Sir H. Maitland Wilson. and Major-General B. C. Freyberg (New Zealand War History Branch)

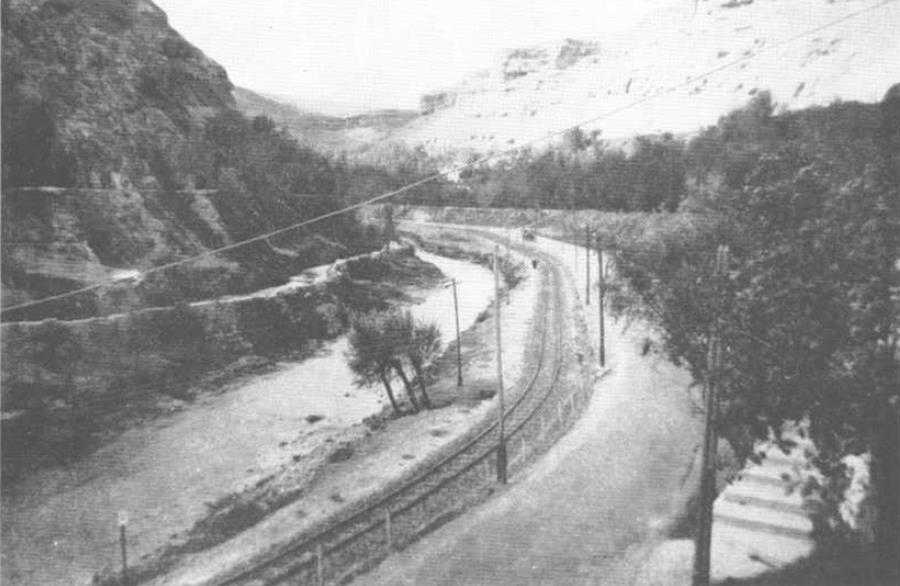
An observation post of the 6th N.Z. Field Regiment in the Servia Pass, overlooking the Aliakmon River (New Zealand War History Branch)
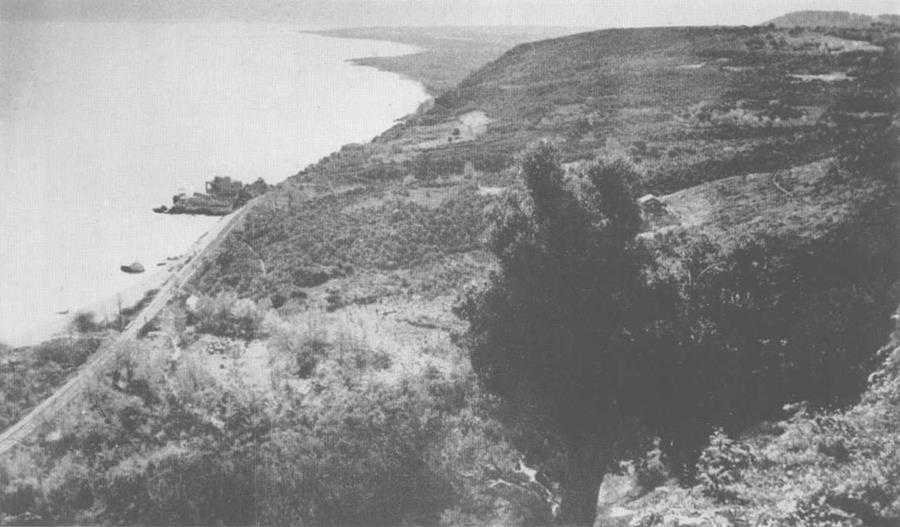
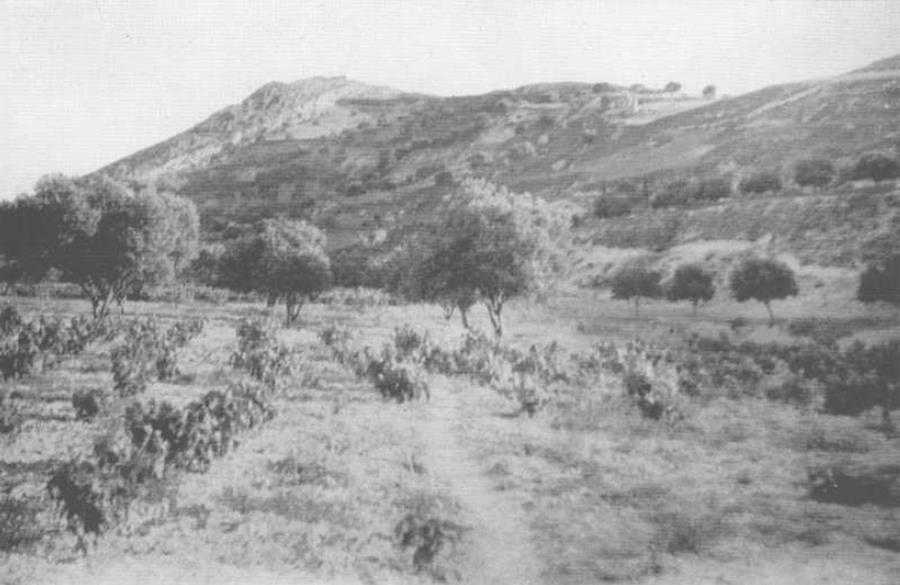
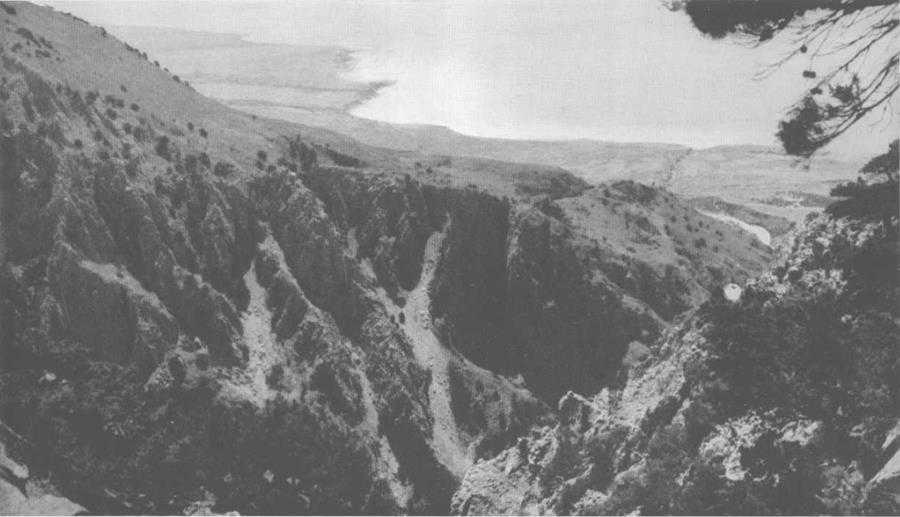
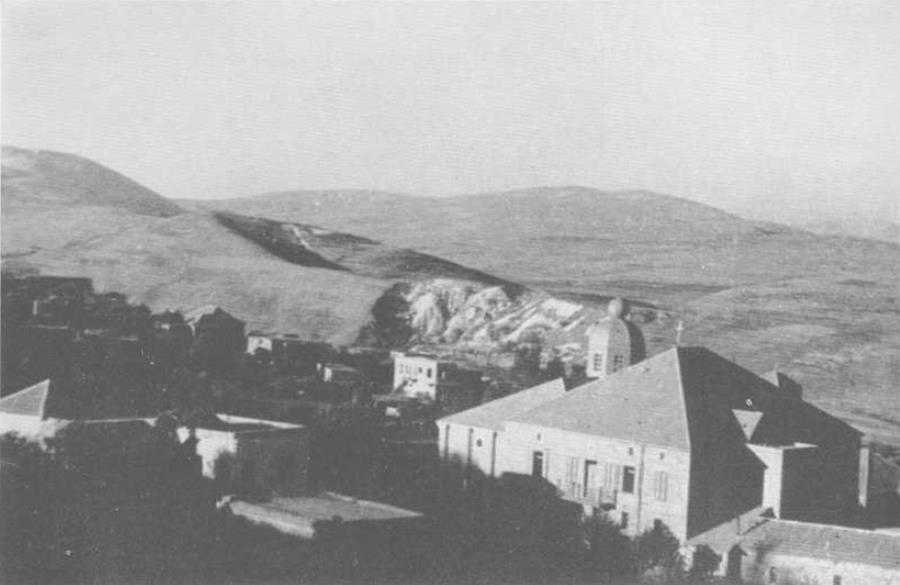
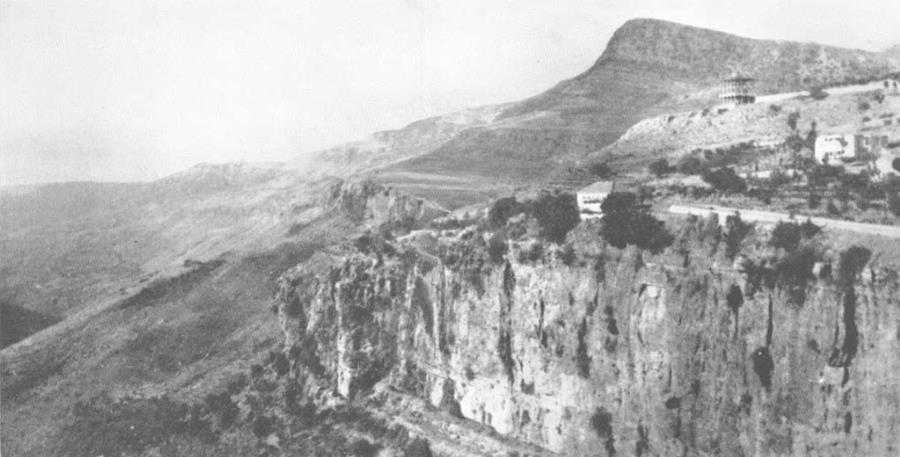
Platamon, looking south (New Zealand War History Branch)
Larisa during an air raid
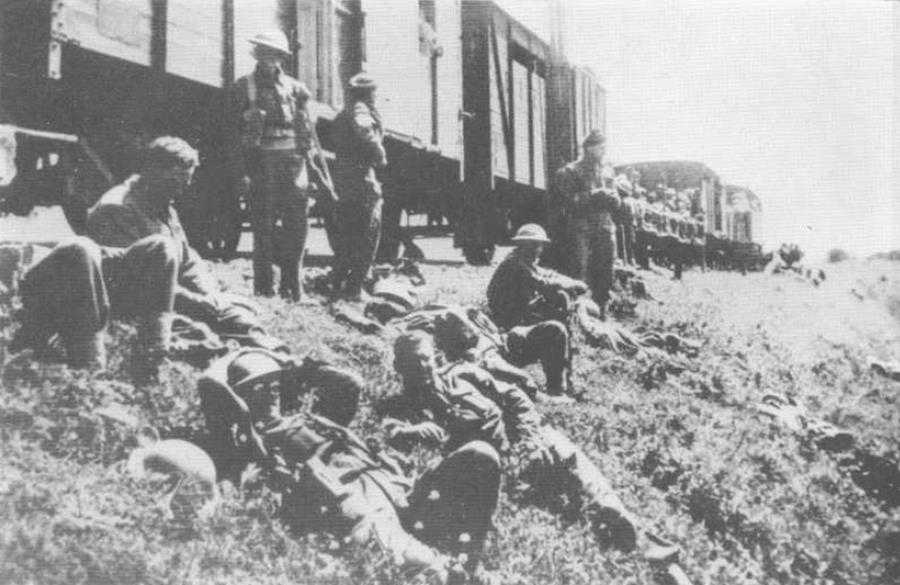
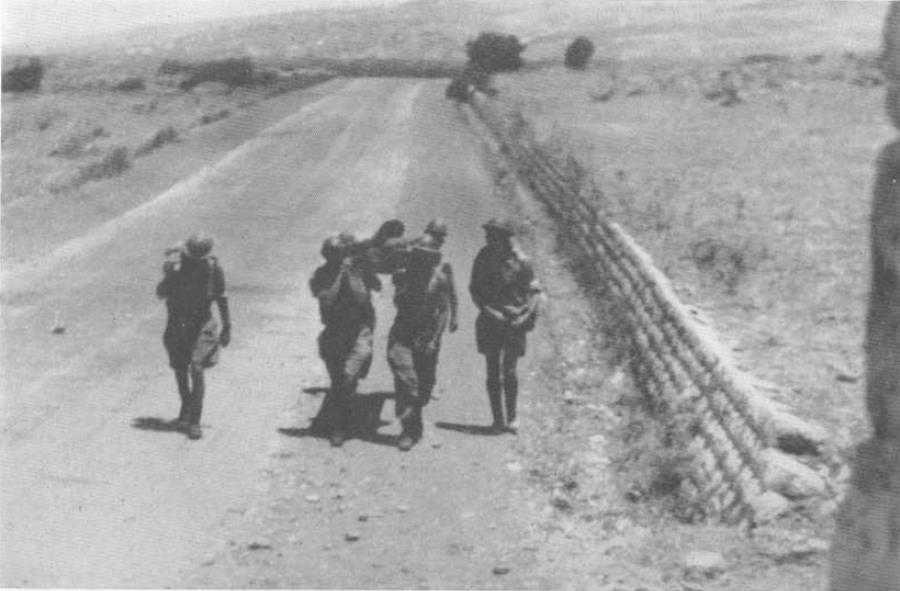
An enforced stop on a train journey from Larisa during the withdrawal to the Thermopylae line (New Zealand War History Branch)
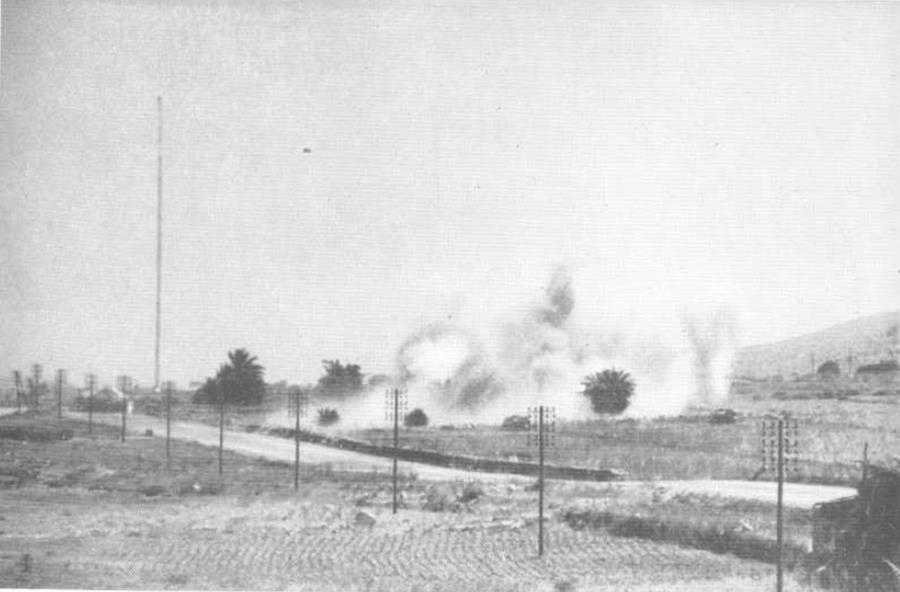
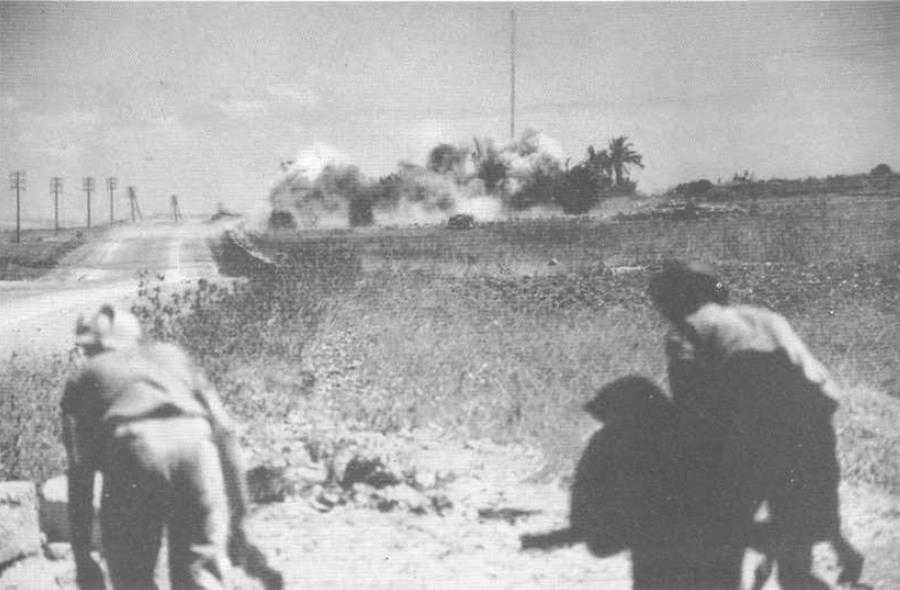
The approach to Pharsala bridge from the north on 18th April 1941. after German aircraft had scored a direct hit on a truck loaded With ammonal
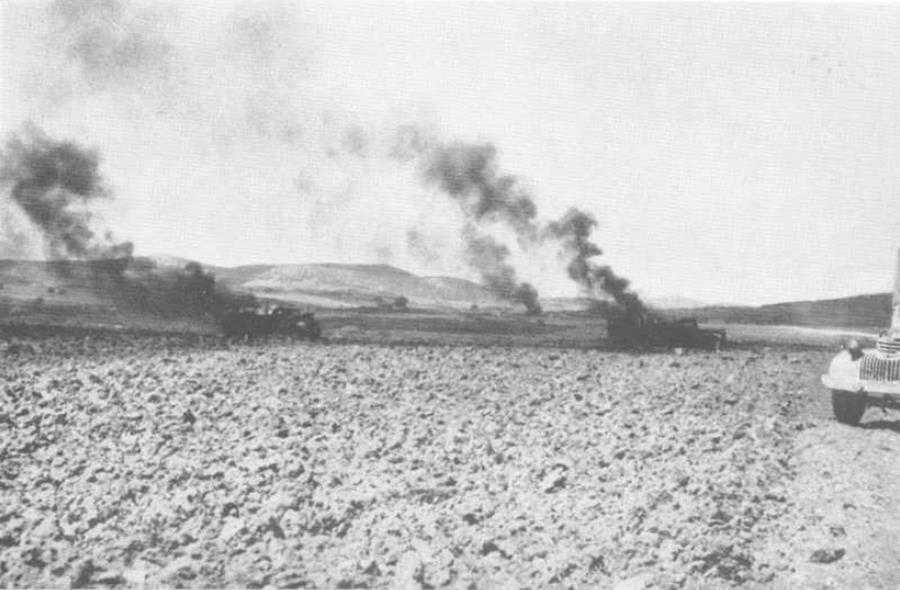
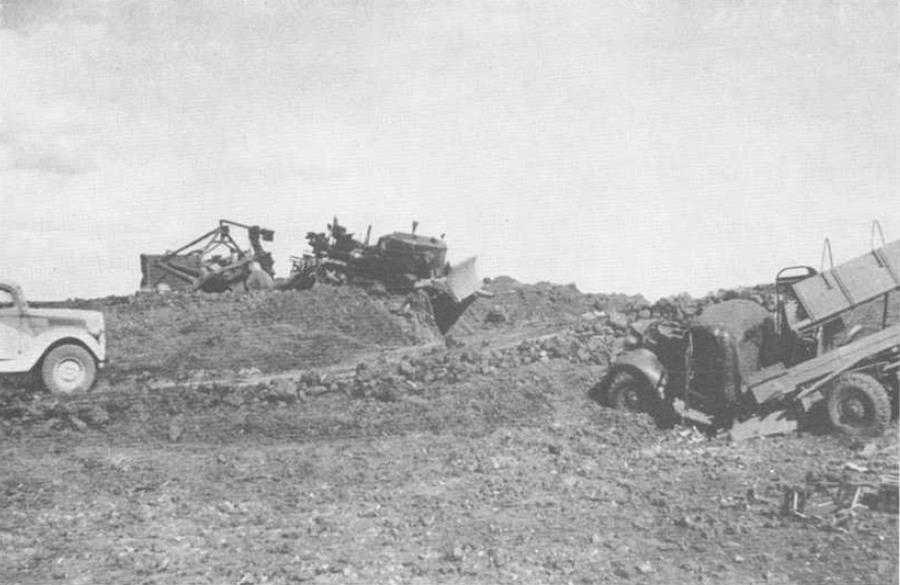
Burning trucks on the plain south of Lamia (Maj S. B. Cann, 2/1 Fd Coy)
The road to Brallos Pass. looking north (Capt B. Brock, 2/2 Bn)
Brallos Pass. viewed from the arch bridge (Maj S. B. Cann. 2/1 Fd Coy)

A Henschel 126 reconnaissance plane brought down on 21st April by Sapper J. Atkinson, 2/1st Field Company, with a Wen gun fired from the shoulder (Maj S. B. Cann, 2/1 Fd Coy)

Air attack on the way to Monemvasia (New Zealand War History Branch)
On a ship evacuating troops from Greece to Crete (Australian War Memorial)
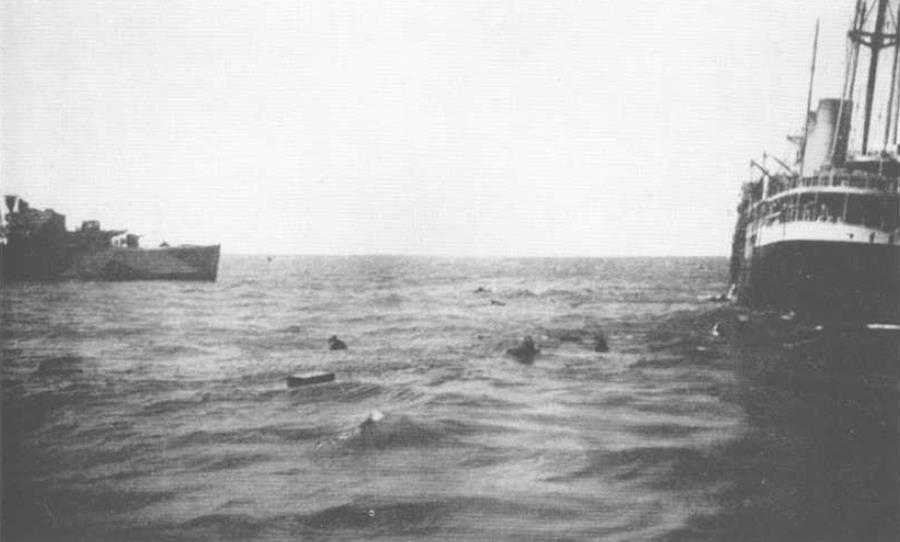
The stern of the sinking Costa Rico viewed from the City of London, the nearest ship in the convoy, with HMS Defender on the left. 27th April. (Lt-Col T. G. Walker, 2/7 Bn)
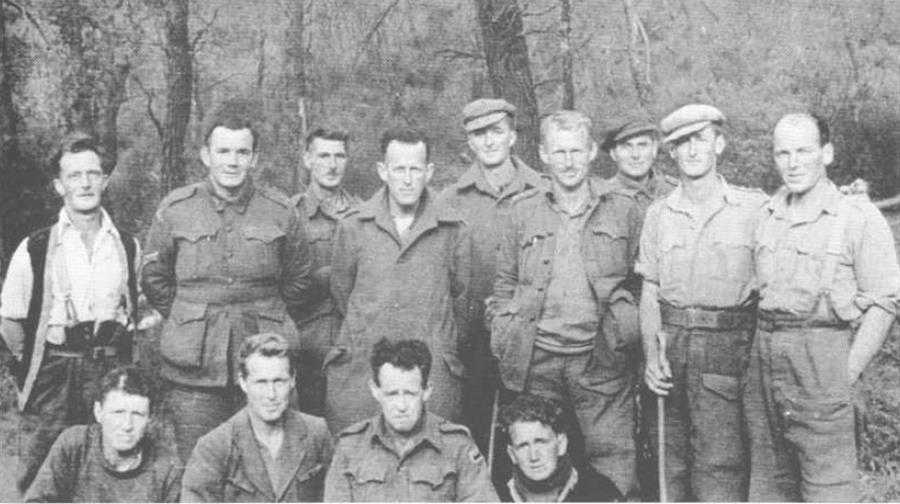
A group of officers and men of the 2/2nd Battalion on the eve of their departure from the Aegean island of Euboea, 8th May 1941 (Col R. Brock. 2/2 Bn)
Back row: Pte M. J. Sanders: Cpl J. W. H. Fuller: Cpl H. J. Honeywell: Lt-Col F. O. Chilton: Capt C. H. Green: Capt B. Brock: Lt A. K. Bosgard: Capt A. A. Buckley: Cpl J. Shanahan. Front row: Pte J. A. F.. Whitton: L-Sgt R. C. Smith: Pie H. R. Brown: Pte W. Schofield. Of the nine officers and NCOs in this photograph four were subsequently killed: Honeywell, Shanahan and Bosgard in New Guinea: and Green when leading a battalion in Korea in 1950.
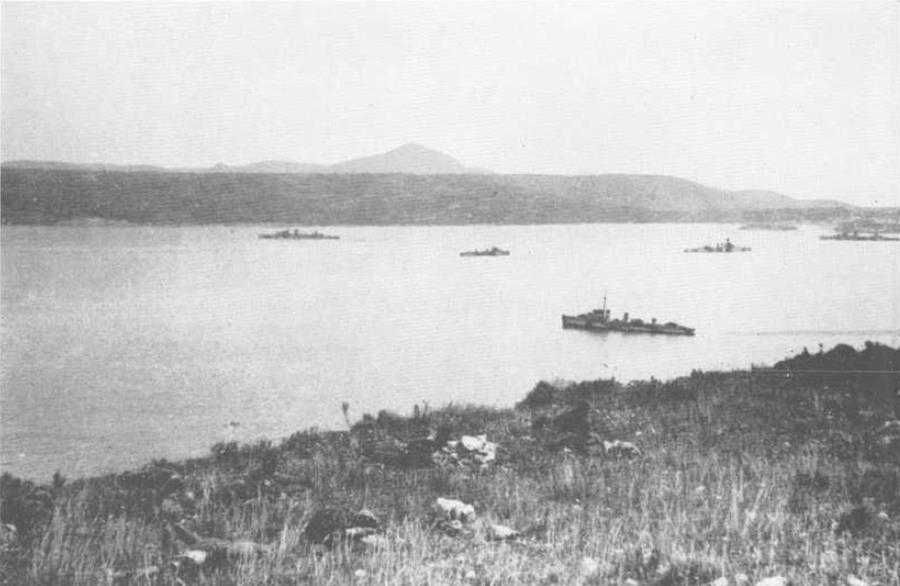
Suda Bay (Maj S. B. Conn, 2/1 Fd Coy)
Australian troops resting on the shores of Buda Bay (Australian War Memorial)

Brigadier G. A. Vasey, who commanded the Australians an Crete (Mrs G. A. Vasey)
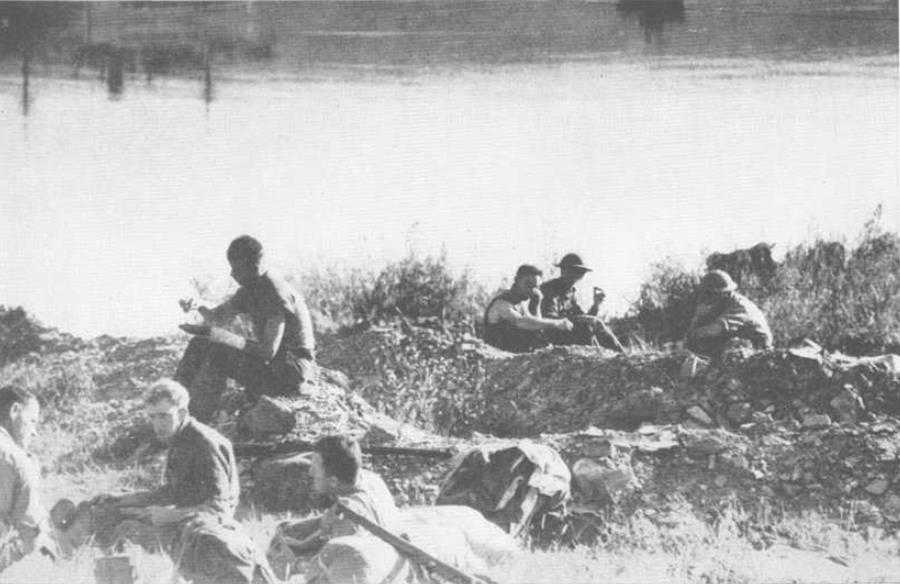
Near Heraklion (2/4 Bn War Diary)
Suda Bay during a bombing attack
Suda Bay. The smoke is rising from two tankers set alight by attacking aircraft (Maj S. B. Cann, 2/1 Fd Coy)
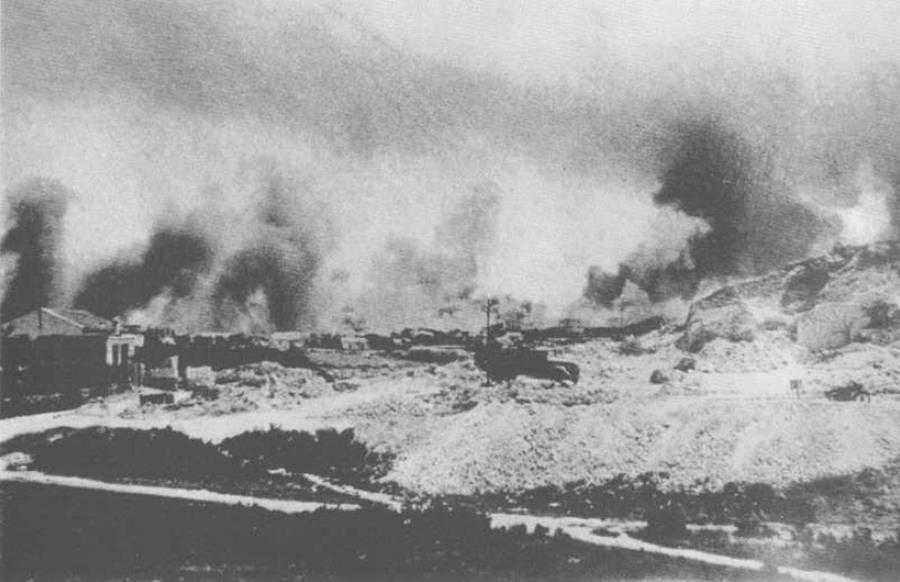
The bombing of Heraklion (2/4 Bn War Diary)
2
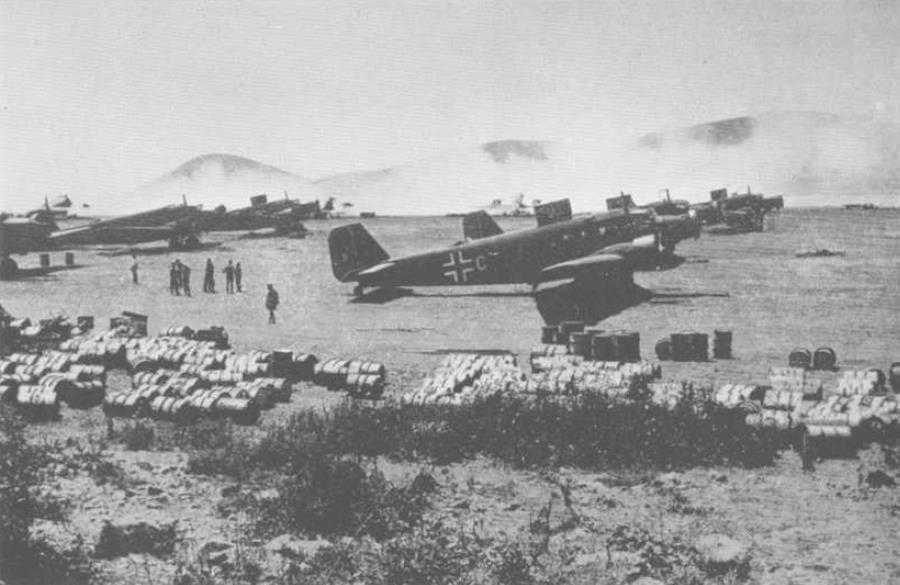
German transport planes and supplies on a Greek airfield, May 1941 (New Zealand War History Branch)
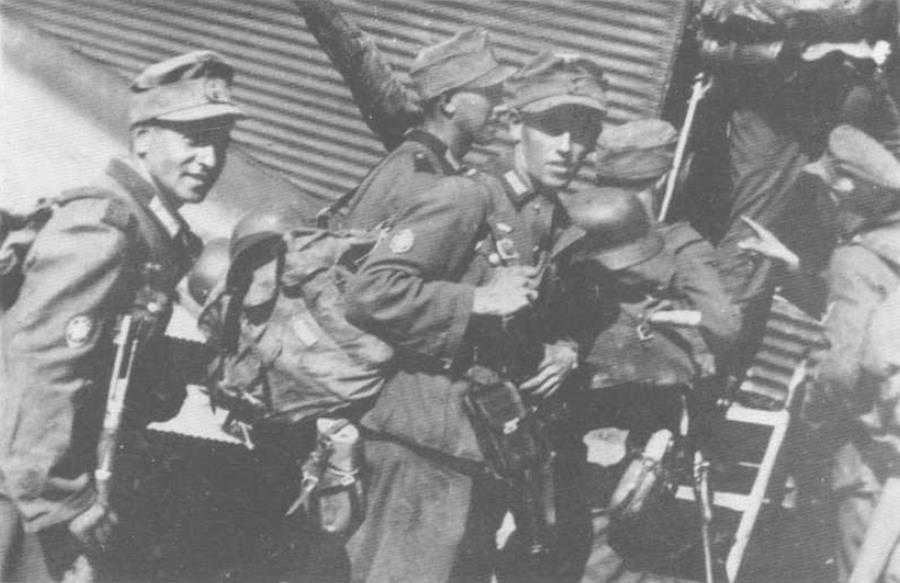
Troops of the 5th German Mountain Division boarding a transport aircraft in Greece (Captured photograph)
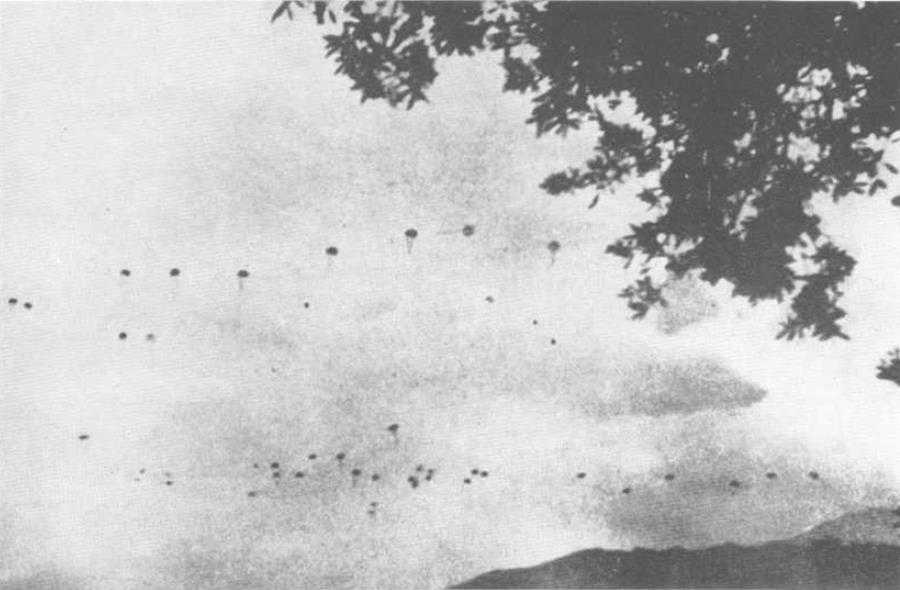
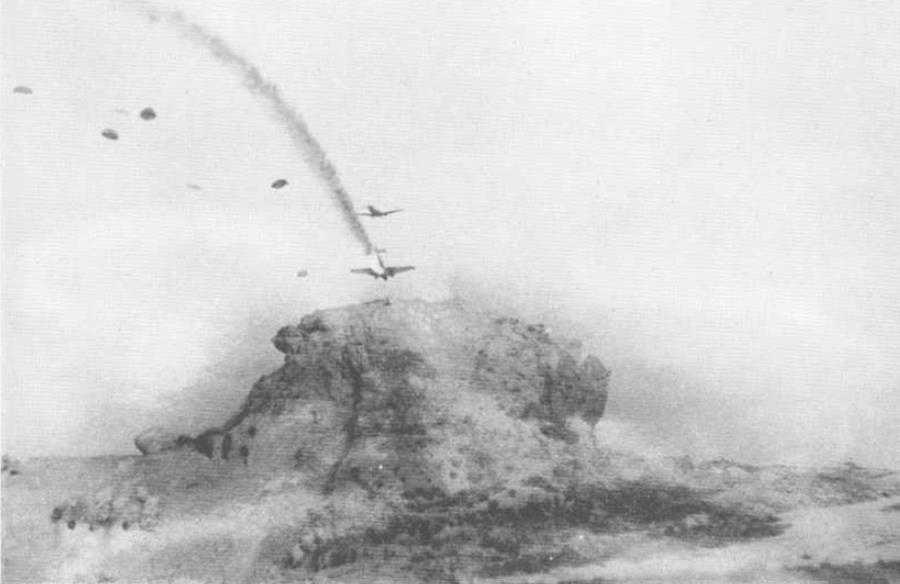
The invasion. Parachutes over Suda Bay
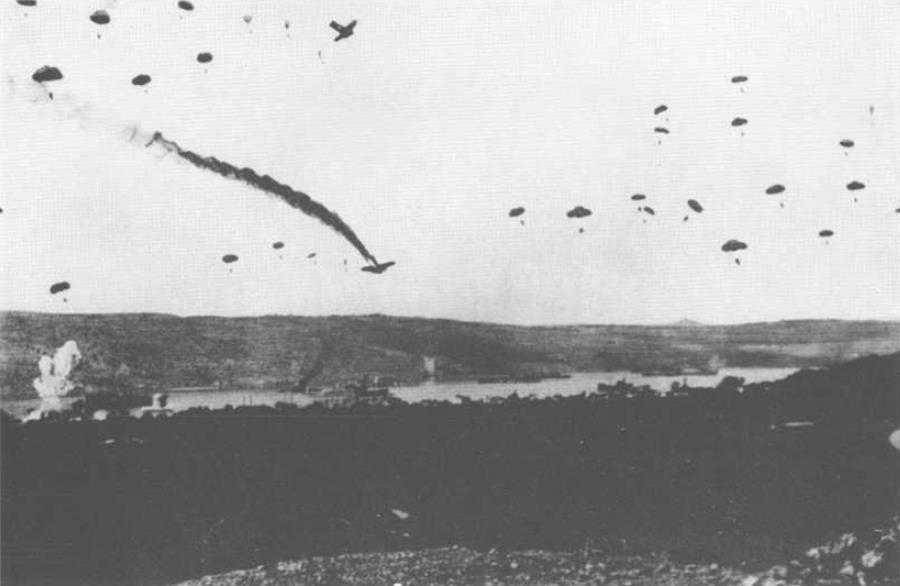
German parachute troops over Soda Bay, 20th May 1941
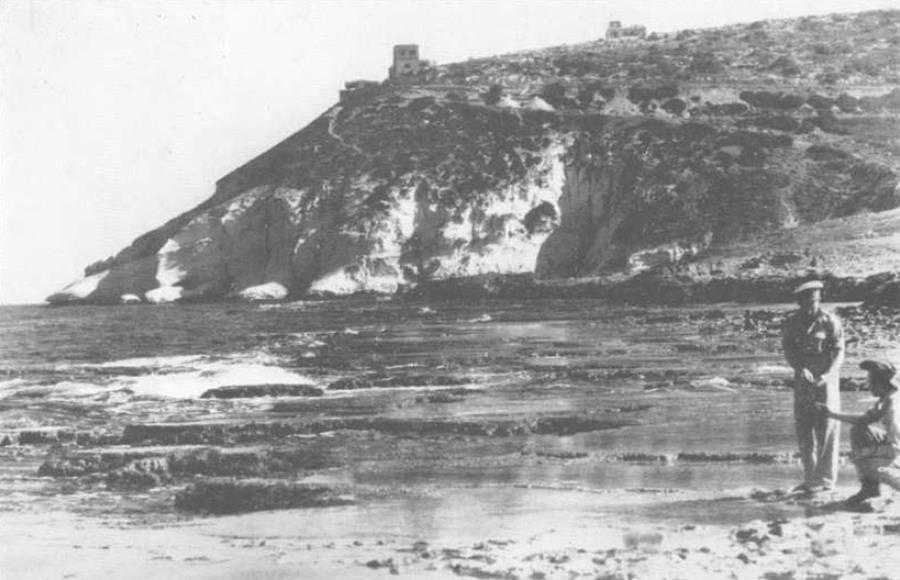
The south coast of Crete viewed from above Slakia. May 1941. (Maj S. B. Cann, 2/1 Fd Coy)

Troops from Crete disembarking at Alexandria, June 1941. (Australian War Memorial)

A group of Australians who escaped from Crete in a barge and sailed to Egypt. Back row: Ptes A. C. Jackson. R. N. Doran, Dvr J. L. Smith. Pie E. J. Host. Front row: Nes J. A. Gorton, Harry Richards, L-Cpl G. J. McMillan. Pte J. C. Thompson
Ras Naqoura. the rocky promontory on the border of Syria and Palestine
Air Commodore L. O. Brown: Maj-Gen J. D. Lavarack: Lt-Gen H. Maitland Wilson: General Catroux. (Australian War Memorial)
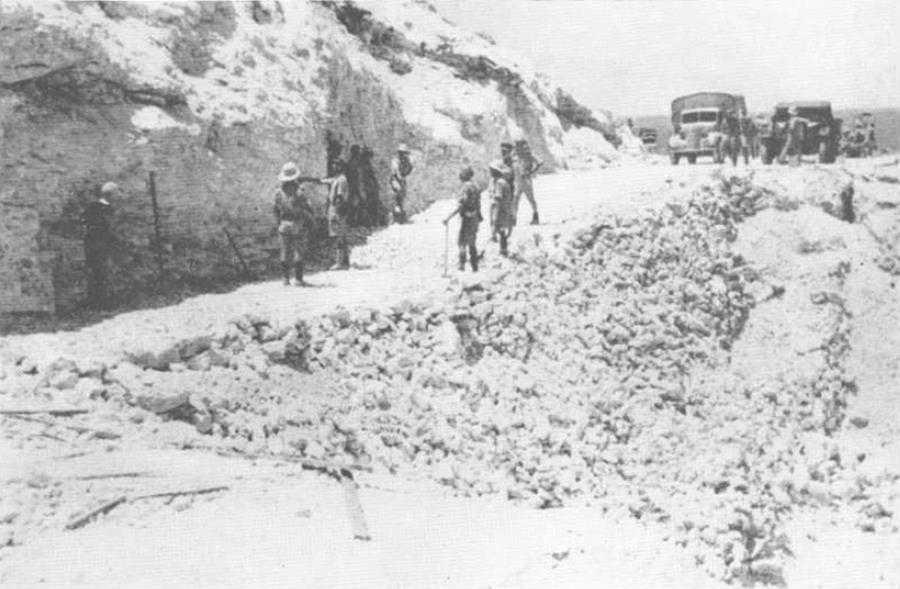
The crater in the coastal road. near Iskandaroun (Australian War Memorial)
The bridge built by Australian engineers over the Liani near Merdjayoun, with a view of the demolished bridge in the background (Australian War Memorial)
Lieutenant Connor’s party outside Fort Khiam, 9th June. Left to right: Cpl R. K. Campbell; Sgt A. M. Sweetapple: Lt G. B. Connor; Pte J. J. Wayte. (Australian War Memorial)
Maj-Gen A. S. Allen; Brig F. H. Berryman and Brig A. R. Baxter-Cox. Syria. June 1941. (Maj-Gen J. E. S. Stevens)
A 2/5 Field Regiment troop command post at el Merdjayoun, June 1941. The Gun Position Officer, with megaphone, is Lieutenant J. W. Hutton. (Australian War Memorial)
Fort Merdjayoun
Looking north-east from Merdjayoun. A portion of Route “B” can be seen on the left. (2/5 Fd Regt Association)
A sketch captured in an enemy post at Khirbe. looking towards Metulla, and illustrating the fields of fire enjoyed by the French. (Maj-Gen S. H. W. C. Porter)
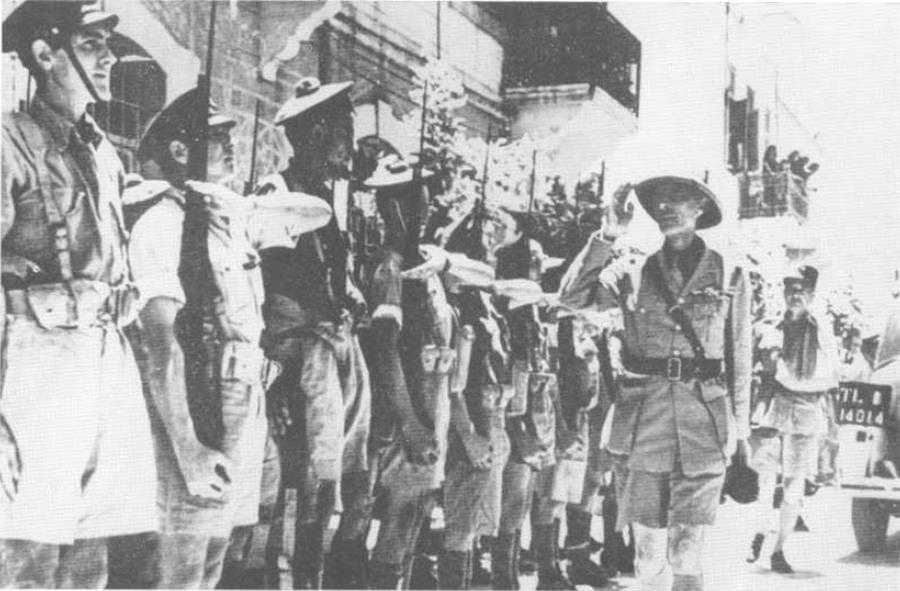
The surrender of Damascus, 21st June 1941. General Catroux, followed by General Legentilhomme, taking the salute from a guard of honour of Free French Marines (Australian War Memorial)
Looking west along the Barada Gorge. The site of the 2/3rd Battalion road-block on the Damascus-Beirut road (Cpl H. A. Norcott, 2/3 Bn)
Looking north from Jezzine along the Wadi Jezzine. The high feature is Hill 1284 (Lt-Col R. A. C. Muir)
A rocky slope near Jezzine (Australian War Memorial)
French shells bursting south of Jezzine (Lt-Col R. A. C. Muir)
The “Mad Mile” near Jezzine (Australian War Memorial)

French mule teams caught by Australian shell fire near Bater (Lt-Col R. A. C. Muir)

The Wadi Damour (2/5 Fd Regt Association)
Lieutenant A. R. Cutler being carried towards Yerate by French prisoners. The medical officer of the 2/5th Field Regiment, Captain A. M. Johnson, is on the right. French shells are straddling the road to the rear (2/5 Fd Reg( Association)
Shell fire covering the advance toward the wireless mast at Khalde (Australian War Memorial)
2 (Australian War Memorial)
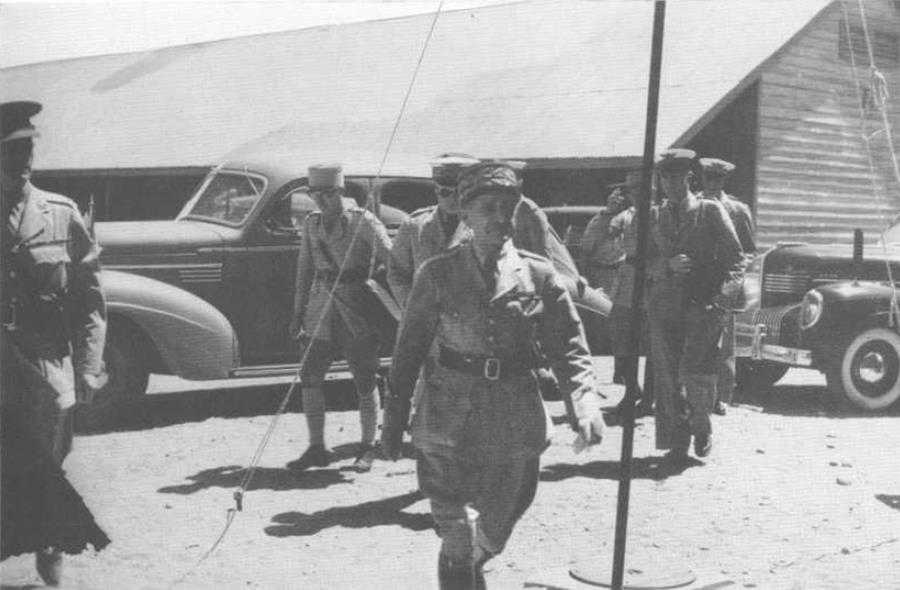
General de Verdilhac arriving for the signing of the Armistice, Acre, 12th July 1941
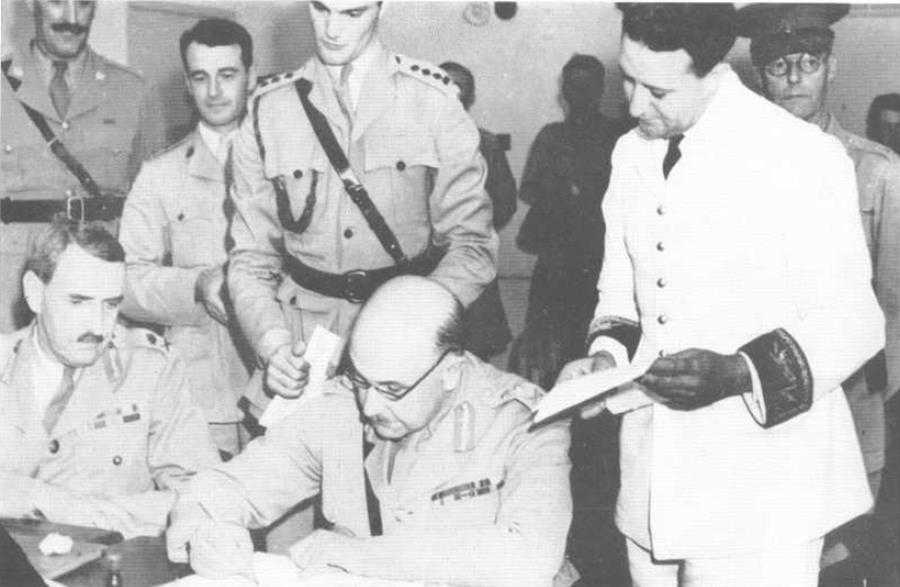
General Wilson signing the armistice agreement. General Lavarack is on his right (Australian War Memorial)

Brig J. E. S. Stevens and Maj-Gen A. S. Allen, Acre, 12th July 1941
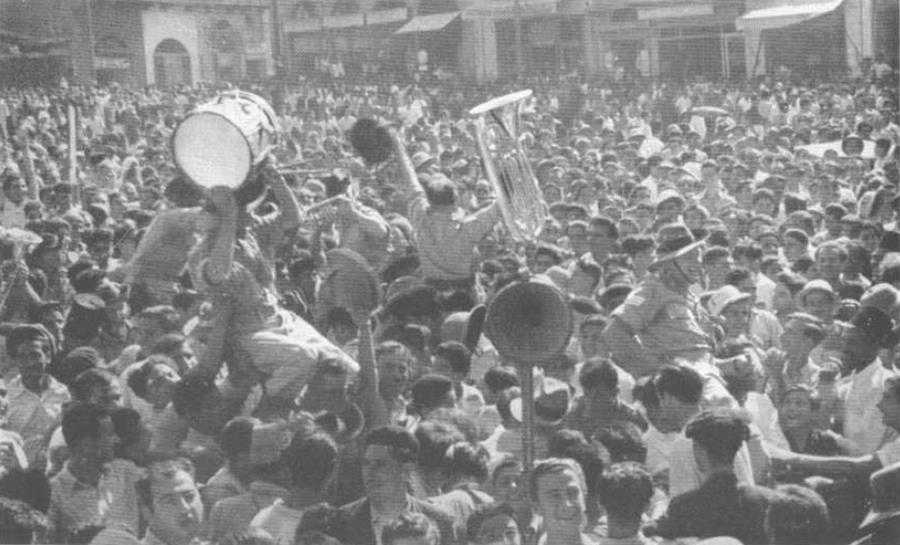
The entry into Beirut, 15th July 1941 (1 Aust Corps War Diary)

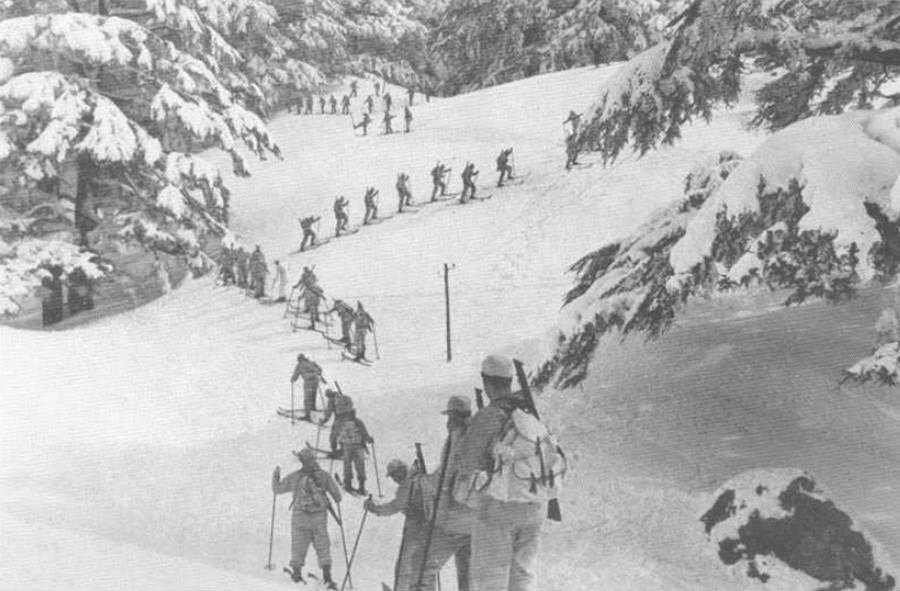
Australian ski troops training in the Lebanons (Australian War Memorial)
2

The 2/33rd Battalion leaving the transit camp at Suez to embark with other units of the 25th Brigade Group on USS Mount Vernon. This was the first transport to land units from the Middle Fast in Australia. (Australian War Memorial)
Men of the 2/5th Field Regiment on hoard the Nieuw Amsterdam, which carried the 18th Brigade Group from Suez to Bombay in February 1942 (2/5 Fd Regt Association)